
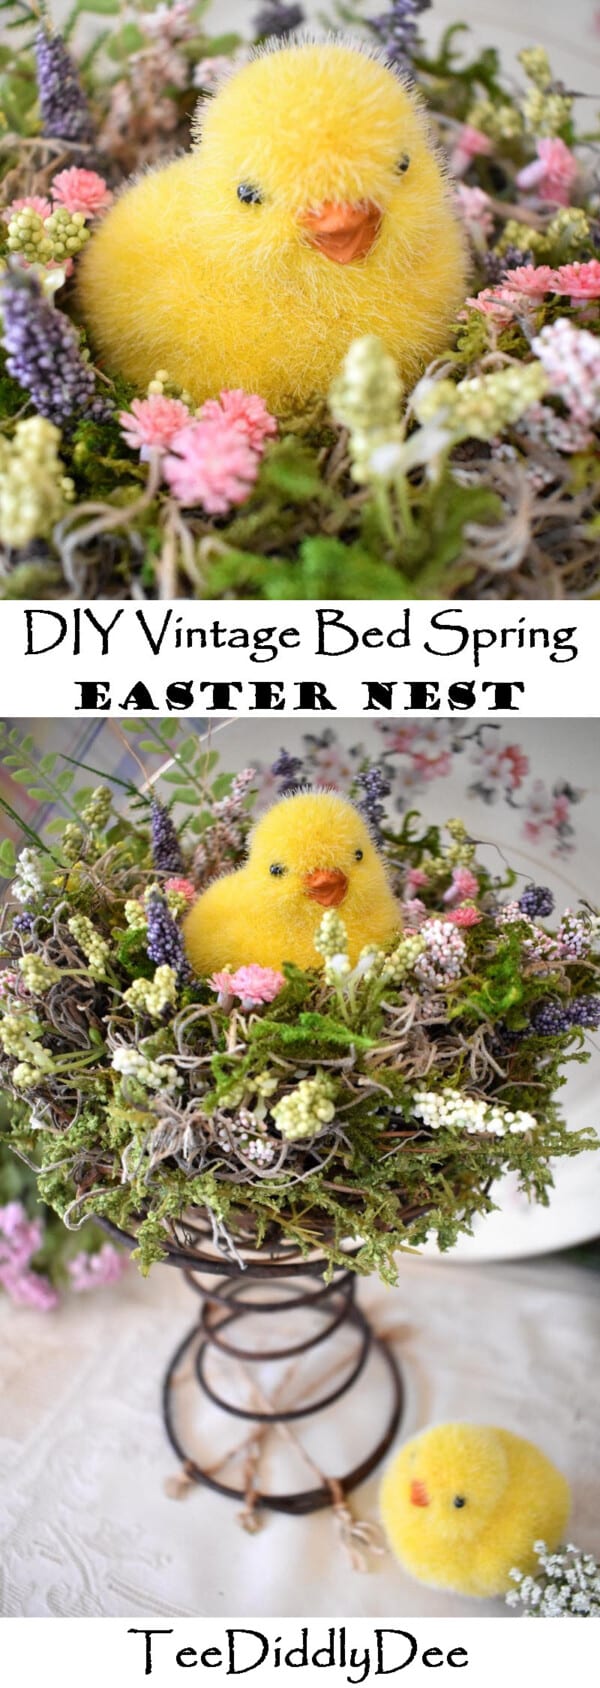
Vintage Bed Spring Easter Nest
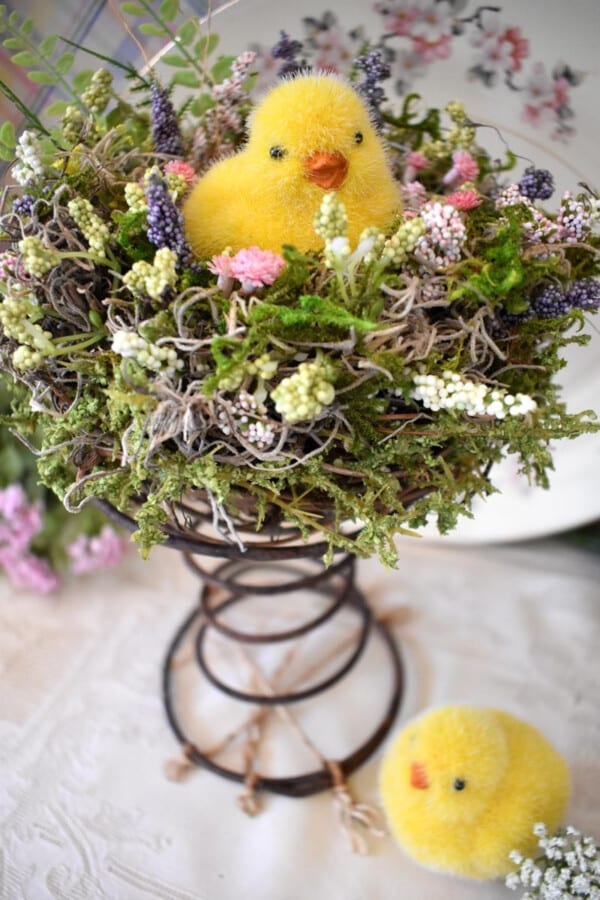
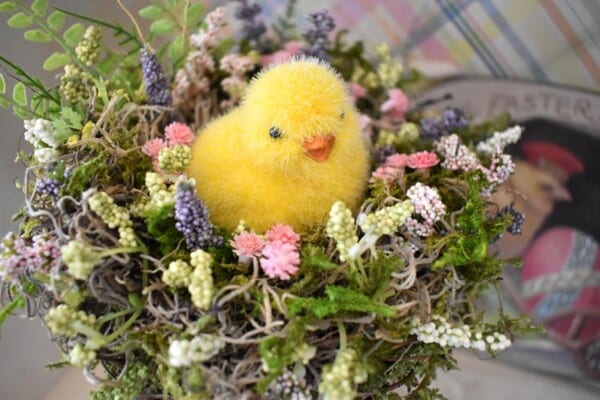
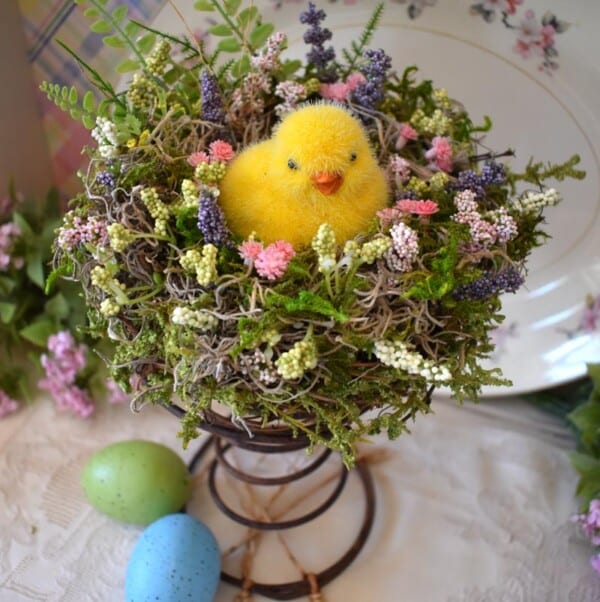
I am so happy with how this little Easter nest turned out! Can you see that it is sitting on top of an old, rusty, vintage bed-spring?
I just love vintage DIYs!!!
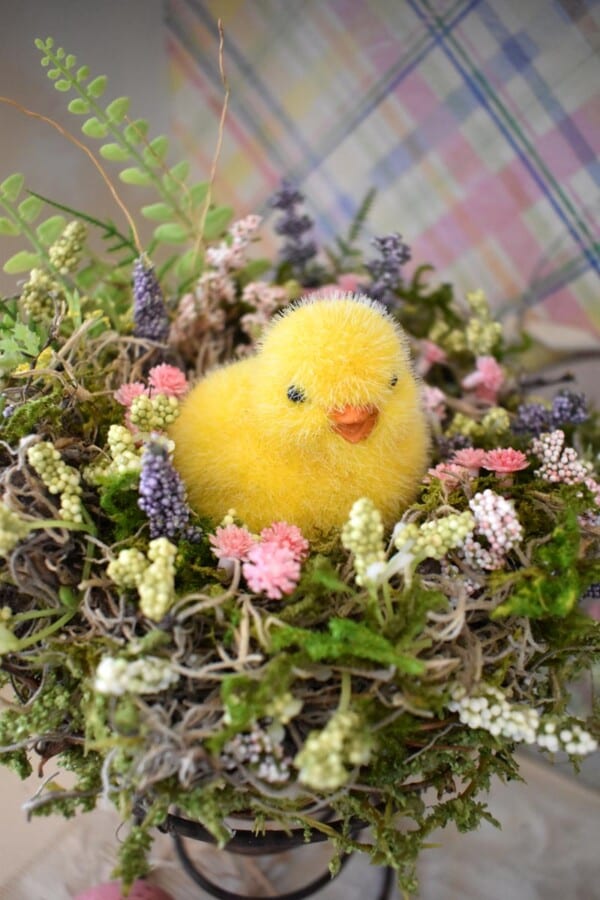
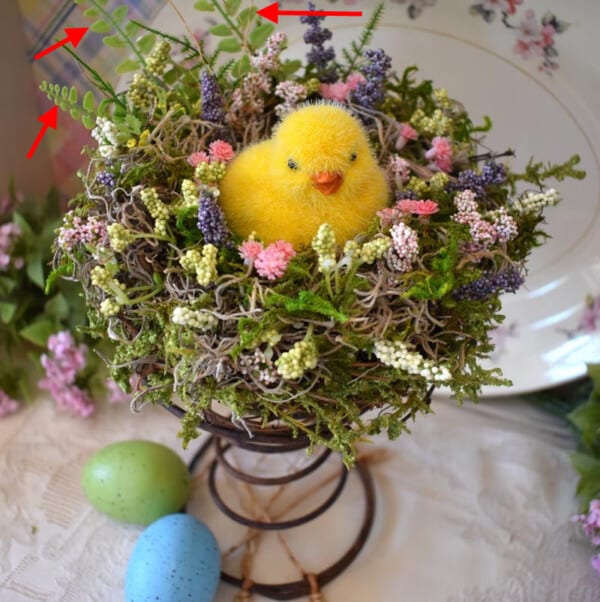
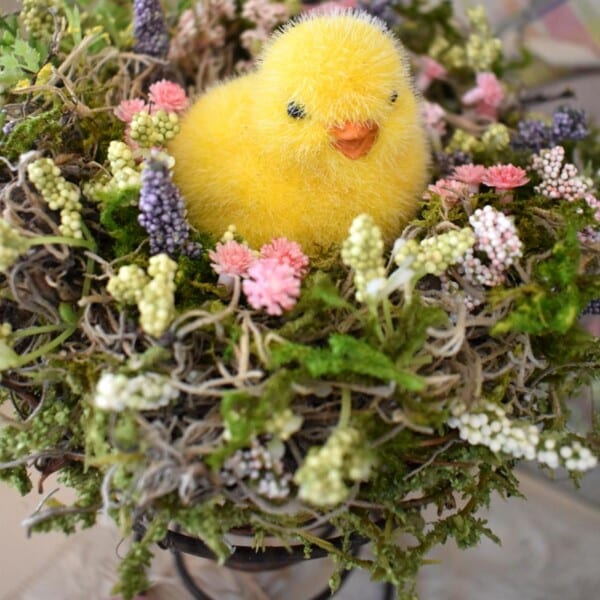
This fuzzy yellow chick looks so sweet sitting in his dainty little Easter nest, peeking out the top. Isn’t he adorable?
Did I tell you that this cute little Easter nest is fast and easy to make? You don’t even need a bed spring to make this sweet nest! It would look just fine sitting pretty inside of a cloche or any other place! If you would like to make an Easter nest like this one, check out my tutorial below.
Vintage Bed Spring Easter Nest Tutorial
Supplies:
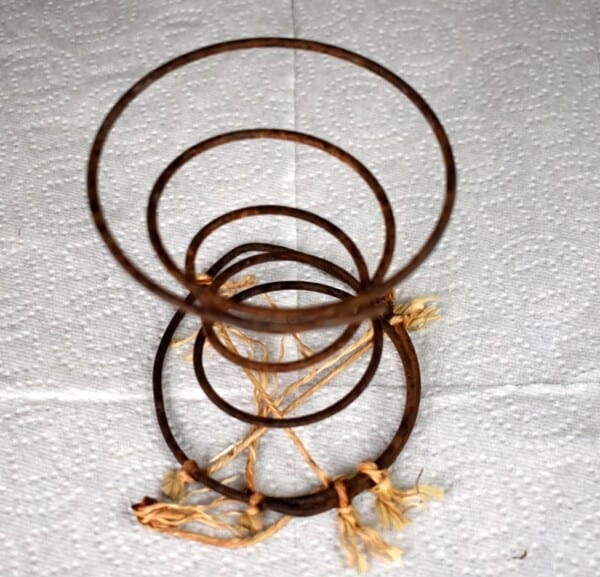
- Vintage Bed Spring – Can be found online at Etsy, Ebay or at antique stores.
- Bird’s Nest – (5 1/2 to 6 inches in diameter)
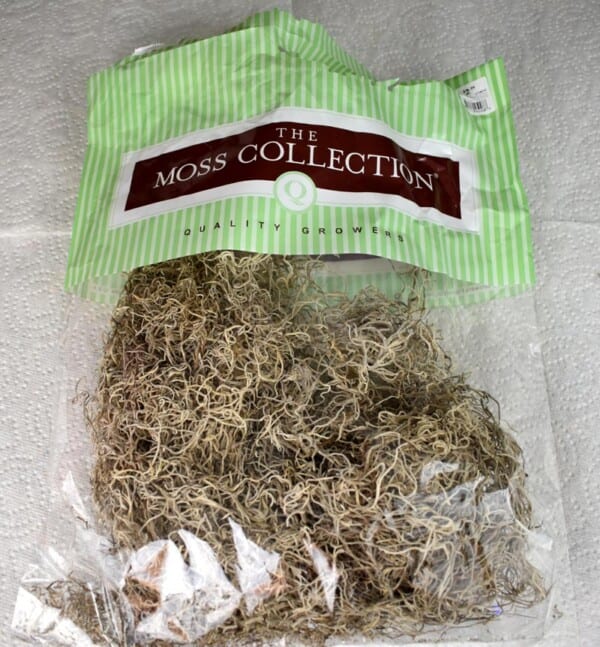
- Spanish Moss (light gray in color)
- Green Forest Moss
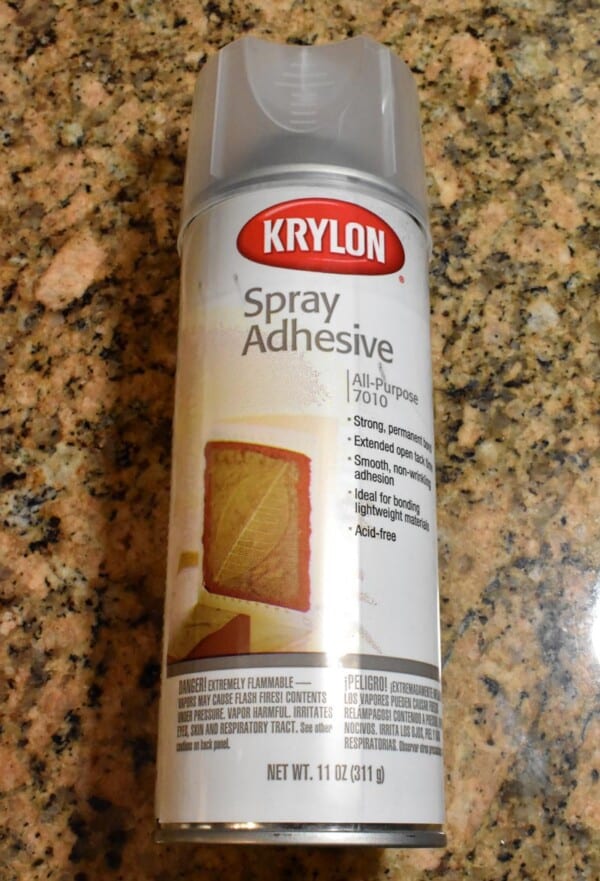
- Adhesive Spray
- Small Fern Leaves – I used a wider leafed fern that I found in a floral stem bunch at Joanns, and the delicate fern was found at Michaels.
- Tiny spring flowers
- Green Fuzzy Stems found at JoAnns
- Fuzzy Easter Chick – (or a bird, small Easter eggs or bird eggs). I found this cute little chick at Hobby Lobby (I actually bought 2 of them to set one at the base).
Pictures of Supplies:
- Vintage Bed Spring, the rustier the better!
2. Bird’s Nest (5 1/2 to 6 inches in diameter) This nest must be large enough to cover the top of the spring, but not so large as to over power the spring. 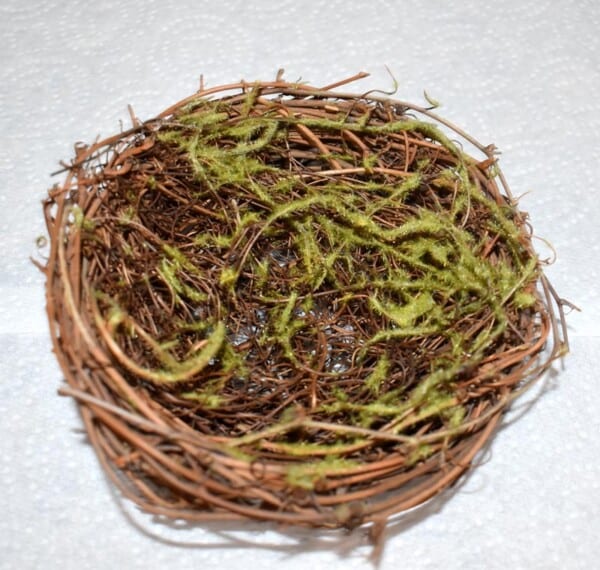
3. Spanish Moss
4. Green Forest Moss

5. Spray Adhesive
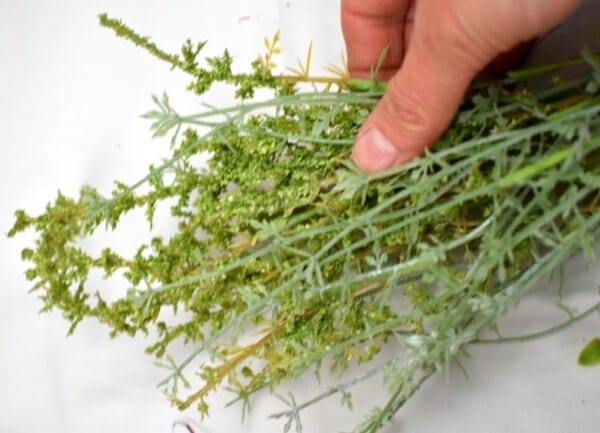
6. Ferns
I used a broad-leafed fern (found in a floral stem bunch from JoAnns) as shown below.
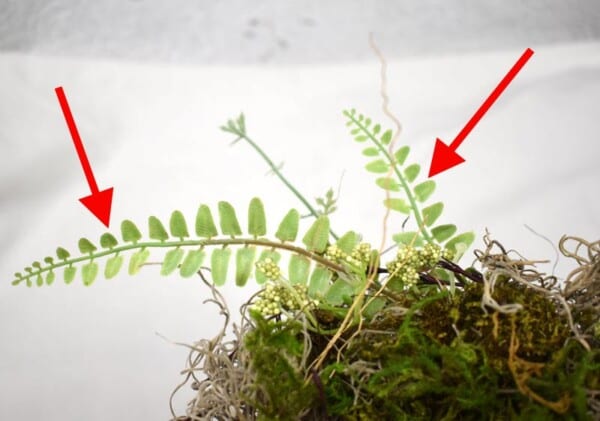
I also used pieces of a dainty fern (from Michaels) as seen below.
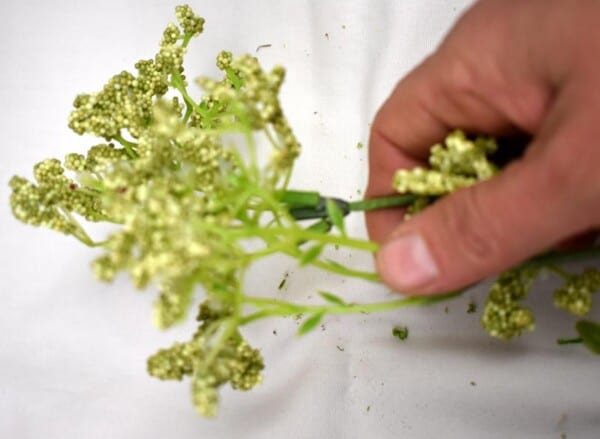
6. Small pastel colored berry-like floral usually found among flower stems.
Note : This green one came as seen below (without any other floral attached).
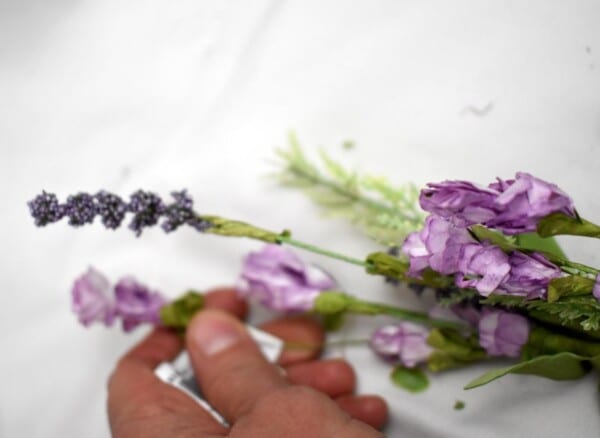
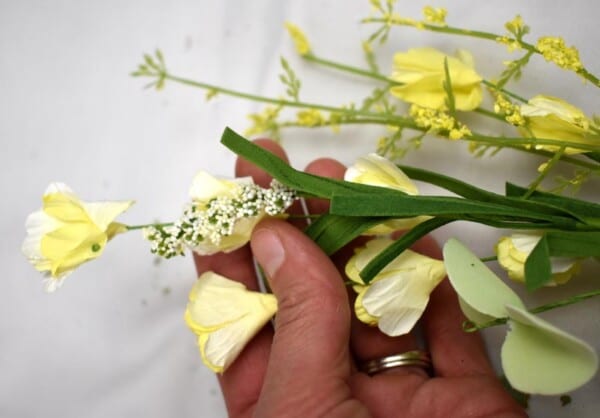
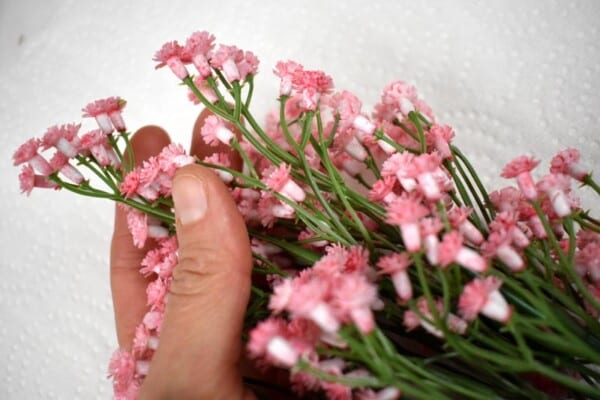
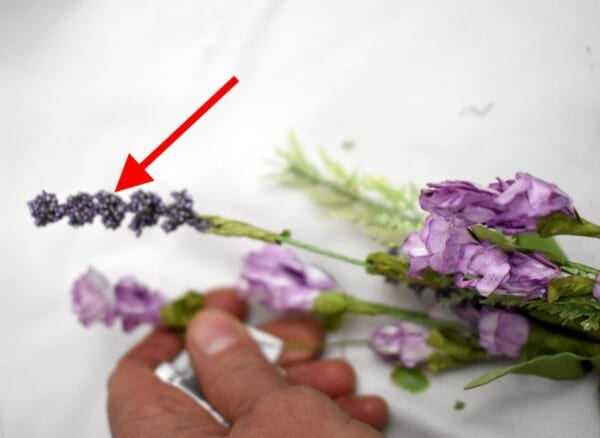
7. Tiny Spring Flowers.
8. Green Fuzzy Stems
9. Fuzzy Easter Chick – found at Hobby Lobby (or can add a bird, Easter eggs or small bird eggs).
Instructions:
Building the Nest:
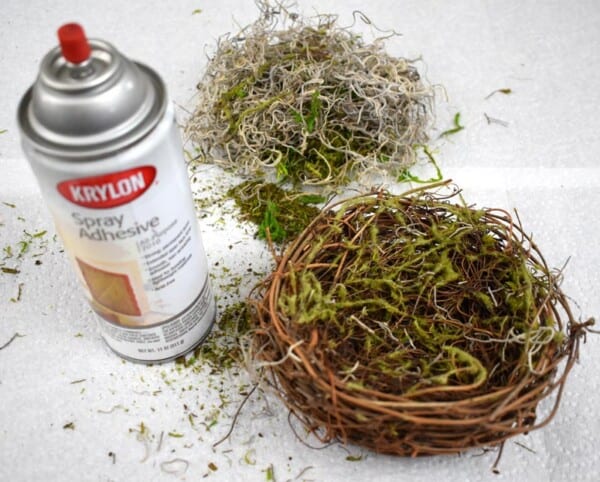
First gather your nest, Spanish moss, Forest Moss and adhesive spray.
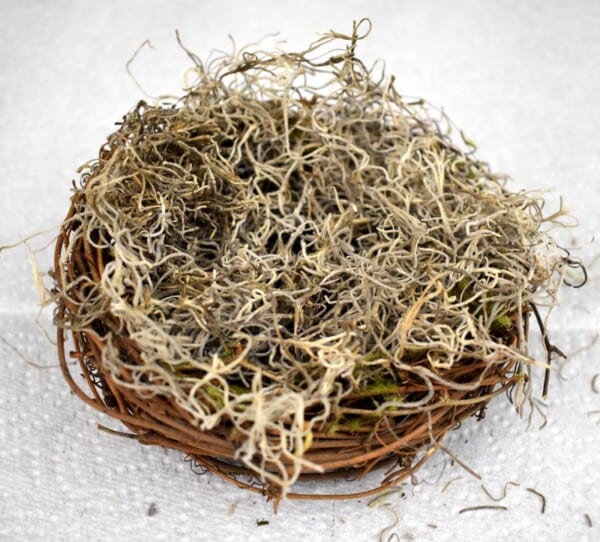
Next, I formed a ball of moss about the size of the nest, then sprayed the nest with adhesive spray and set the moss on top, forming into the nest.
This is what it should look like.
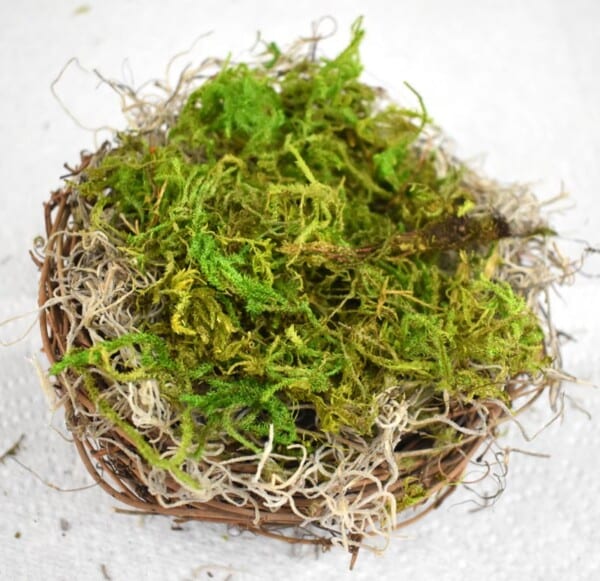
Now, take a smaller ball of green forest moss, spray the top of the nest and add the green moss to the top of the Spanish moss.
You want to see a little of the gray around the edges, and just fill in the inside with green to make it look cozy.
I did form it to make a dent in the middle.
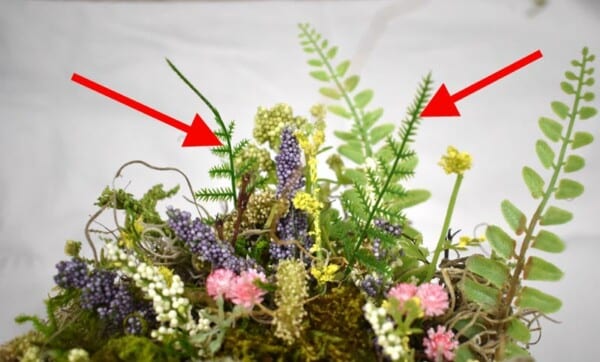
Adding the Ferns:
I added the broader-leafed ferns first.
Then I added 2 daintier ferns around them.
You can see in this picture, how the ferns ended up. Three of the broader-leafed ones are facing the same way but staggered.
Adding the Flowers:
Next, I added the darker berry parts of these flowers in different colors (I didn’t not use the flower part). I would start in one place, then add them interspersed with a total 6 or 7 of them around the edges of the nest. I cut them smaller so they were only about 1 inch total in length and just poked them into the nest. You could dip them in glue, first, to hold them in place.
Then I added the other colors of berry parts, interspersed like the one above. This one is white, as shown below.

This green berry plant was cut into small pieces and stuck into the nest around the edges as explained above.
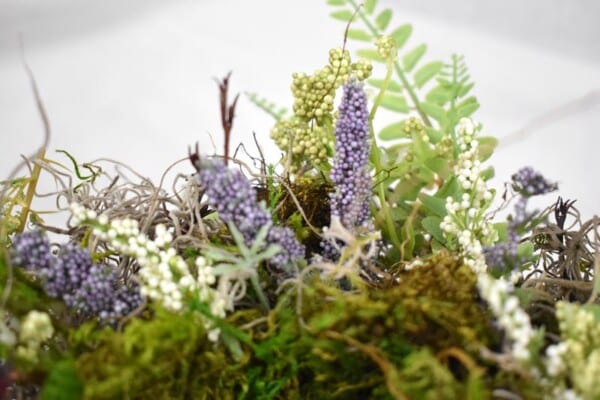
Here is a close up to show you how the colors are interspersed.
Now, it is time to add the little pink flowers. I cut these in small groups of 3 flowers and poked them in the nest.
You can see how I interspersed all the colors here as seen below:
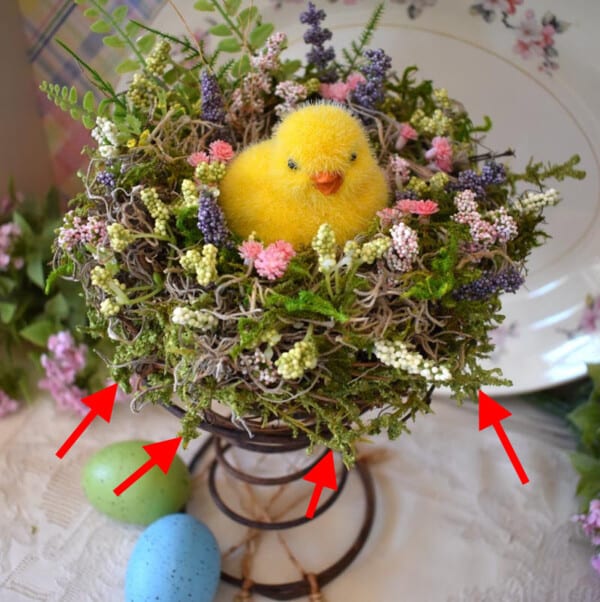
Last, I cut these into 1 inch to 2 inch pieces and poked them into the side of the grapevine nest itself to green the sides up.
You can see these green stems sticking out of the sides of the lower part of the nest.
Final Touches:
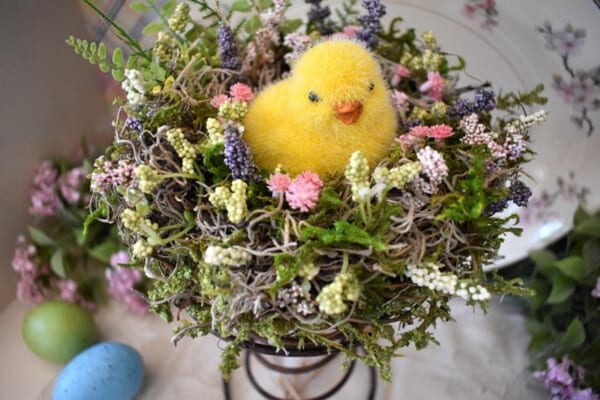
Now all you have to do is add a cute little chick, Easter eggs, small bird eggs or even a bird.
You are finished, now wasn’t that easy?
I wish all of you a very Happy Easter!
Vintage Bed Spring Easter Nest
Sharing at these great link parties:
Busy Monday Inspire Me Tuesday The Hearth & Soul Metamorphosis Monday All About Home You’re the Star Inspire Me Monday Little Cottage Link Party Inspire Me Monday Wonderful Wednesday Creative Muster Party Wow Me Wednesday Your Whims Wednesday Tuesday Turn About Homestead Blog Hop Tuesdays with a Twist Wonderful Wednesday Simple Homestead Blog Hop To Grandma’s House We Go Vintage Charm Party
More great link parties I’m sharing at:
Thinking Out Loud Thursday Party in Your PJs Thursday Favorite Things Grace at Home Friday Favorites Funtastic Friday Funtastic Friday Friendship Friday Blog Hop– Happy Pink Saturday Dare to Share Saturday Sparks Create, Bake, Grow & Gather A Morning Cup of Joe! Embrace Your Style Happiness is Homemade Snickerdoodle Create Bake Make– Inspire Me Monday Love Your Creativity
Jen at Satsuma Designs
Tiffany, Happy Easter! This is absolutely charming!! What a fun design. Thank you so much for sharing and the inspo. Best, Jen
Tee
Thank you, Jen! I’m glad you like it!
Oddie
Cute, cute. Hope you let us know when mama hatches her ducklings!
Tee
Thank you Oddie! I will be posting pics when they hatch!
Cecilia
Aww, that little chick is just adorable! Thanks for sharing at Vintage Charm–pinned!
Tee
Thank you so much, Cecillia!
Debbie-Dabble
This is such a charming idea!! I absolutely love this!!! So cute!! Thanks so much for stopping by and thanks too for your kind words!! I hope you had a Happy Easter!!
Hugs,
Debbie
Tee
Thank you, Debbie! I’m glad you like it! Thanks for visiting today and Happy Easter to you!!
CoCo
This is so cute, Tee! I love all the flowers you chose and how you wove the moss into the mix as well. Placing this nest on an antique bed spring is genius! Loved and pinned, CoCo
Tee
Thank you so much, Coco, for your sweet comments! I’m so glad you visited today!
Dee | Grammy's Grid
Isn’t that just adorable? Thanks so much for linking up with me at the Unlimited Monthly Link Party 23. Pinned!
Tee
Thank you, Dee! I’m so glad you like it! I appreciate the pin too!
Debra Oliver
Tiffany, this is just so adorable. Thanks for sharing the DIY. Pinned!
Tee
Thank you so much, Debra, for your kind words! I appreciate the pin too!
Sarah
Cute idea! I’ve seen these before, but this is the cutest one ever. Thanks for sharing.
Tee
Thank you, Sarah, for your sweet comments. Thank you for visiting today!
jj
Oh my goodness, that’s so adorable! That little chick really stole my heart. What a cute project and the kids would love it. Thanks so much for sharing this!
Tee
Thank you, JJ, for you sweet comments! I’m glad you like it!
Jean | Delightful Repast
Tiffany, all your vignettes and craft projects are amazing! Glad I found you through Dee’s linkup. I’m not very crafty, but your ideas, beautiful photos, and clear instructions give me hope! Happy Spring!
Tee
Thank you, Jean! I’m so glad you visited today and I appreciate your kind words!
Cindy
This is so cute. I recently tore apart an old box spring so I have a kazillon of them. I did use some on my string lights but I am on the lookout for more ideas. Thanks!
Tee
What a cute idea, Cindy! I love it! Thanks for sharing!