

Old wooden crates are the most versatile things to decorate with, I just love them! You can put things in them, on them, stack them, use them as a backdrop, or do whatever else your imagination can come up with. They’re one of my favorite things to have on hand when I want a touch of rustic!
Weathered wooden crates sell at vintage stores for about $40. It takes me about 45 minutes to put mine together from start to finish, and it only costs me a few bucks!
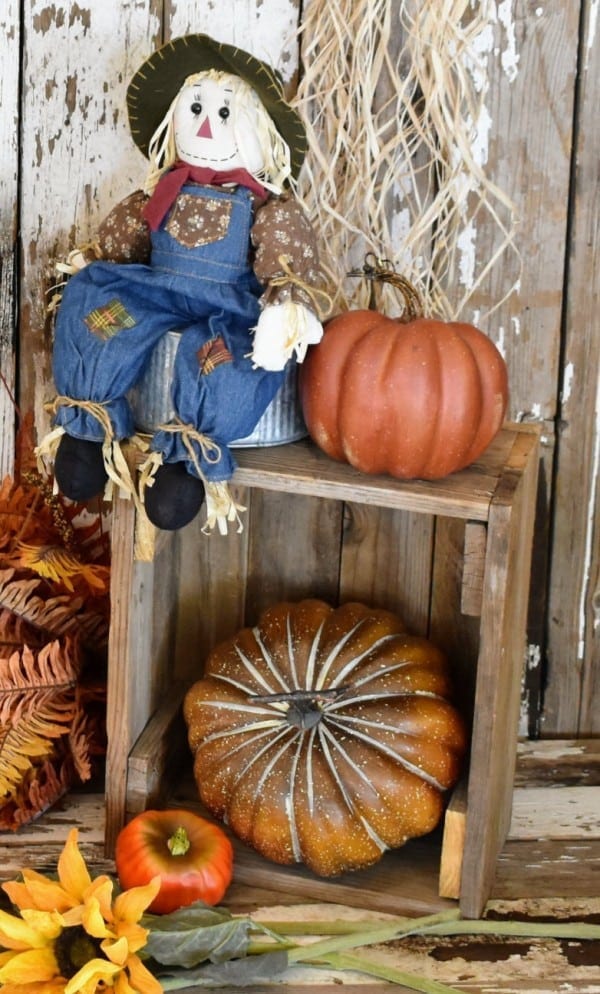
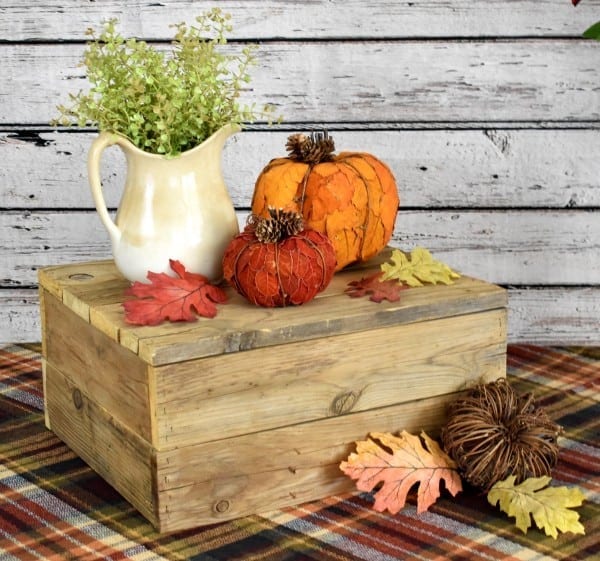
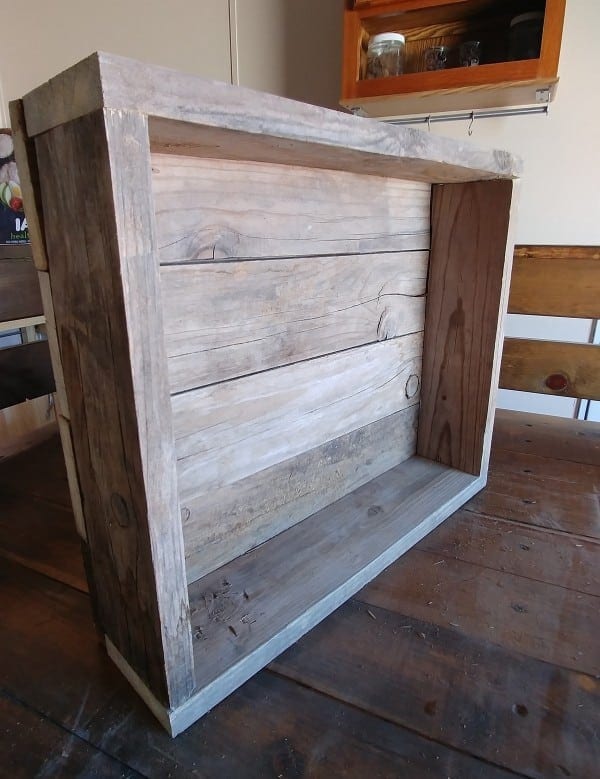
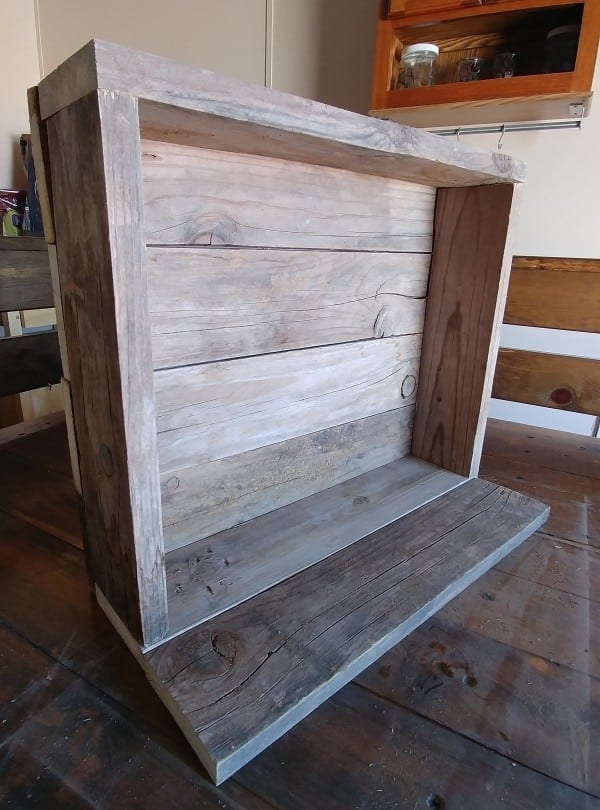
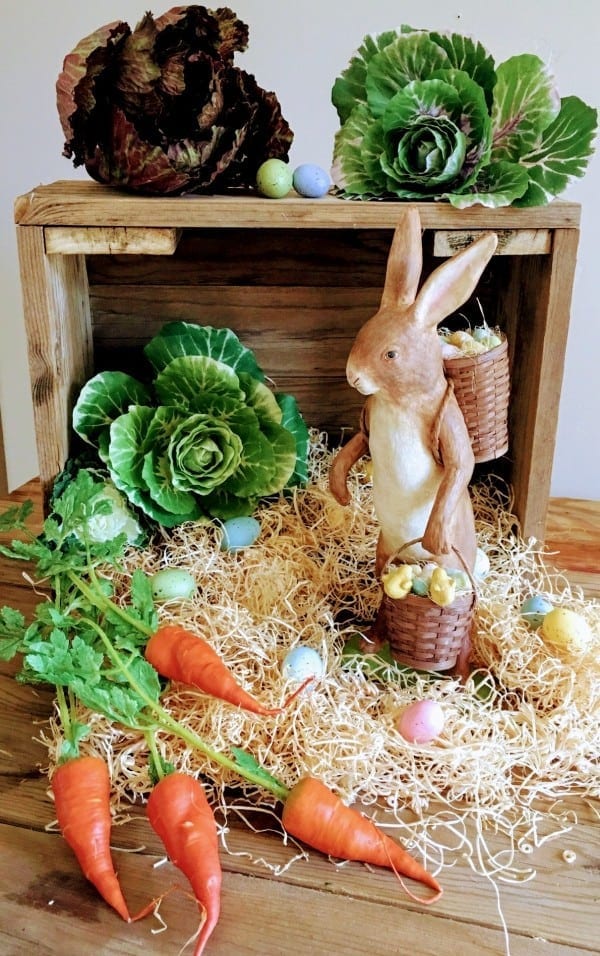
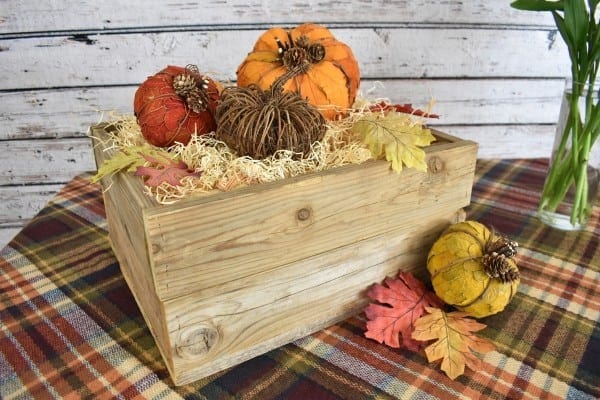
I use the crate shown below for just about anything, as it’s small enough to put on a table, or to simply prop up on the ground to give a little height to anything and everything I set on it.
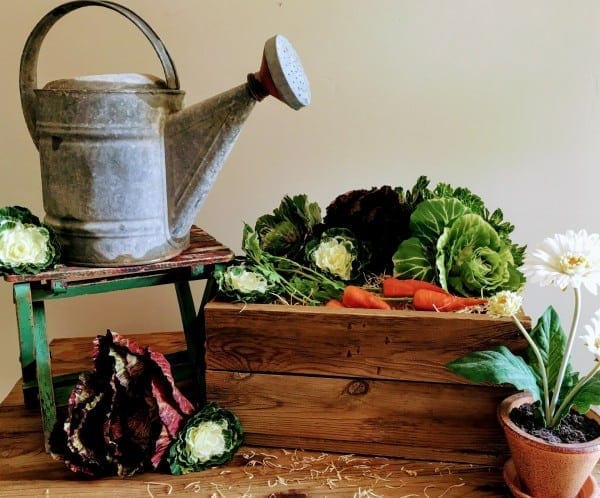
Here are a few different ways I’ve used this exact same crate to decorate…
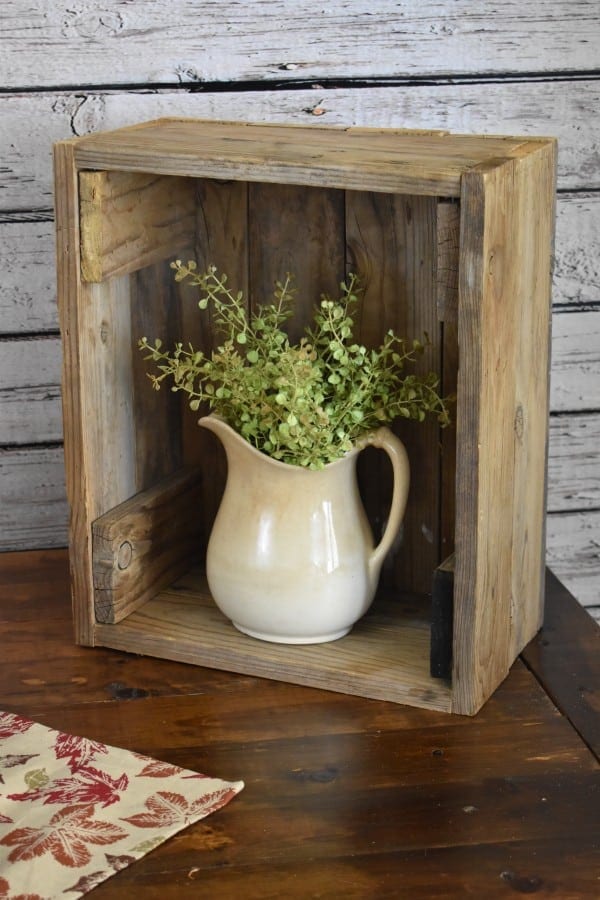
Crates come in all shapes and sizes and you can just about make them any size to fit your needs.
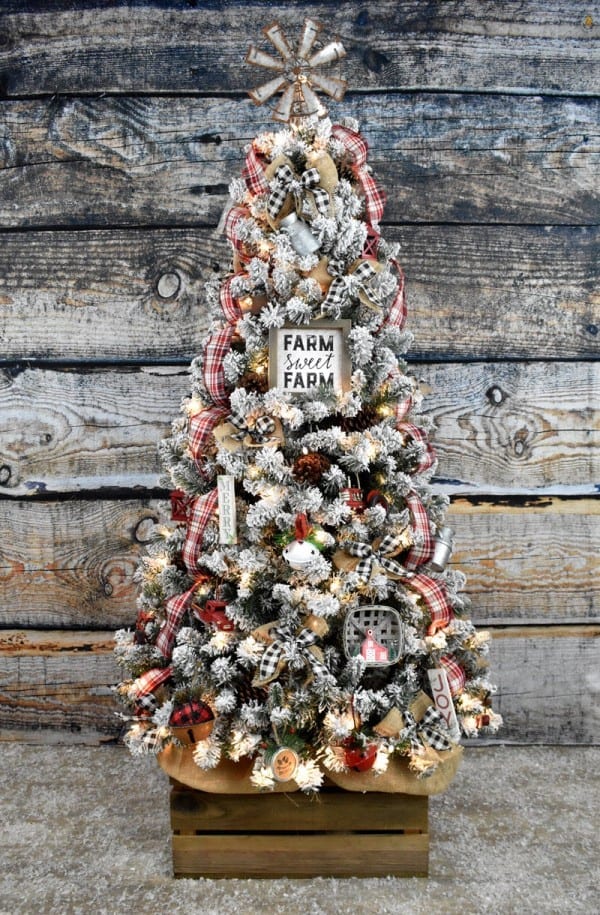
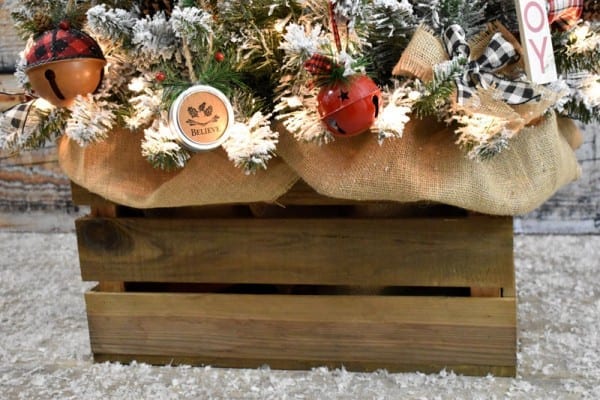
I built the crate below to fit around my Christmas tree stand. As you can see, I left a little more space in-between the slats to give it a little different look. (To see my Farmhouse Christmas Tree Tutorial click HERE)
Tools:
- Chop saw
- Finishing nail gun or hammer
Supplies:
- You’ll need some pallet-sized planks of wood (usually 1x3s, 1x4s, or 1x6s). I’ve used both old pallet boards but also new boards, then stained them to look old)
- Finishing nails at least 1 1/4in long
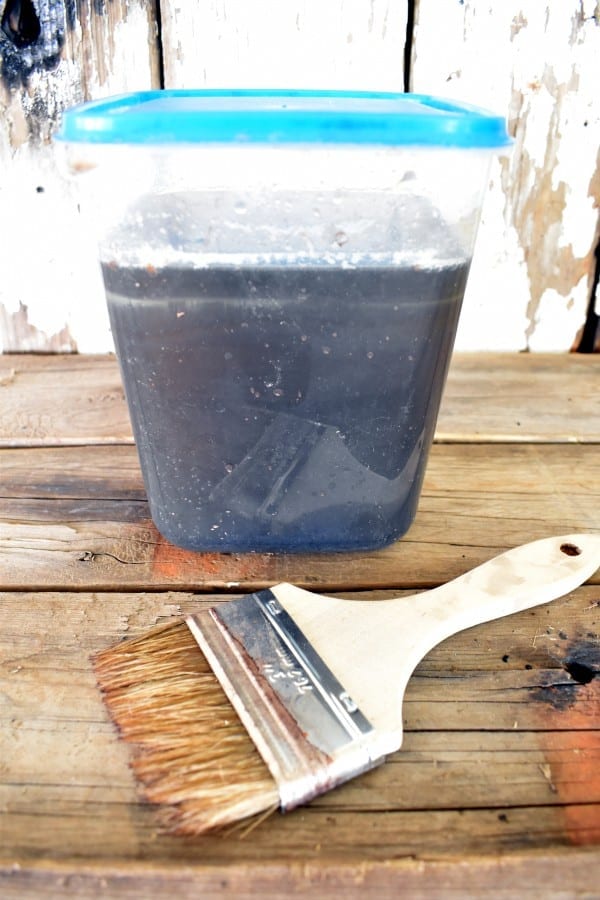
- My DIY wood stain and a paint brush (if you use new wood and want to make it look old)
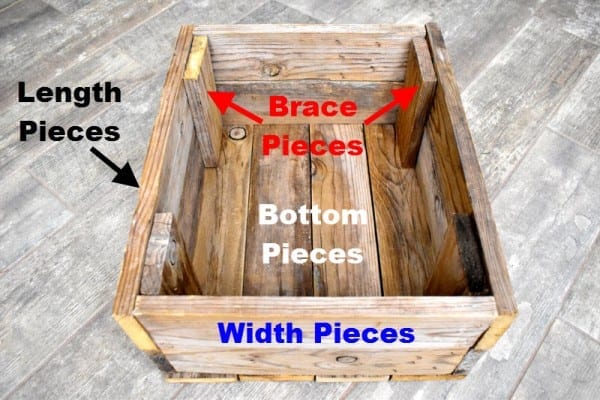
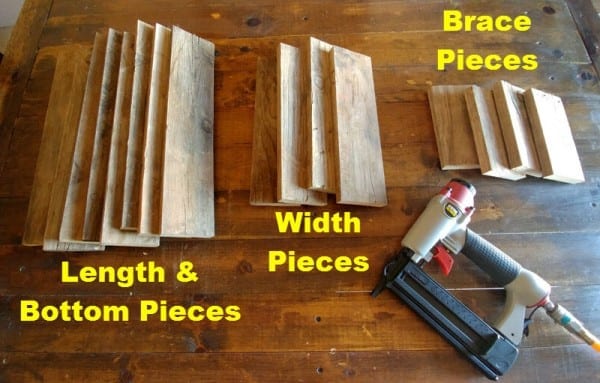
Let’s find out how much wood you’ll need. First off, you’ll need some length pieces, width pieces, brace pieces, and bottom pieces.
When starting out, first decide the length, width, and height measurements you want the INSIDE of your crate to be. Now write it down! (If you’re building a crate for a Christmas tree stand, I recommend adding 2 or 3 inches to the width and length for extra play).

Now lets find out how long we need to cut our width, length, brace, and bottom pieces.
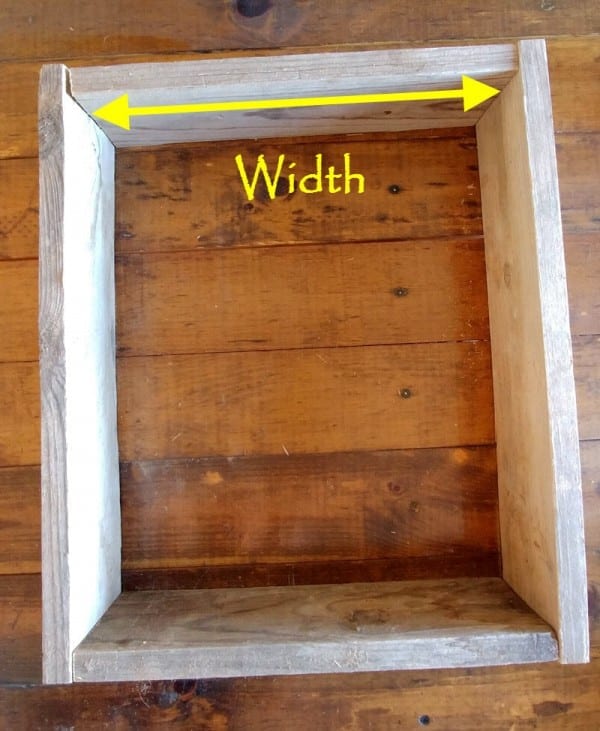
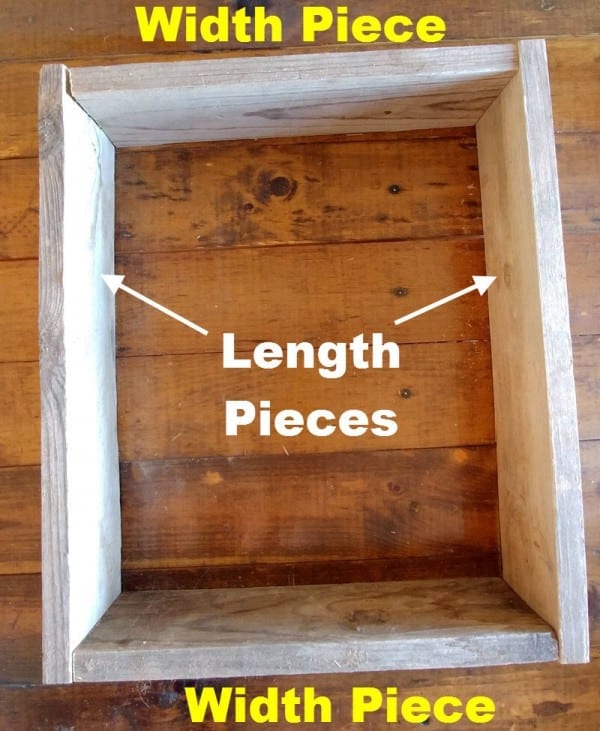
Width Pieces:
This measurement is the easiest to find as you’ll cut your width pieces the same as you measured it.
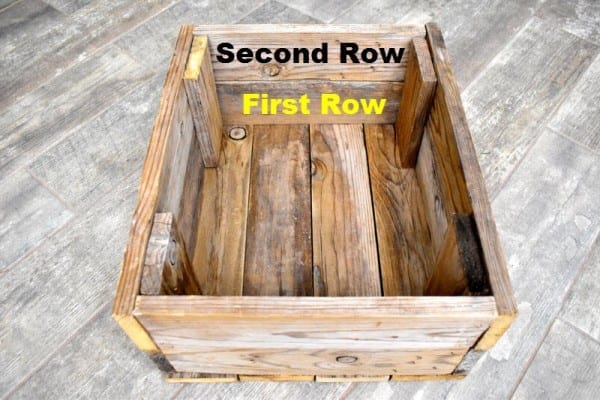
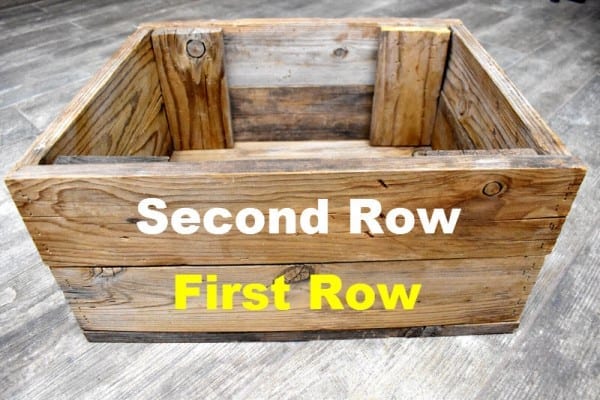
Depending how tall you want your crate will decide how many rows of width pieces you’ll need. (For every row you’ll need to double the amount of width pieces).
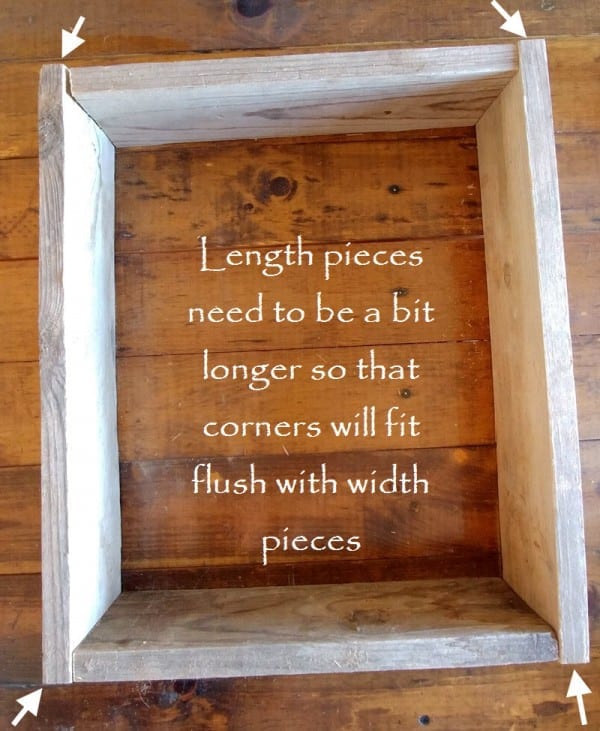
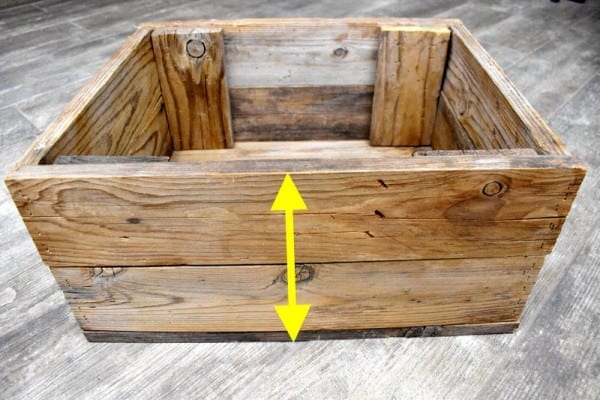
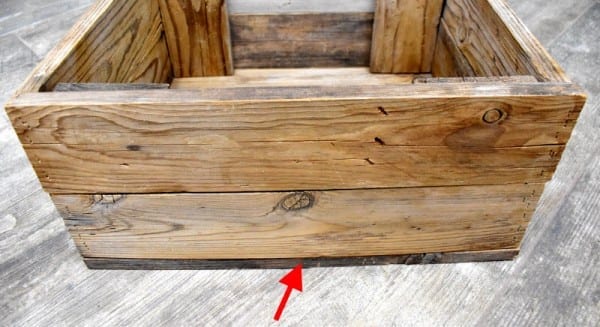
Length Pieces:
Notice how the length pieces need to be longer than the width pieces, so that they ‘sandwich’ them. This allows the corners to fit flush. This means you’ll have to add a little extra length to the length pieces.
To find the extra length, simply measure the thickness of both width pieces and add them together. (See red arrows below)
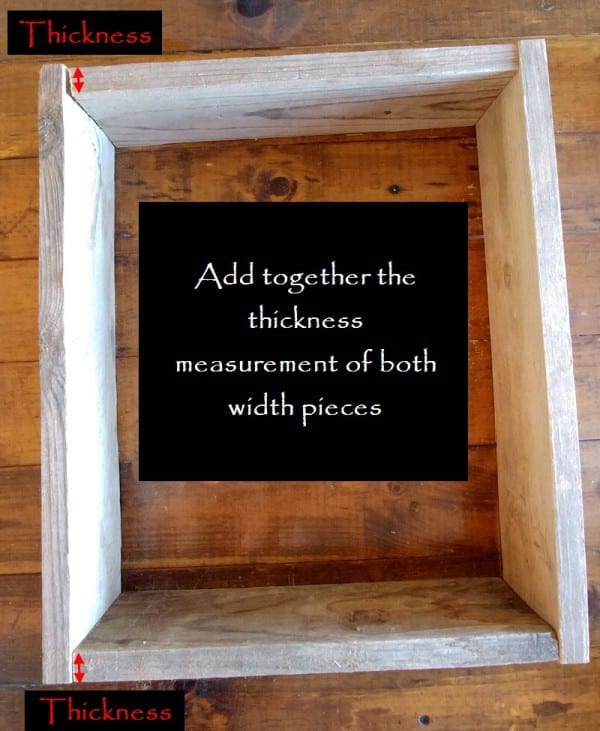
(So if each width piece is 3/4 inch thick, you’d add them together and get 1 1/2 inches.) Now simply add 1 1/2 inches to each length piece. Simple!
Depending how tall you want your crate will decide how many rows of length pieces you’ll need. (For every row you’ll need to double the amount of length pieces).
Brace pieces:
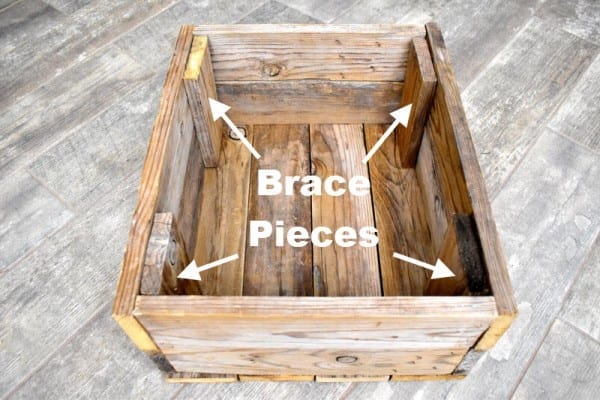
To find the length that your brace pieces need to be, first take the height measurement that you want your crate to be…
Then subtract the thickness measurement of the bottom pieces.
(So if your bottom pieces are 3/4 inch thick, you would subtract 3/4 inch from the height that you want your crate to be.
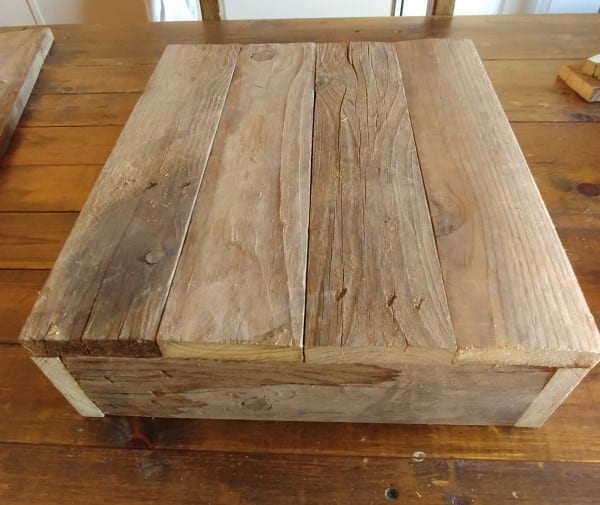
Bottom Pieces:
The bottom piece measurements are easy as they are the same length as the length pieces. (The only difference is that you’ll need a few more than you have length pieces to make sure you have enough to cover the whole bottom of the crate).

Now add up all the measurements and that’s how much wood you’ll need!
Assembly:
I usually assemble my pieces as shown to stay organized:
Make a box by nailing together two length pieces and two width pieces.
On the bottom of the box, nail on the bottom pieces
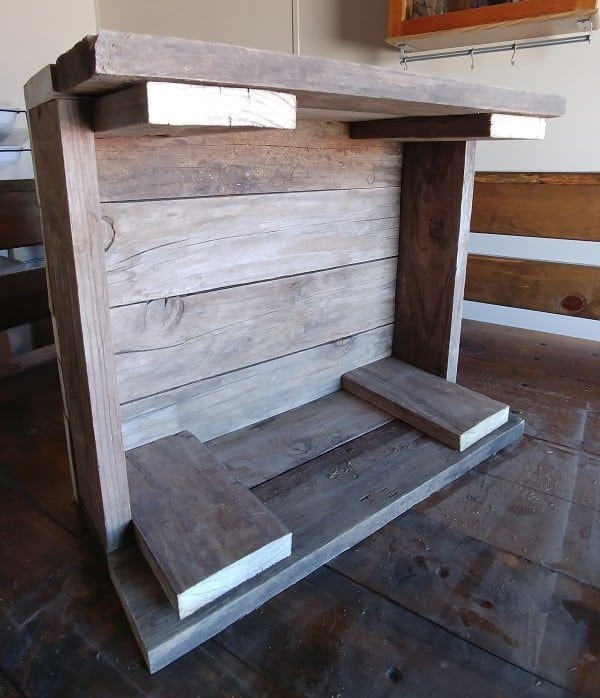
Turn the crate on it’s side
Line up another length piece where you want it…
Then attach it by nailing on two brace pieces
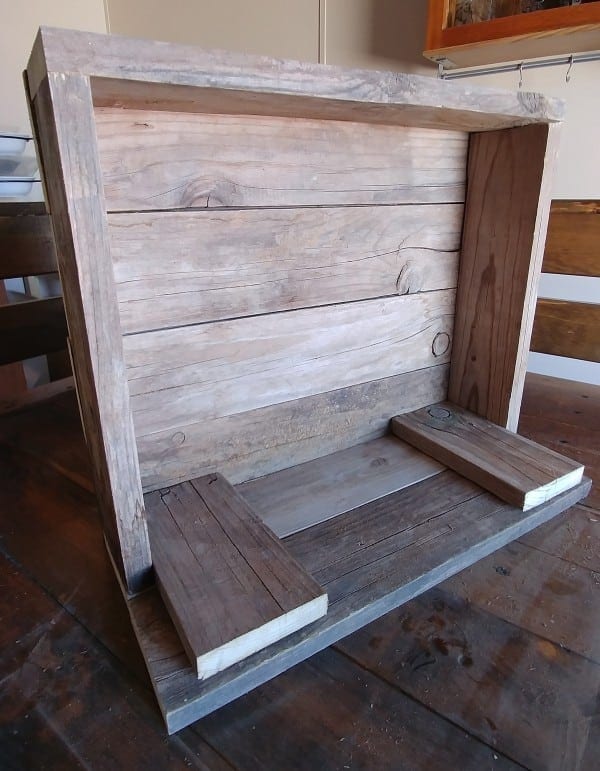
Flip it all over and do the same on the other side
Now nail on the last two width pieces and you’re done!
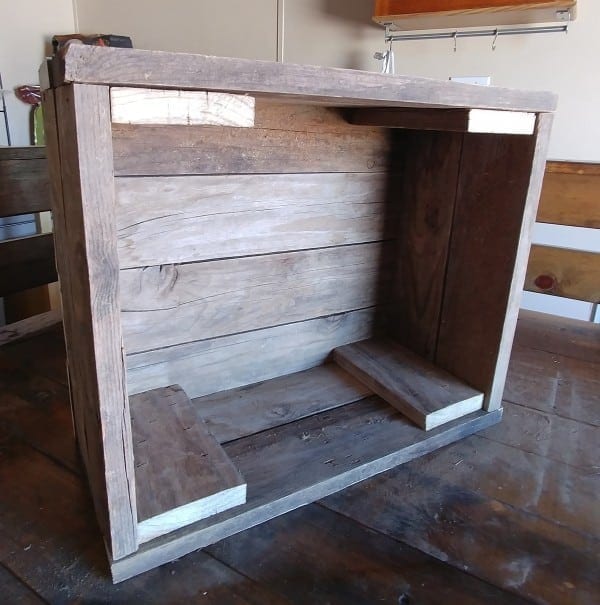
(If you used new wood then it’s time to slap on a coat of my DIY wood stain to make the wood look old)
Time to find that perfect place for the new crate!
Amanda
I love how versatile this crate is! I want to make a couple for myself now. Thank you for the directions!
Tee
I’m glad you like it Amanda! I use these crates for so many things!