
DIY Wooden Peddlers Cart-Video
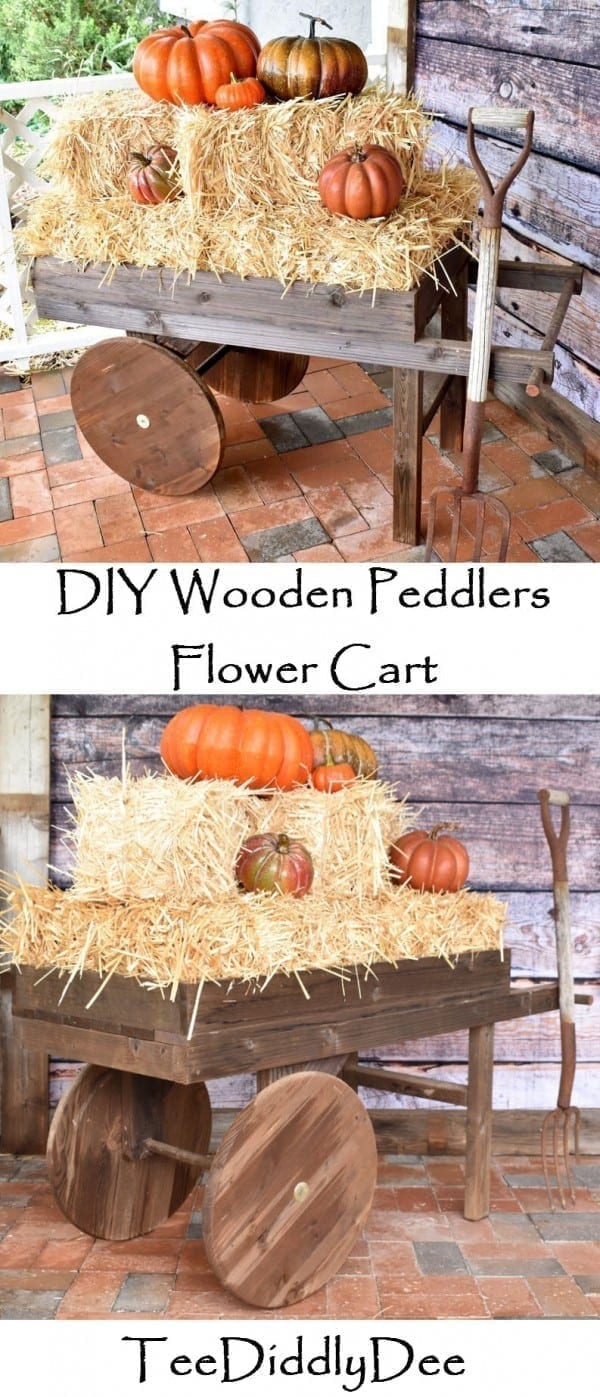
DIY Wooden Peddlers Cart
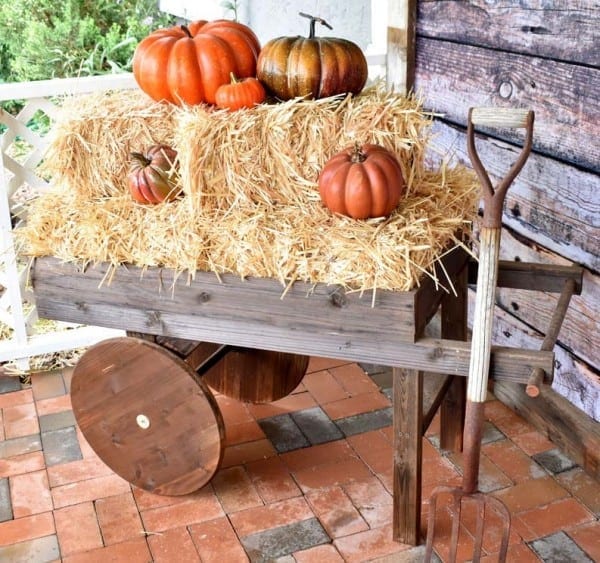
Didn’t this little peddler’s cart turn out fantastic??? I’ve always wanted a cute wooden cart to use as a display for all of the holidays. It perfect because I can completely change the whole look by simply changing out the seasonal decor!
Oh, and it was so easy to throw together. It only took me one afternoon and it was ready to use!
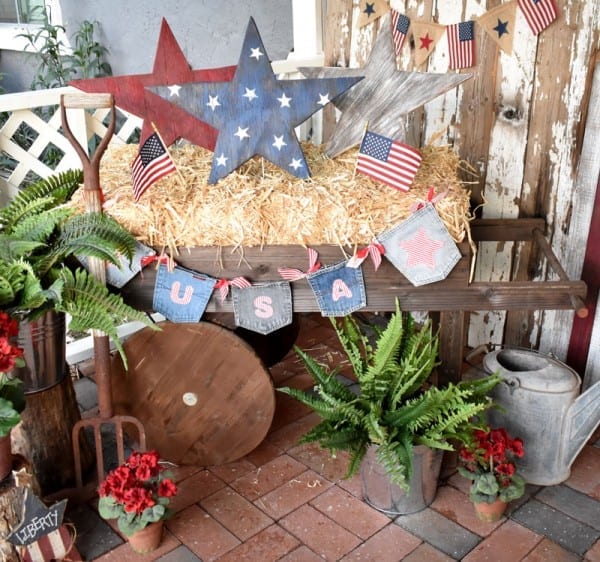
(Click HERE for the full tutorial on how I put the Patriotic Front Porch display together)
(Click HERE for the full tutorial on how I put together the St. Patty’s Day Light up Pallet sign)

Here are the dimensions…
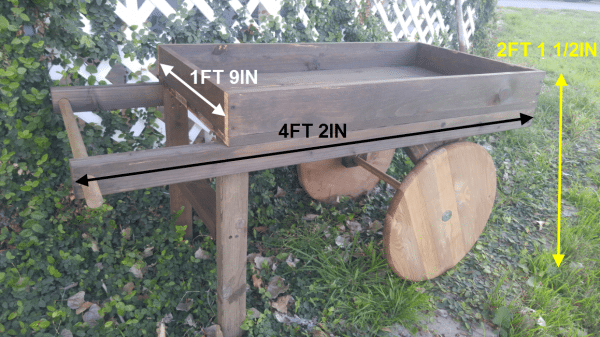
DIY Wooden Peddlers Flower Cart-Tutorial
Supplies:
- Eight 1x4s at 3ft 3in long (box)
- Two 1x4s at 1ft 7 1/2in long (box)
- Two 2x3s at 4ft 2in long (side frame)
- 1ft 6in long (front frame)
- Two 2x3s at 1ft 9 1/2in (back legs)
- One 2×3 at 1ft 3 1/4in long (brace for back legs)
- Two 2x4s at 1ft long (wheel braces)
- Two 2x4s at 1ft 1 1/2in long (wheel braces)
- Two wooden discs at 1in thick and 18inches in diameter (wheels) Bought at Home Depot HERE
- One wooden dowel at 1 inch in diameter and 1ft 9in long (wheel axle)
- One wooden dowel at 1 inch in diameter and 2ft 3in long (handle)
- Two cotter pins (to hold wheels in place)
- Wood screws at 2 1/2in long
- Two washers that fit the 2 1/2in wood screws
- Wood screws at 1 1/4in long
- A batch of my cheap & easy old wood stain (to make new wood look old)
Tools:
- Chop saw
- Hand drill with bits
- Spade bit 1in diameter
- Paintbrush (for old wood stain )
Directions:
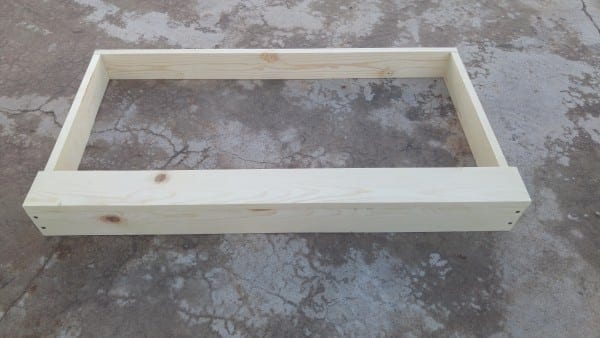
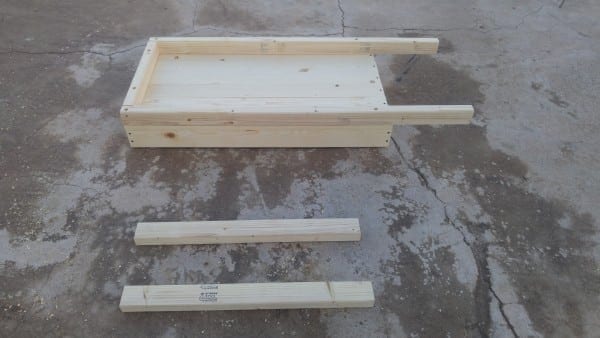
Making the Main Frame:
Gather all of the 1x4s.

Screw the 2 shortest 1x4s together with 2 of the longer 1x4s making a box (remember to drill pilot holes).
See how to drill pilot holes here
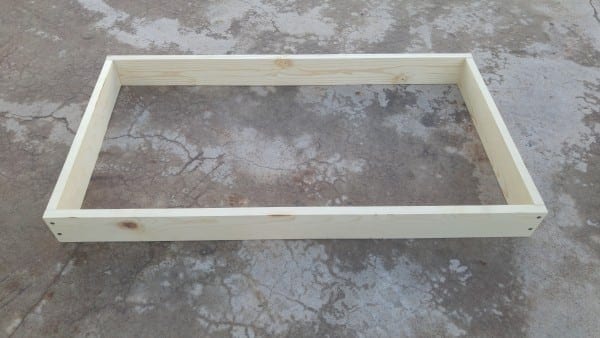
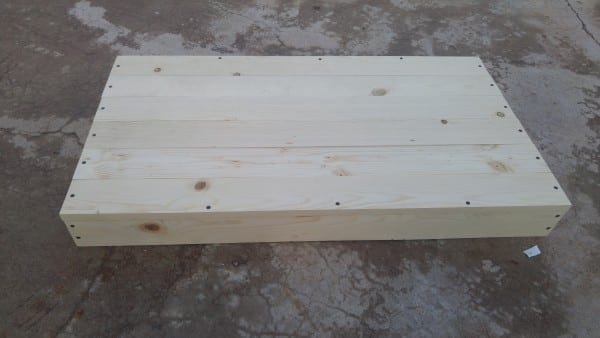
Now screw the rest of the longer 1x4s onto the top of the box (remember those pilot holes!)
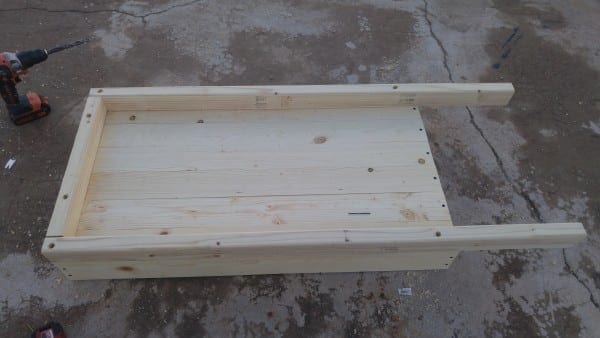
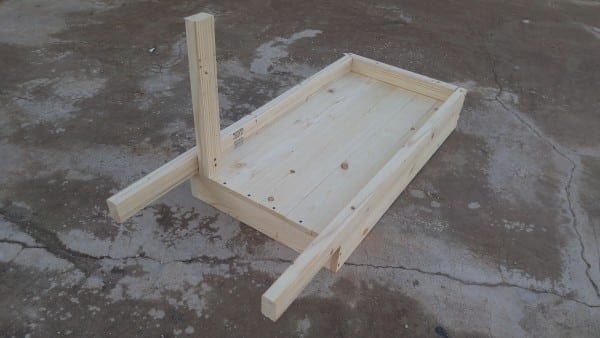
Gather the two 4ft 2in 2x3s (side frame) and the one 1ft 6in 2×3 (front frame).
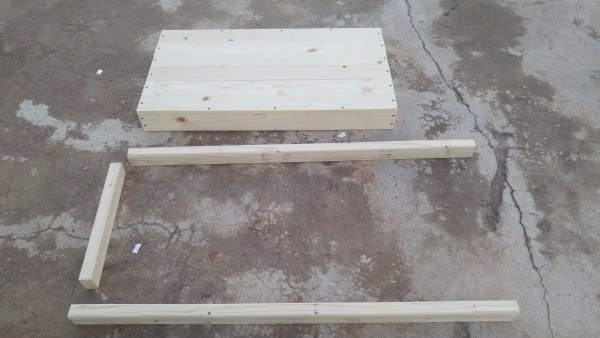
Screw them all onto the box with the 2 1/2 in screws (I counter sunk my screws). See how to countersink here.
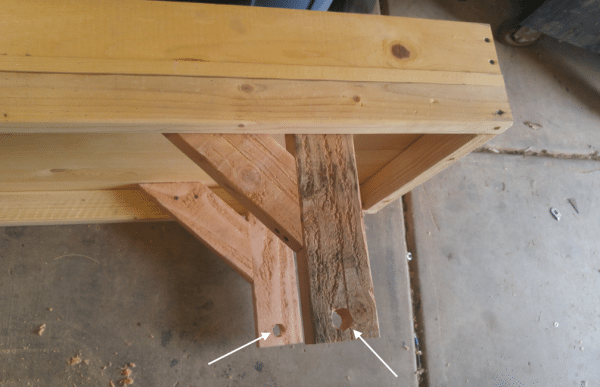
Now gather the 1ft 9 1/2in 2x3s (legs).
Screw them into the side of the handles with the 2 1/2in screws (I ended up using 4 screws for each leg to keep them sturdy).
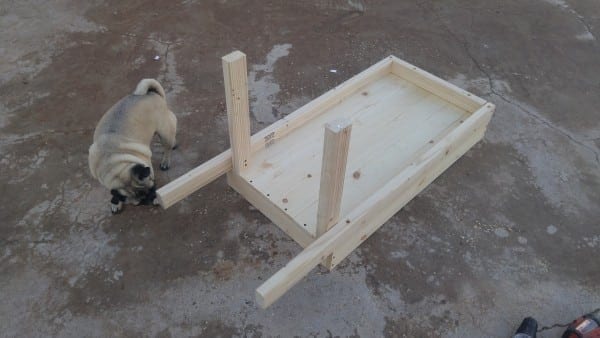
Then screw in the leg brace (a level helps).
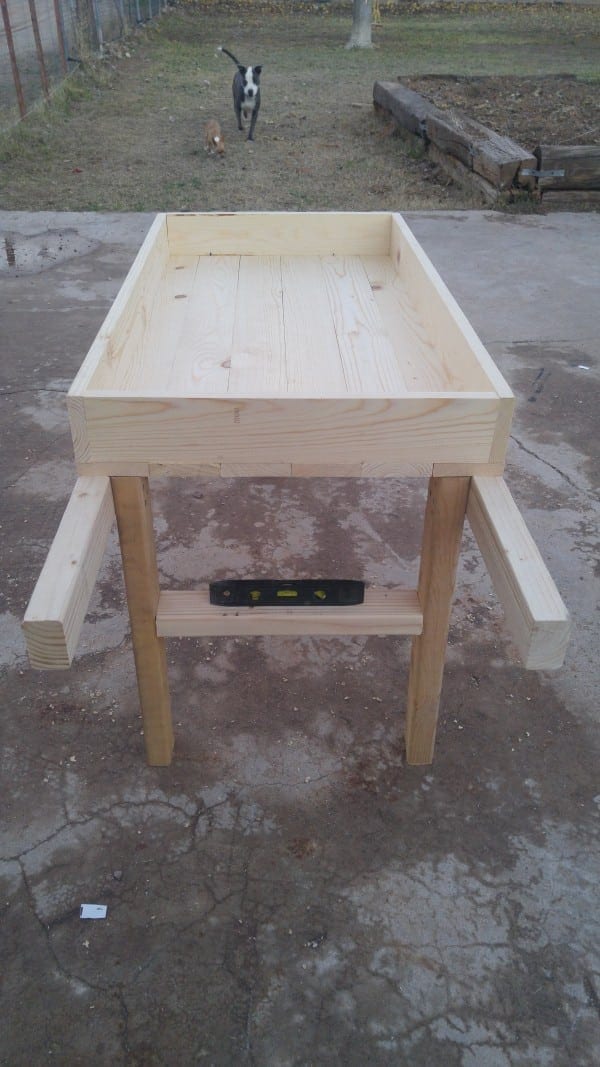
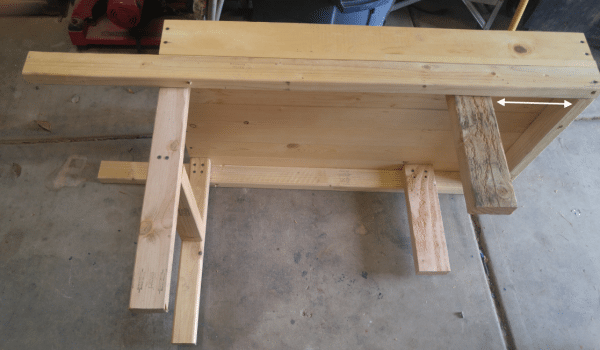
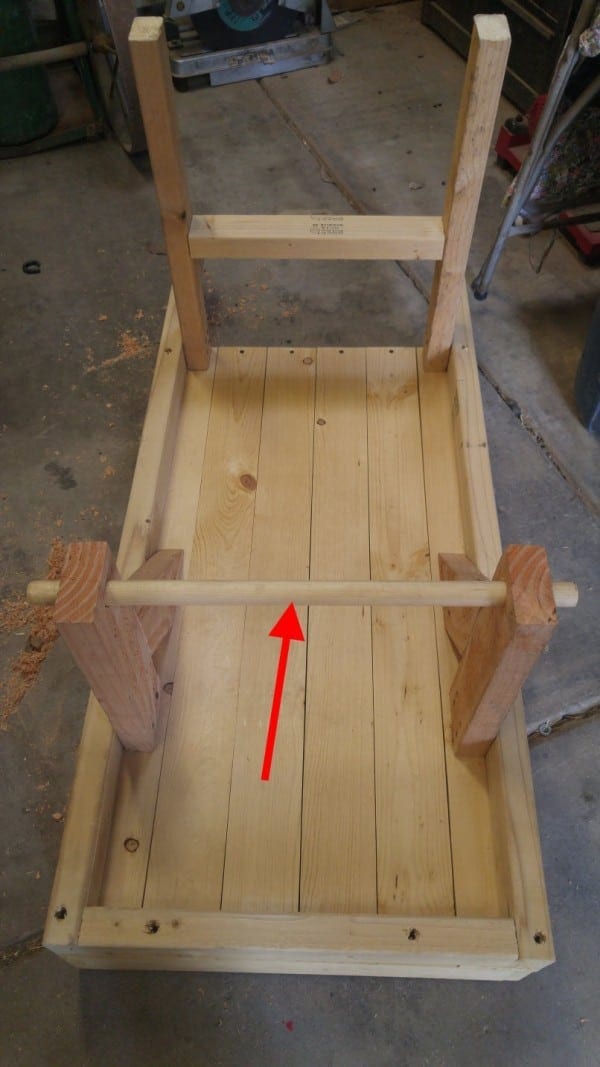
Screw on the two 1ft 11/2in long 2x4s (wheel braces) 8 inches back from the front frame.
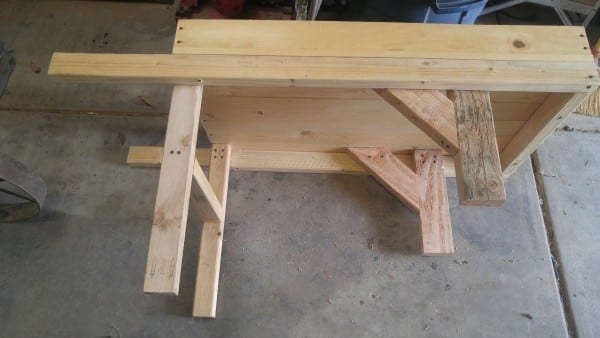
Bracing for the Legs
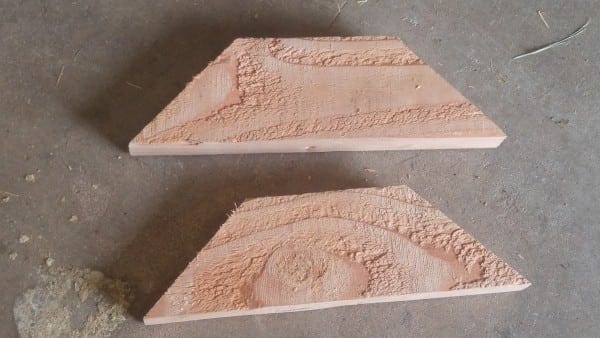
Cut a 45 degree angle on both ends of the two 1ft 2x4s.
Screw them on
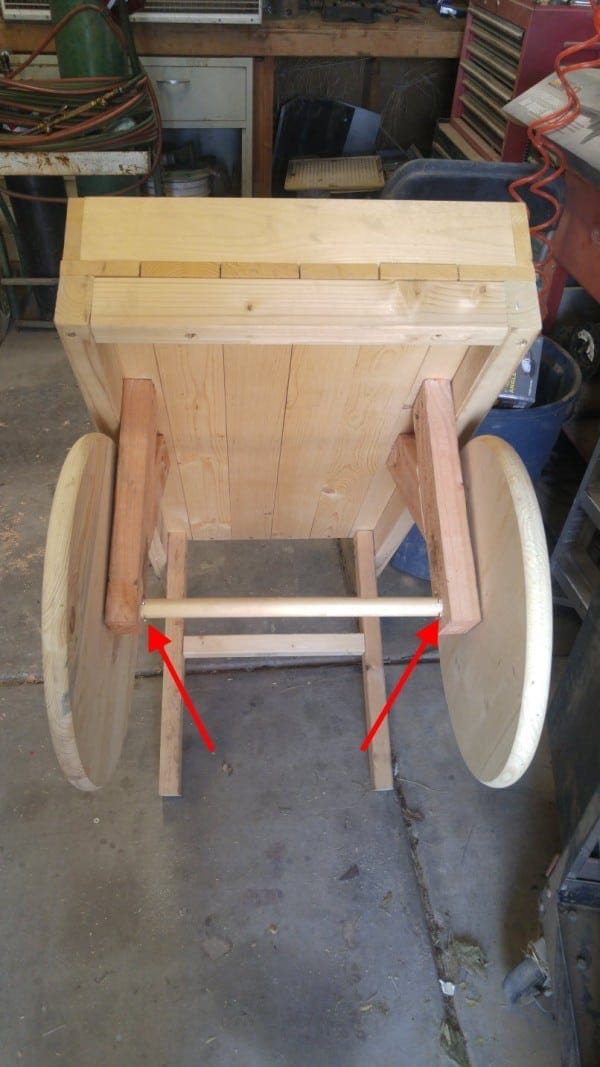
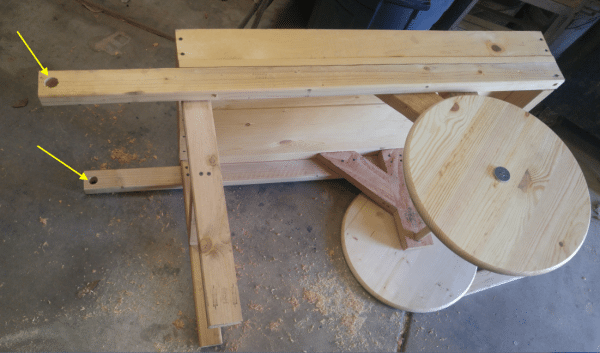
Drilling Holes for a Wheel Axle:
With the spade bit, drill a 1in diameter hole in each wheel brace.
Push the 1ft 9in long wooden dowel (wheel axle) through holes.
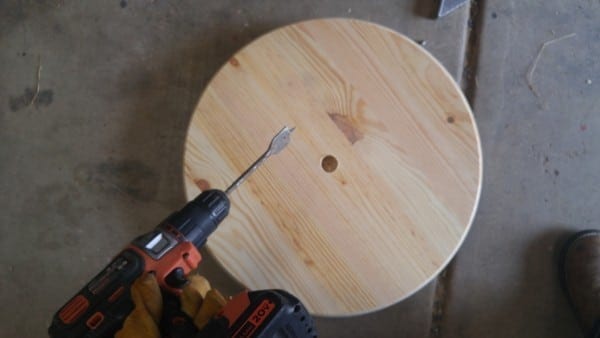
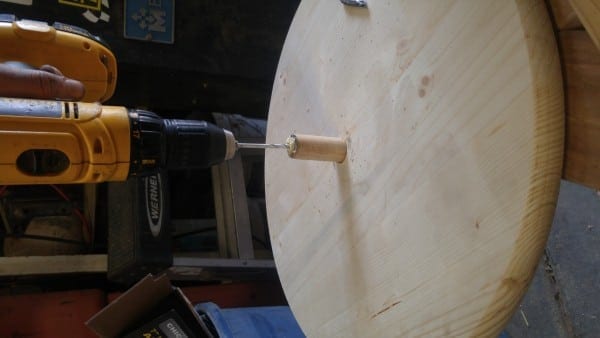
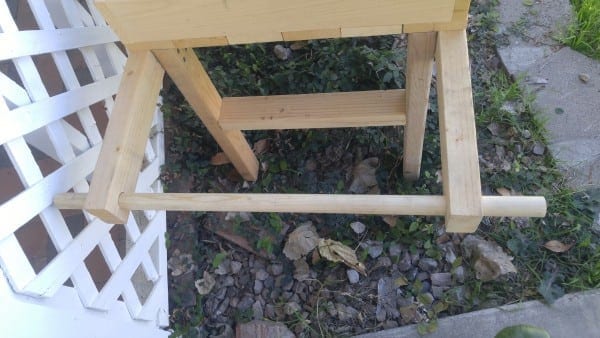
Making and Attaching the Wheels:
Gather your two wooden disks.
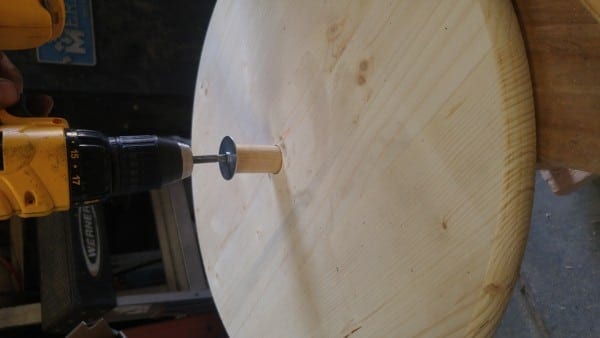
Find the center of both the wooden disks and drill a 1in diameter hole with the spade bit.
Push wheels onto the ends of the wooden dowel.
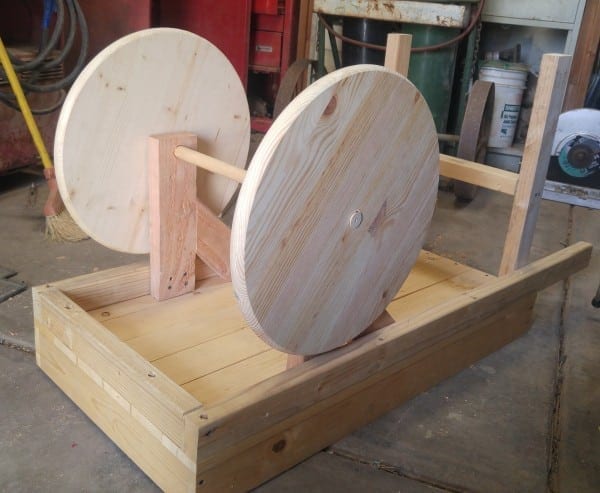
Drill a pilot hole into both ends of the wooden dowel
Screw on the washer with a 2 1/2 long wood screw. Do this on both ends of dowel
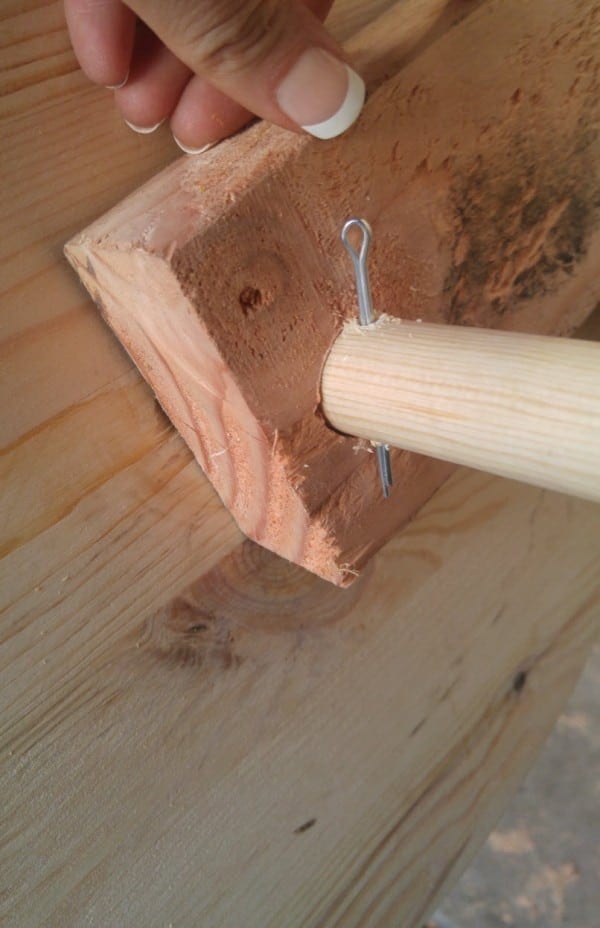
Lets add the cotter pins. Drill two small holes on both sides of the wheel axle, just inside of the wheel braces
Slide a cotter pin into each hole. (Don’t make the holes too large as you want the cotter pin to fit snugly)
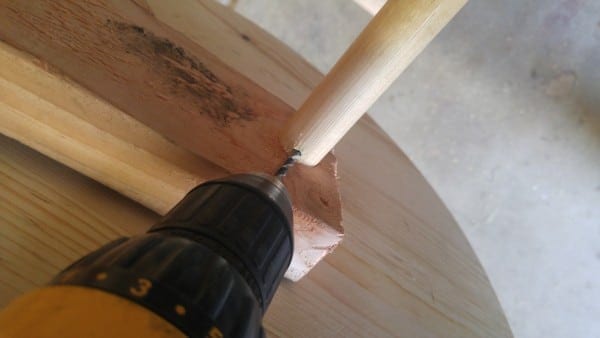
Making a Handle:
Drill a 1-in diameter hole in each end of the handles with the spade bit.
Slide in the handle dowel.
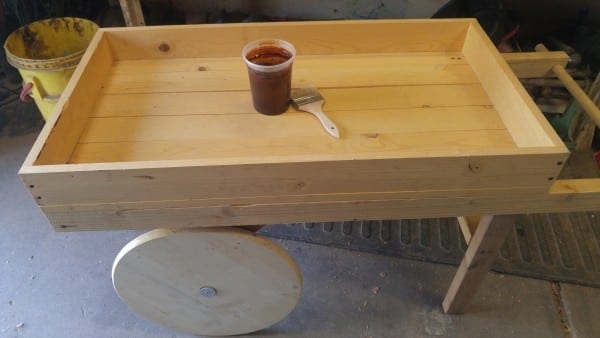
Done!
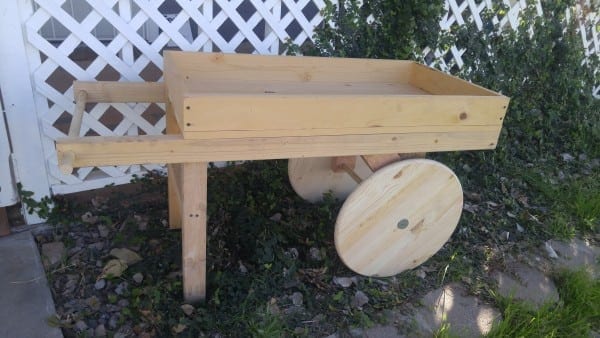
I slapped a coat of my cheap & easy old wood stain to add some age to the wood
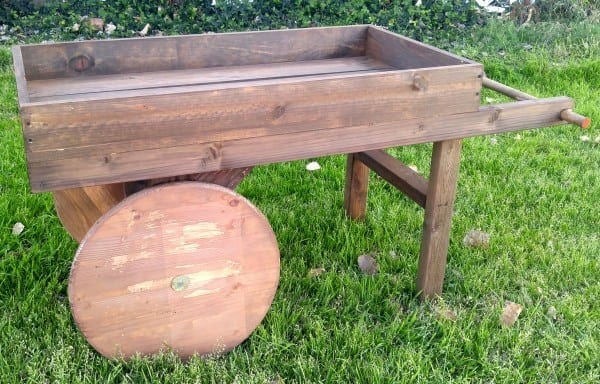
Time to put something in it!
DIY Wooden Peddlers Flower Cart
You can also find my DIY Wooden Peddlers Flower Cart at these party links:
http://mstoodygooshoes.blogspot.com/
http://www.sewcraftycrochet.com/2018/10/snickerdoodle-create-bake-make-252.html
http://confessionsofaplateaddict.blogspot.com/
https://eclecticredbarn.blogspot.com/2018/11/wonderful-wednesday-blog-hop_13.html#more
https://myuncommonsliceofsuburbia.com/must-try-cookie-recipes-at-inspire-me-monday-241/
http://celebrateanddecorate.com/celebrate-your-story-154/
https://www.findingsilverpennies.com/silver-pennies-sundays-link-party-289/
https://www.ishouldbemoppingthefloor.com/2018/11/thanksgiving-desserts-at-inspiration.html#more
http://mariaelenasdecor.blogspot.com/
http://flusterbuster.com/2018/11/great-ideas-306.html
https://mythriftstoreaddiction.blogspot.com/2018/11/vintage-charm-159-and-announcement.html
https://www.grandmashousediy.com/wednesday-link-party-113/
https://underatexassky.com/friday-favorites-linky-party-week-451
https://www.frenchcountrycottage.net/2018/11/feathered-nest-friday_15.html
https://www.thepaintedhinge.com/
http://mstoodygooshoes.blogspot.com/
https://howsweetthesound.typepad.com/
http://littlefarmstead.blogspot.com/2018/11/sundays-at-home-link-party_17.html
https://eclecticredbarn.blogspot.com/2018/11/happiness-is-homemade_17.html
angie
Love it and now I want one, my husband now has an early spring project to help me with thanks for sharing great idea
come see us at htp://shopannies.blogspot.com
Tee
Glad you like it! I have plenty of those ‘hunny do’s’ for my hubby as well!
Cecilia
I love how this turned out. Thanks for sharing at Vintage Charm!
Tee
Hi Cecilia! Thanks for letting me share it, and I appreciate your sweet comments! 🙂
henri UBEDA
everything easy but how didyou make the wheels ?
Tee
Hi Henri,
I bought the round wood wheels at Home Depot found HERE
mary
silly question……do the wheels turn and you can actually push it around if need be? Super cute design.
Tee
Hi Mary!
Yep, the wheels turn and I push it wherever it needs to go when I’m redecorating!