
DIY Halloween Primitive Ghosts-Video
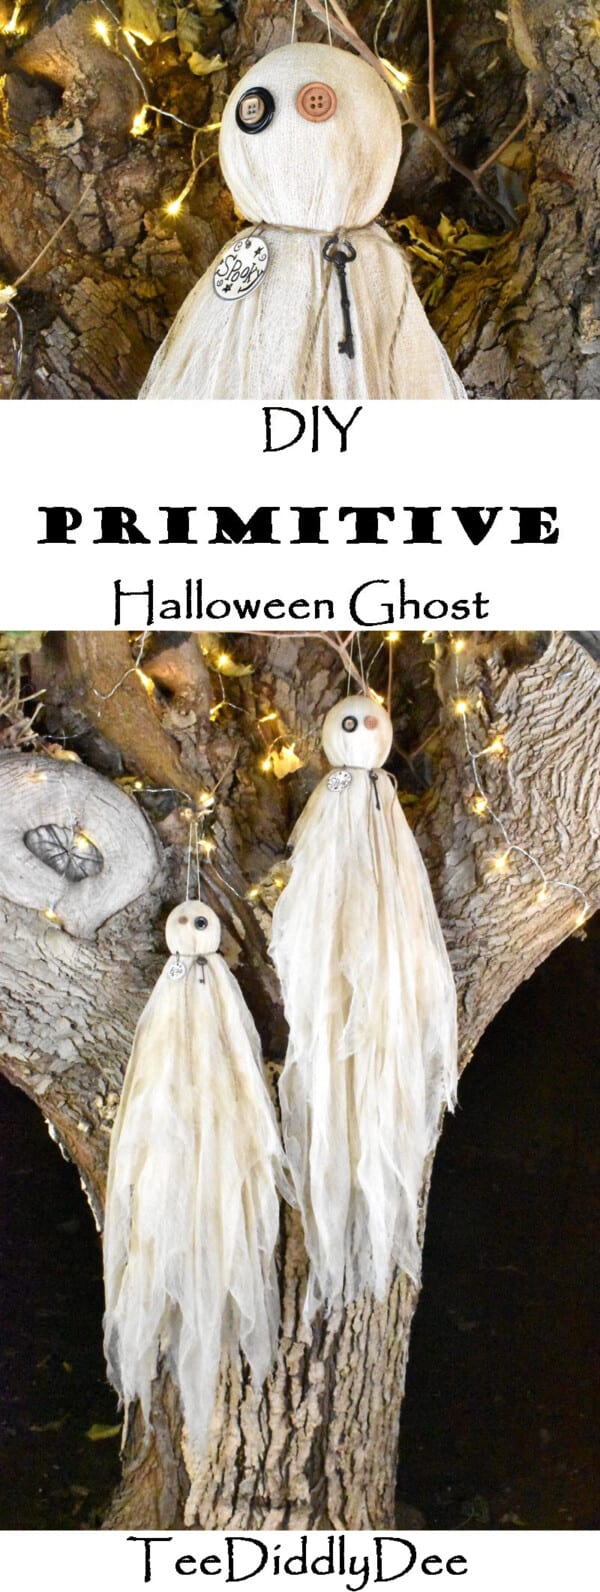
DIY Halloween Primitive Ghosts
Boo!!!! Aren’t these DIY Halloween Primitive Ghosts adorable? Their simple button eyes, and the many layers of wispy cheesecloth give them that primitive grunge look that goes great with your Halloween decor! Each ghost has his own vintage-style name tag and a “skeleton” key tied to their neck so they can come and go as they please! They look great hanging just about anywhere and are very easy to make! I put a couple outside so they can greet all the Trick-or-Treaters as they pass by.
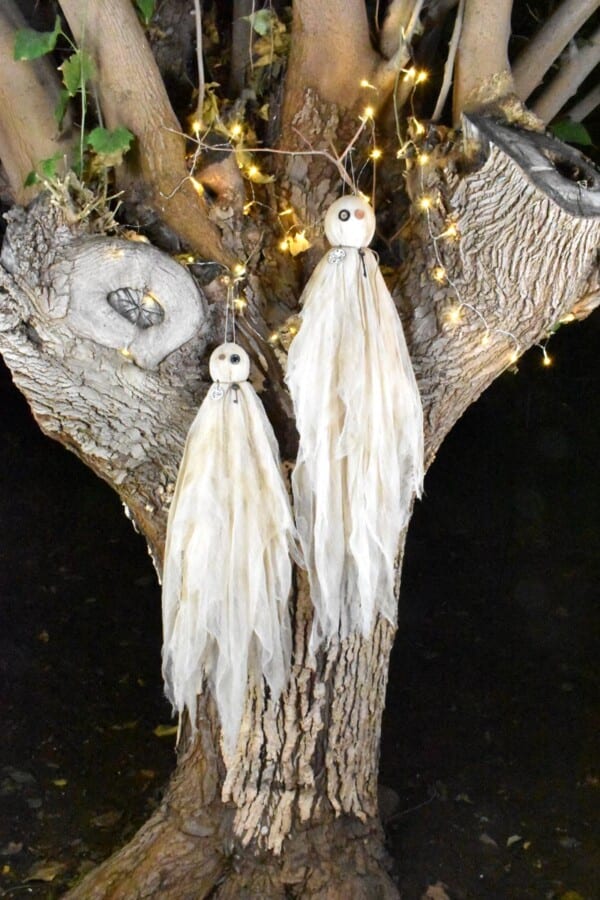
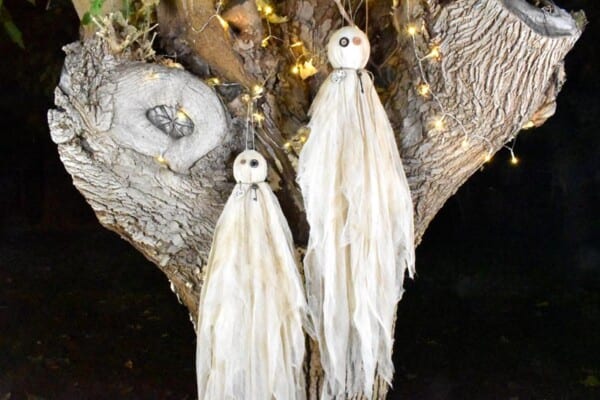
They look so spooky and festive with some sparkly lights behind them!

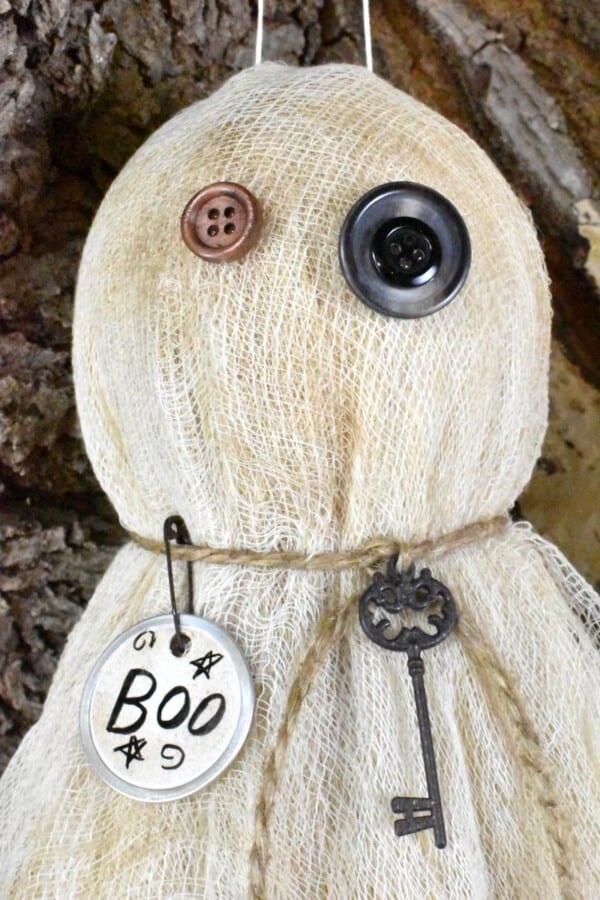
I just love their googly eyes!


These friendly ghosts are perfect for the little Trick or Treaters in your life!


I actually made several of them, I like them so much!


DIY Halloween Primitive Ghosts Tutorial
Supplies:
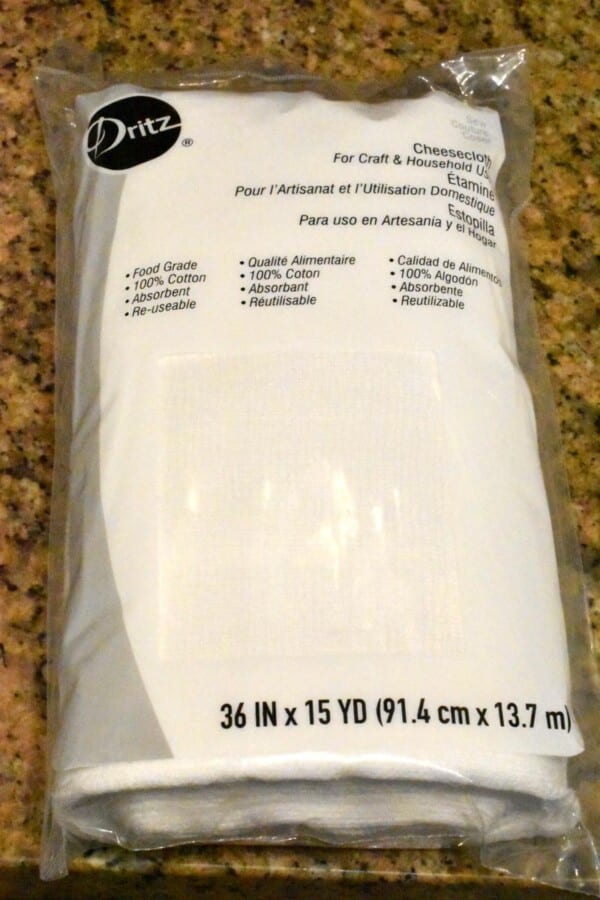
- Cheesecloth 13 inches wide (I used about 13 yards). I bought mine HERE, but I’ve also seen it at Walmart
- Iced-tea packets (I used Lipton Tea) This will be used for dying the cheesecloth.
- Styrofoam balls (The head). You only need one ball per ghost.
- Small decorative skeleton keys
- Metal-Rimmed round key tags (I used one a larger size for my big ghost, and a smaller size for my little ghost)
- Needle & Thread (Use a very strong, sturdy thread, such as upholstery thread or embroidery thread, as you’ll be hanging your ghost with it). I used embroidery thread for mine.
- Safety pins (19mm) You’ll need one for each ghost.
- Buttons (two different-sized ones for the eyes for each ghost)
- Jute string (make sure it’s thin, as it needs to be strung through the key)
- Distress Oxide ink pad (vintage photo color) & and an ink mini applicator tool (found at Jo-Ann’s or Michael’s) I used this to ‘age’ my key tags
- Black marker with a fine-point tip (I bought mine HERE ,but you can get one at any craft store).
- Spray paint (black and rusty-brown) for painting the keys and safety pins.
- Large metal pot (to dye your cheesecloth in)
Tools:
- Scissors
- Heat Gun
- Hot Glue Gun & Glue Sticks
Photos of supplies:
1. Cheesecloth
2. Tea Bags

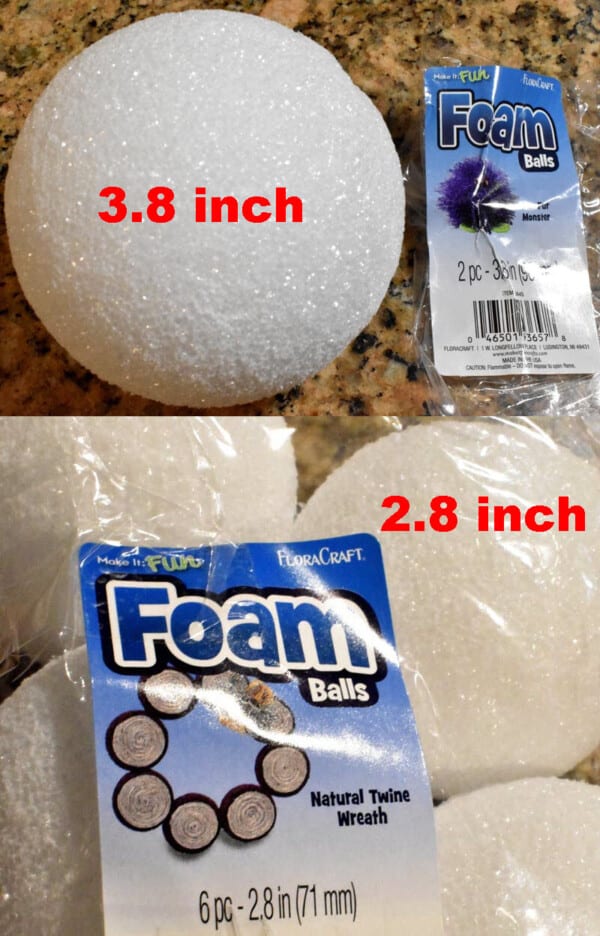
3. Styrofoam Balls
- Large Ghost – 3.8 inches
- Small Ghost – 2.8 inches
4. Vintage-Style, Skeleton Keys
- 2.5 inches (Large Ghost)
- 2 inches (Small Ghost)

5. Key Tags
- 1.2 inches (Small Ghost)
- 1.5 inches (Large Ghost)

6. Upholstery Thread or Embroidery Thread to hang ghost and a long needle with a very large eye (to fit your thread through). Shown below is upholstery thread, although I used embroidery thread (not shown) for mine, which works well too.

7. Safety Pin (19mm)

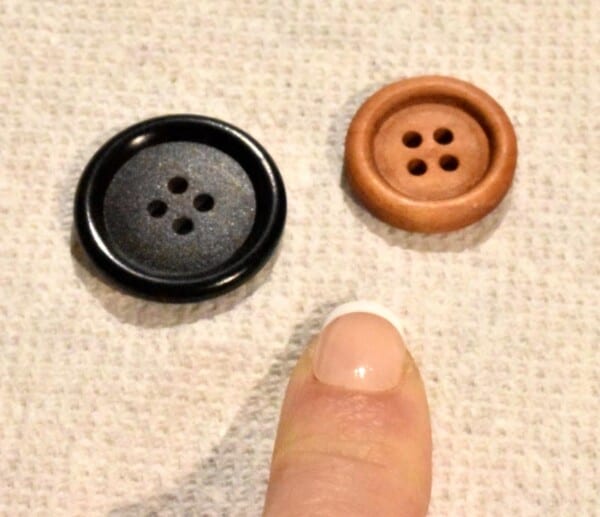
8. Buttons – Various sizes
9. Jute Twine (Be sure to get a small diameter twine. It needs to be small enough to thread through a large eye needle and fit through the small hole in the key).

10. Ink and stampers to age Key Tags

11. Fine point Black Marker or Pen

12. Black, and Rust Colored Paint – I had all three on hand so I used them but really only needed a black and a rusty brown.

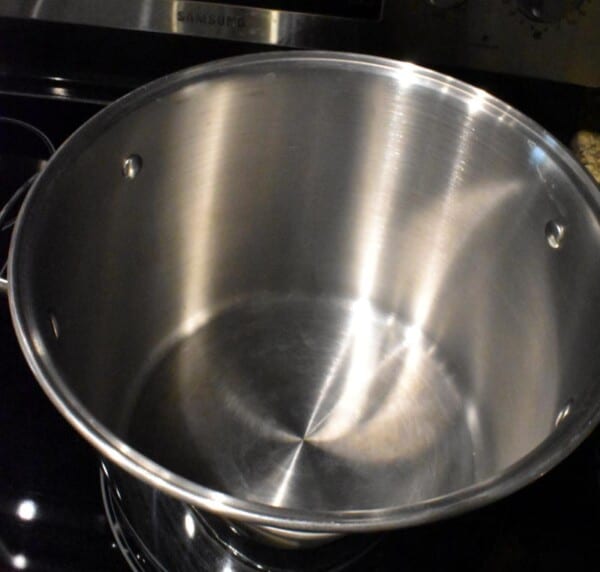
13. Large Pot to dye fabric in
Photos of Tools:
1. Scissors

2. Heat Gun

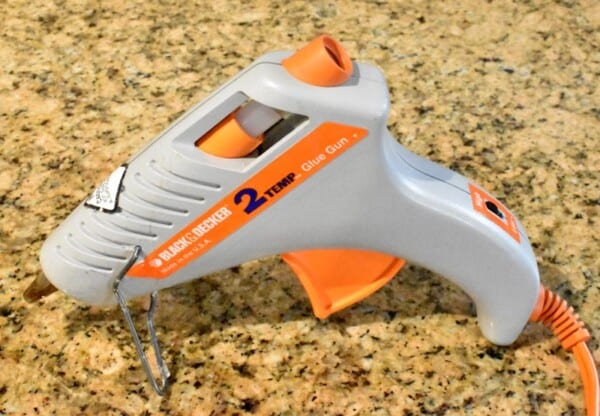
3. Hot Glue Gun and Glue Sticks
DIY Halloween Primitive Ghost Instructions
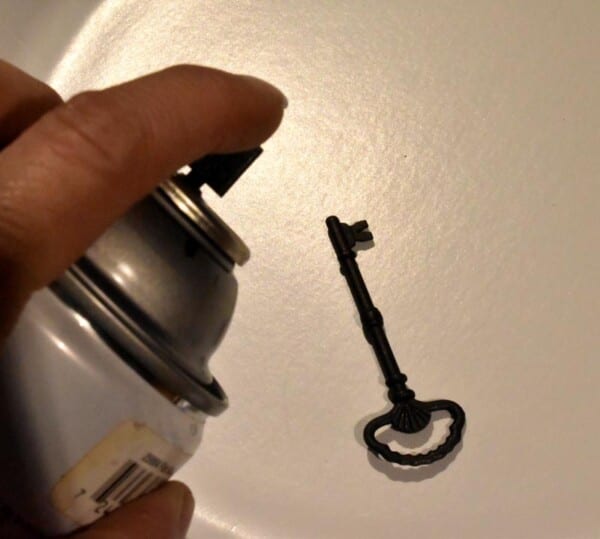
Painting your Key and Safely Pin:
First, paint your key and pin black with the spray paint. Let dry. Spray lightly (spritz from up high) the rust or brown paint so it looks a bit rusty. Let dry. Repeat on the back of each. Set aside.

Dying the Cheesecloth:
First, put 4 bags of tea in a pan with 8 Cups of hot water. Let the tea steep until it turns the water dark.

Add the package of cheesecloth to the tea. Let sit for only a minute or so until it changes color a little.
Note: Do not leave it in the color to sit very long as it will dye too dark!

Rinse the fabric. It will be much lighter.

Dry your fabric. We hung ours outside and it dried very fast.

Your fabric should look like this now.

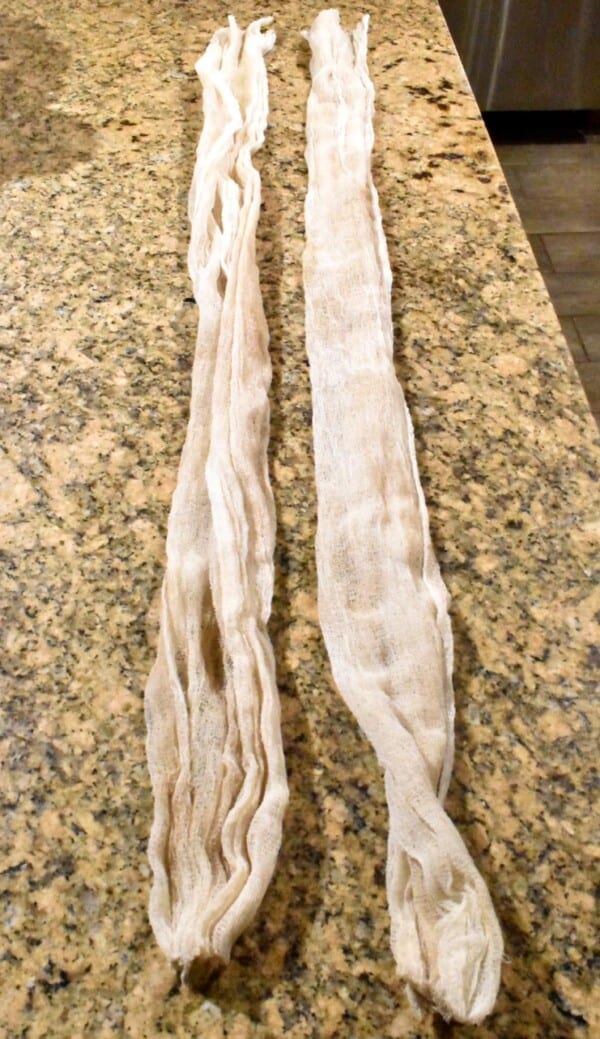
Burning your fabric:
I know this sounds weird, but we carefully went over the top of the cheesecloth with our heat gun and burned it lightly to get the grunge look.

I burned most of it to look like the right side (shown below), as all of the underlying layers of the ghost will be the lighter color. The last couple of pieces layered onto the ghost will be the darkest color, like the left side (shown below).

Cutting the fabric:
First, I cut the sewn edges so the fabric would look more wispy later.

Next, I cut the fabric into strips. I kept each pair of cuts separated so I could apply the longest strips first, then then the next longest, etc., applying the shortest strips last.
Large ghost:
36 inches, cut 2
35 inches, cut 2
34 inches, cut 2
33 inches, cut 2
32 inches, cut 2
Small ghost:
26 inches, cut 2
25 inches, cut 2
24 inches, cut 2
23 inches, cut 2
22 inches, cut 2
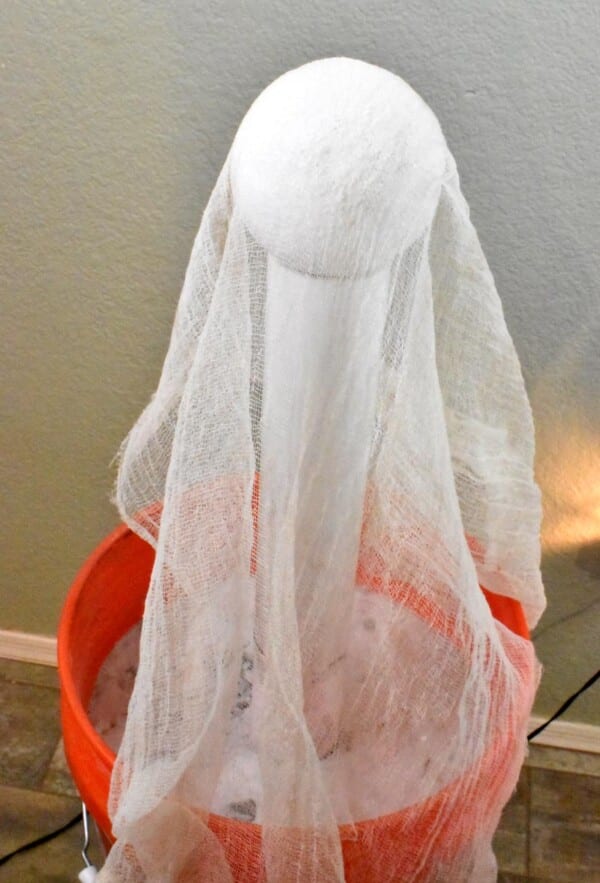
Draping the Fabric onto the Styrofoam Ball:
First, find something to set your Styrofoam ball on (to keep it from rolling) and tall enough to allow the fabric to hang down when you drape it. We used one of our prop holders but you could use a narrow plastic cup and set it on top of an over-turned bucket. You may have to tape the cup down temporarily to hold it steady.

Next, you are going to drape one corner over the front of the Styrofoam ball as shown below.

Be sure to drape the corner of the fabric so it hangs down well below the Styrofoam ball.

Straighten out the fabric so it isn’t folded under in any places.
Now, take another corner and place it on the back side of the Styrofoam ball and let it drape well over the head. Straighten it out.

Next, repeat with the next strip and cover each side. Make sure you straighten out the folds before you lay the next piece over it.

Repeat.

Now, place the next pieces diagonally over the ball to make sure the bottom edges are evenly distributed around the bucket. Repeat until the fabric is layered neatly and evenly around the ball. The last two pieces should be the darkest pieces, which will give the ghost a grungy look.

Forming the head and adding key:
First, cut off 24 inches of twine and tie it around neck making half a knot.
Now, string one side of the twine through the hole of the key and tie a full knot. Trim twine as needed.


Adding the Eyes:
Pick 2 different sizes of buttons and hot glue them in place. I used a different color for each eye.
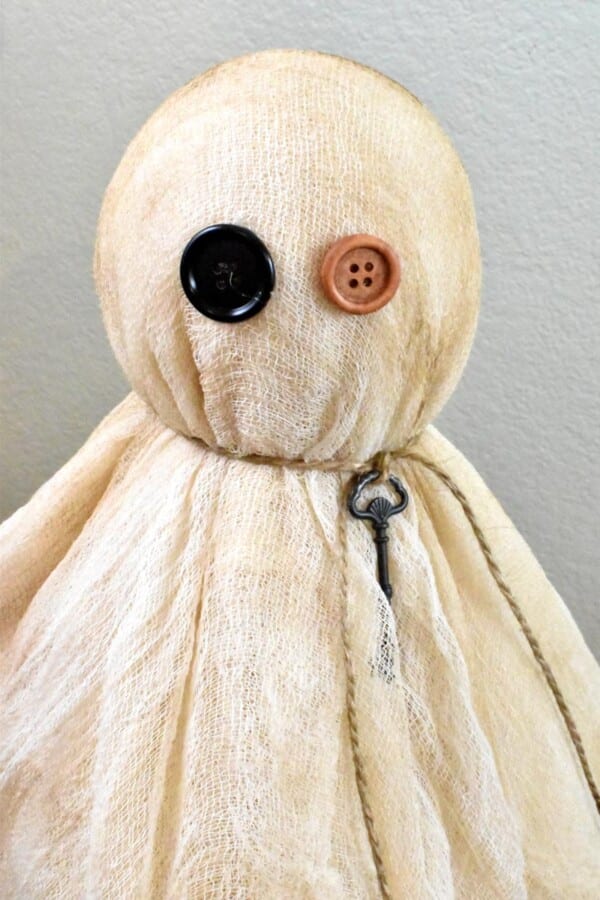
I later added a smaller button to each large eye just to add a little more interest. You can do the same if you like but it looks good both ways.
Making the name tag:
First, making sure you have a pad on your stamper, rub the pad on the Distress Oxide ink pad to load with color. Now, lightly press around the sides of the key tag, leaving the middle without color or with very little color.
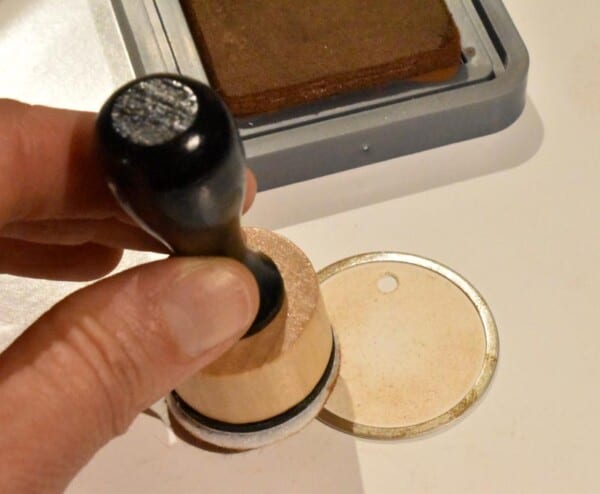
It should look like this when you are finished.

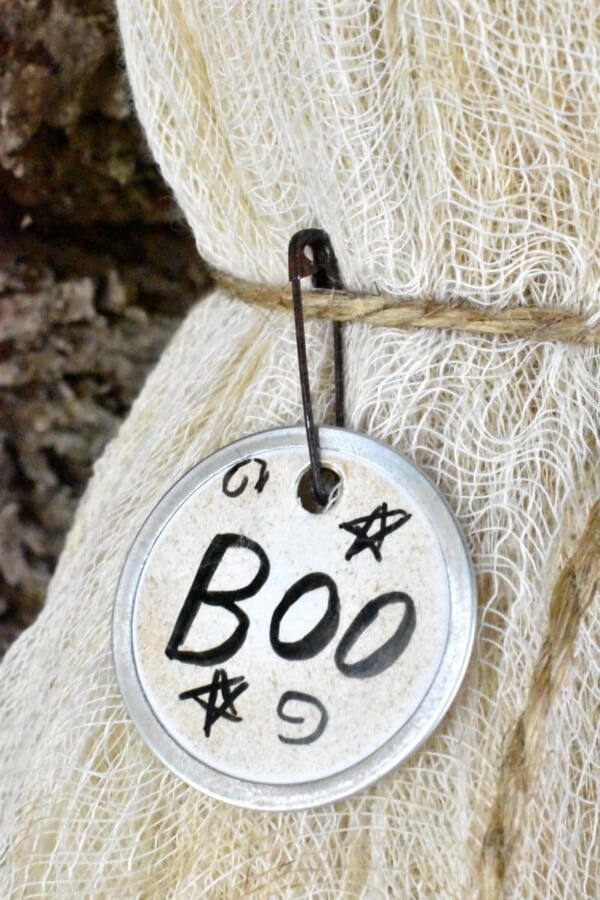
Next, using the fine tipped marker, carefully write the name of your ghost on the marker.
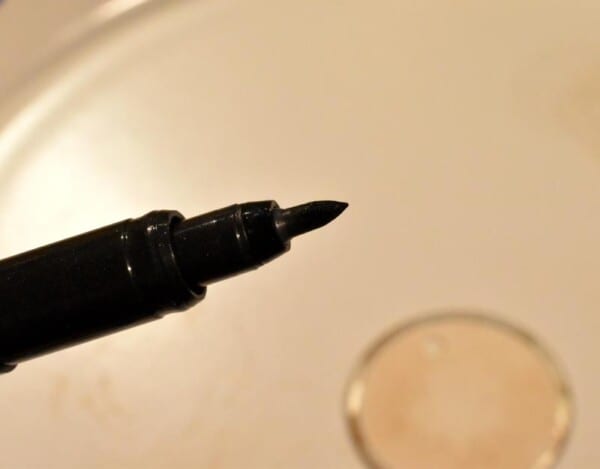
I wasn’t very accurate with it, but it looks fine when you are finished. You can add some swirls and stars if you like.

Last, pin it onto the twine.
Adding a hanger:
To add a hanger to your ghost, threat your needle and insert it through the very top most portion of the Styrofoam head and out the other end. Tie a knot with the 2 ends and trim the ends.

You are now ready to hang your cute ghost. Isn’t he cute?

Happy Halloween!!!

Tee
It is 13 inches wide. I have a picture of the package in the supplies at the beginning of this tutorial that you can see the measurements. Thanks for asking! 🙂