

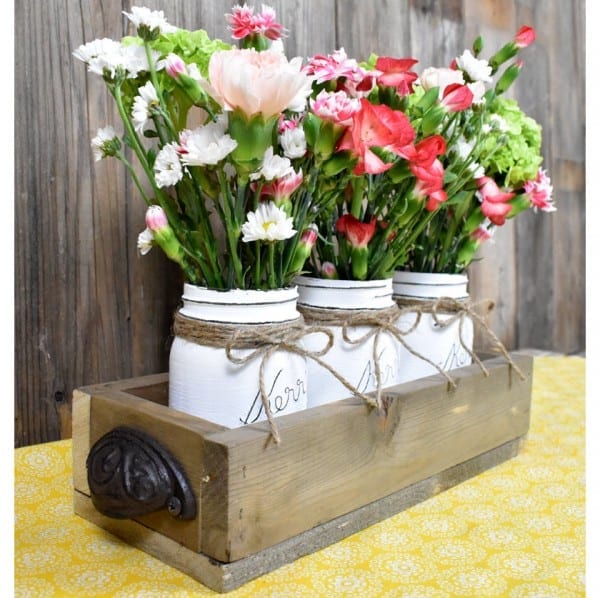
DIY Rustic Planter Box & Mason Jars
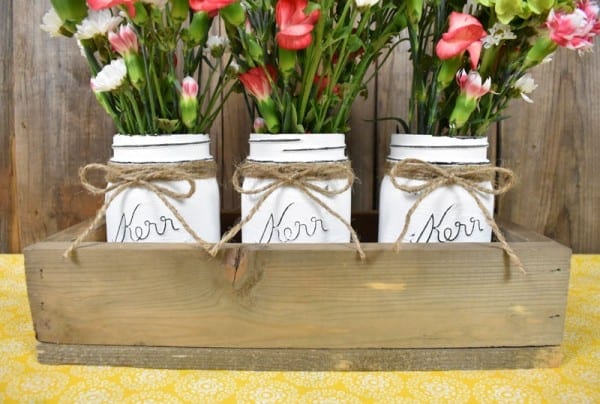
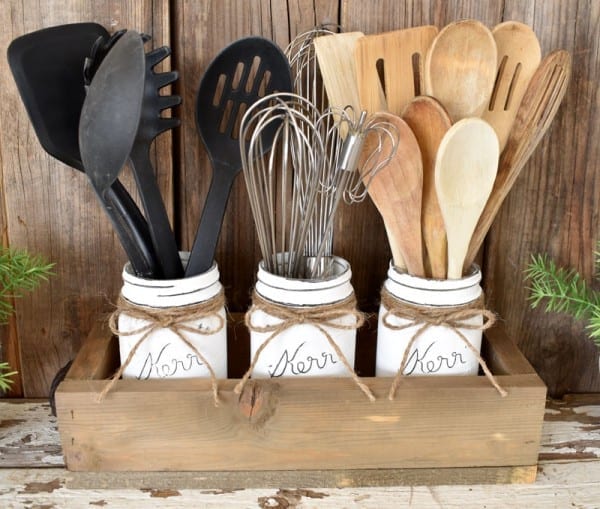
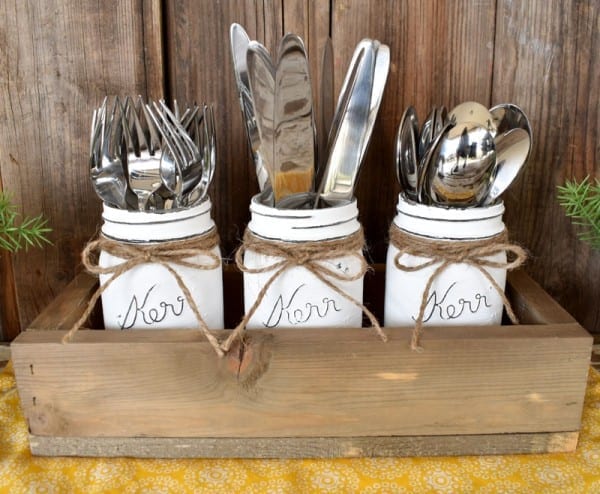
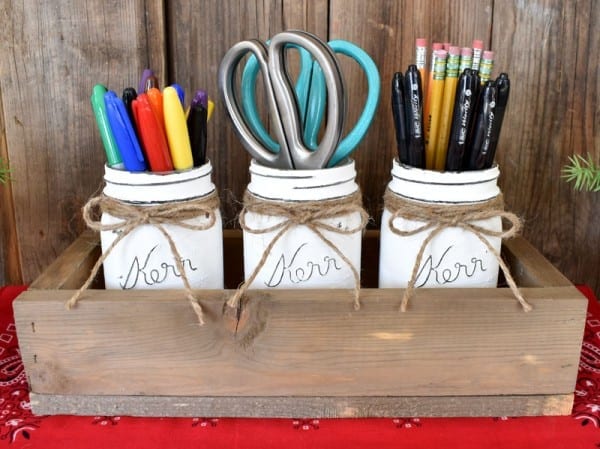
These rustic Planter Boxes filled with painted mason jars are so stylish and versatile! How many times do we make things that can only be used for one thing? This is why I LOVE this little piece of décor! You can use them in so many different ways, such as a flower bouquet centerpiece on a table, or as holders for silverware, office supplies, cooking utensils, and anything else…the sky is the limit!
I am excited to be able to use this fabulous little box of cuteness not only for my holiday décor to put my silverware in, but also for year round flowers or greenery that can be changed out as the seasons come and go. Now, I don’t have to put this away and store it after the holidays because I have 100 other ideas I can use it for in-between holidays as well. I hope you love it as much as I do!
DIY Rustic Planter Box & Mason Jars
Tools:
- Nail gun with 1 1/4in nails (you can also use wood screws but you’ll need to drill pilot holes before drilling in the screw to prevent splitting the wood)
- Chop saw
- Black or rusty-colored paint (I touched up the silver screws that were used to mount the handles)
Supplies:
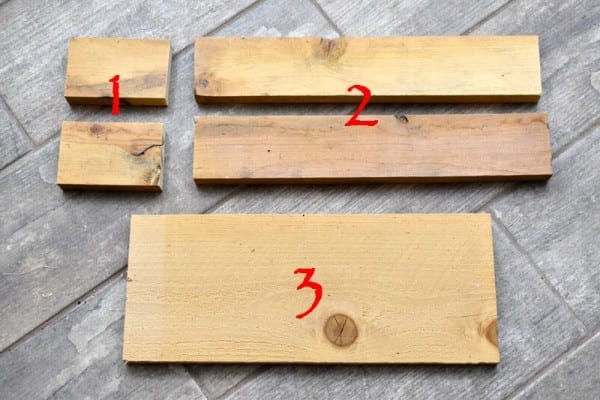
- Two 1x3s at 3 7/8in long (I basically cut my boards to 4inches, then shaved off just a tiny bit more)
- Two 1x3s at 13 1/4in long
- One 1×6 at 13 1/4in
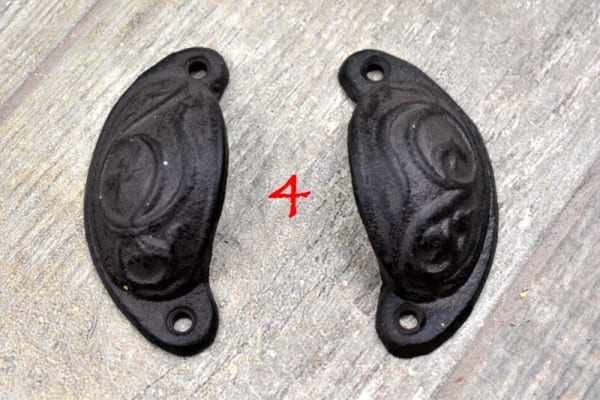
- Two rustic handles (mine are cast iron, bought at Hobby Lobby HERE)
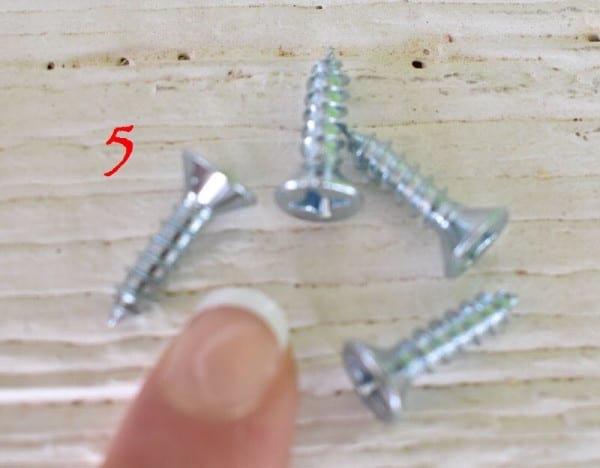
- 3/4in screws to mount on handles
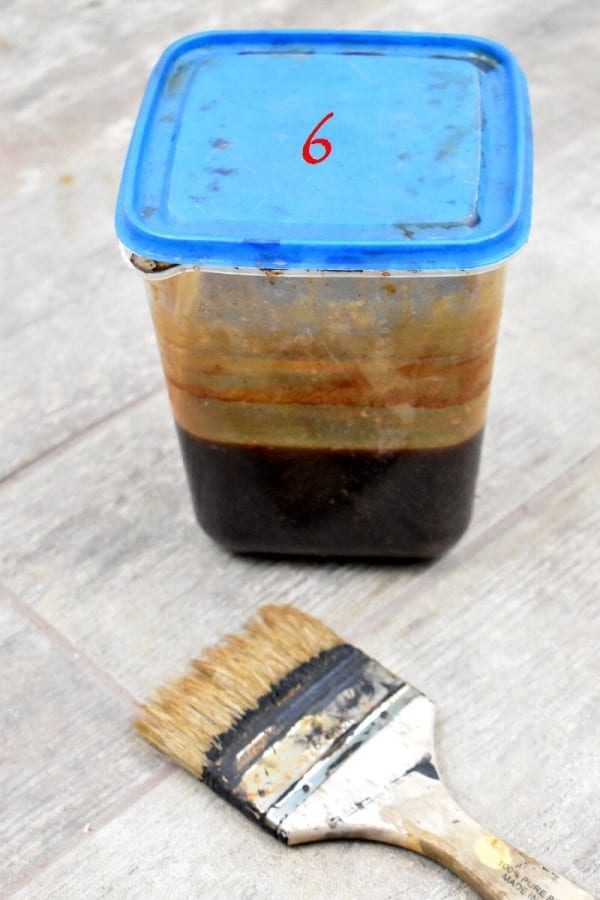
- Old wood stain & paintbrush (if you use new wood & need to make it look old). I used my homemade DIY Weathered Wood Stain.
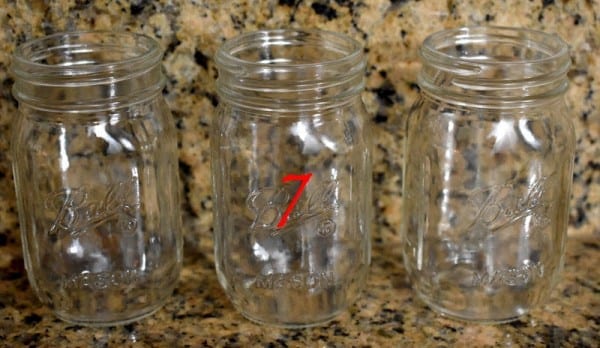
- Three mason jars (you can use either the quart or pint size)
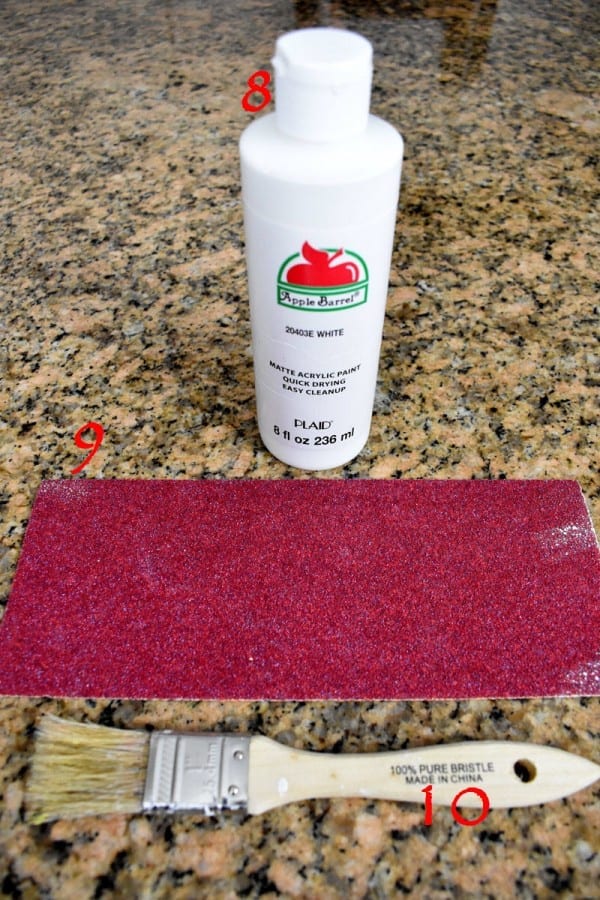
- White matte acrylic paint or chalk paint. I would also recommend sealing them with a spray matt sealer if they are going to be in any contact with water.
- Sandpaper (I use 60 grit)
- Paintbrush
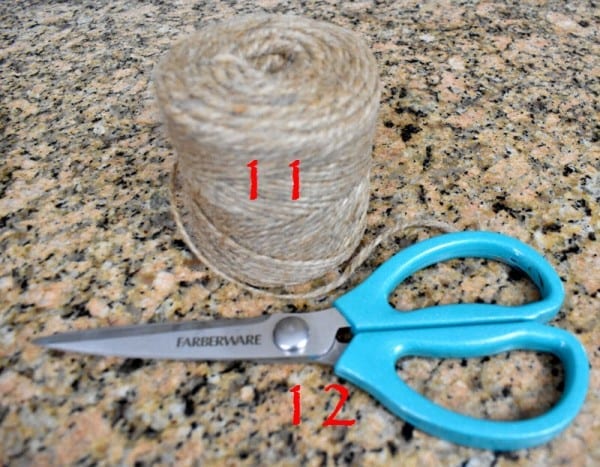
- Jute string
- Scissors
Build the box:
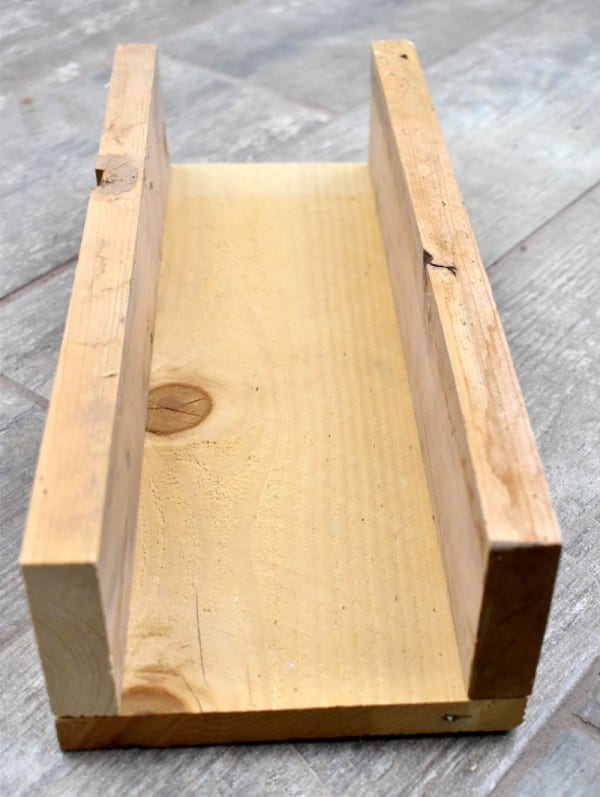
Start with the 1×6…

Nail together the 1×6 and both of the longer 1x3s as shown below.
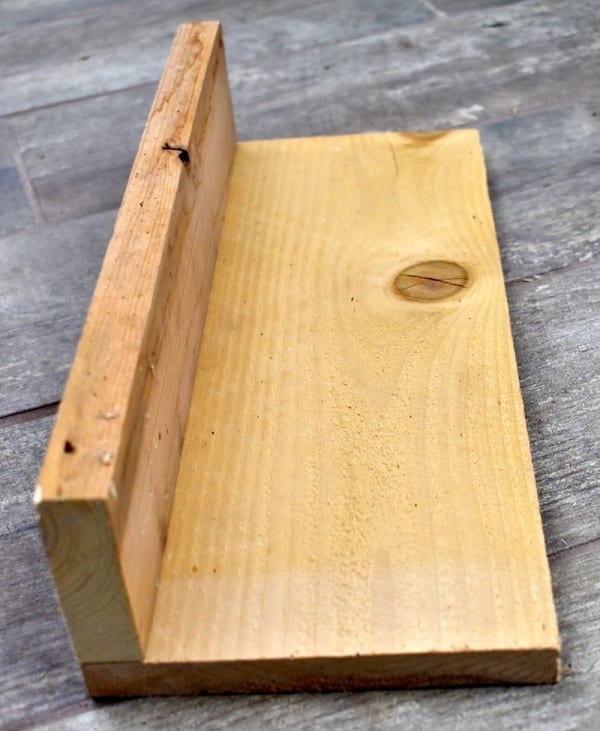
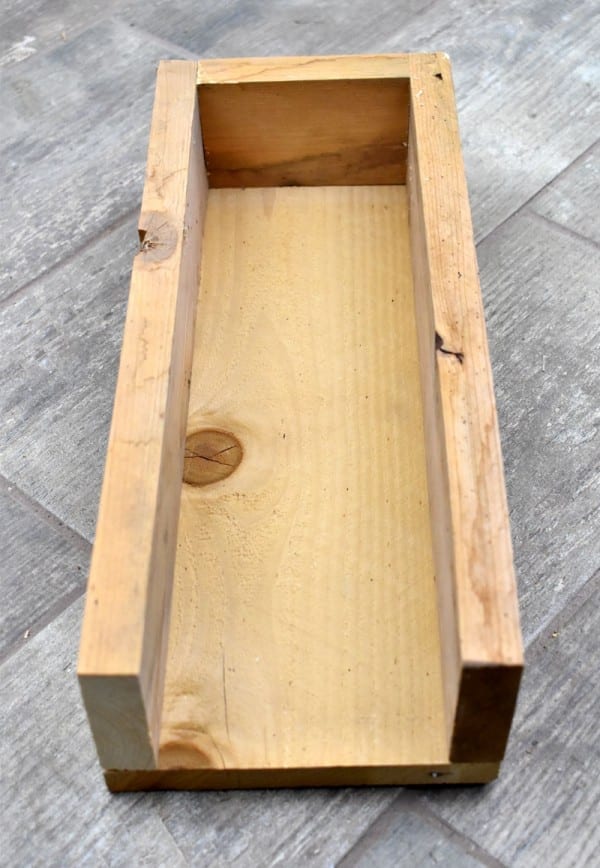
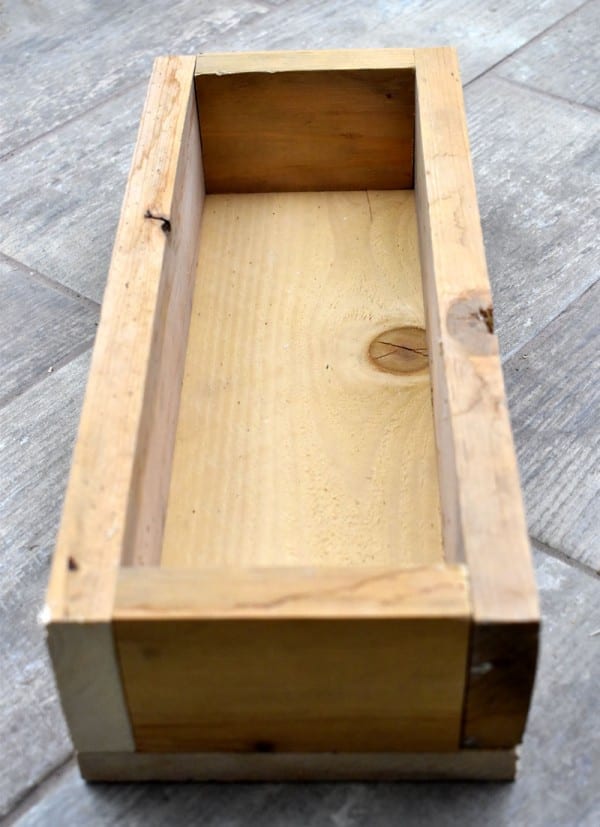
Then, nail on the two shorter 1x3s.
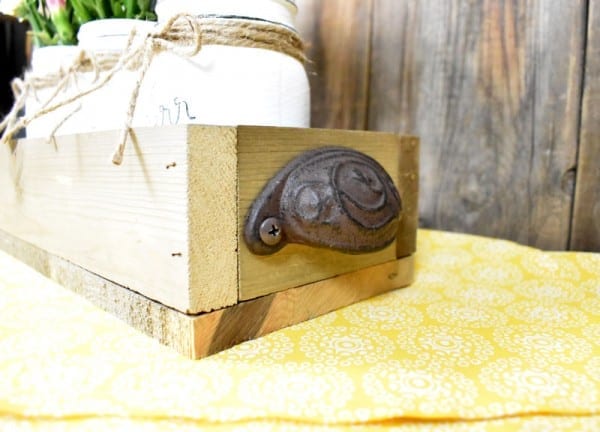
How easy was that? Now you are ready to stain or paint your box. I used my home made stain (See above for recipe link in directions) to give it an old, weathered look. You could dry brush a color of your choice as well and it would look just as great! If you would like it sealed, you could spray on a matt sealer here. I didn’t on this one. Next, screw on the handles. You can use a little black or rusty-colored paint to touch up the silver screws used to mount the handles.
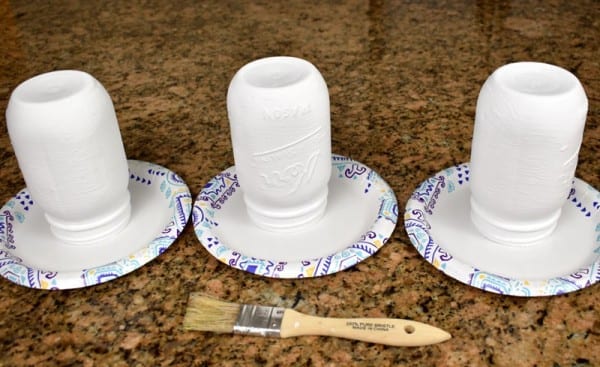
Prepare the Mason Jars:
Paint the jars by flipping them upside-down first (If you use disposable plates to paint them on like I did, it makes clean up easy peasy). I added 3 coats of paint for an even-looking coverage, making sure the paint dried completely between coats.
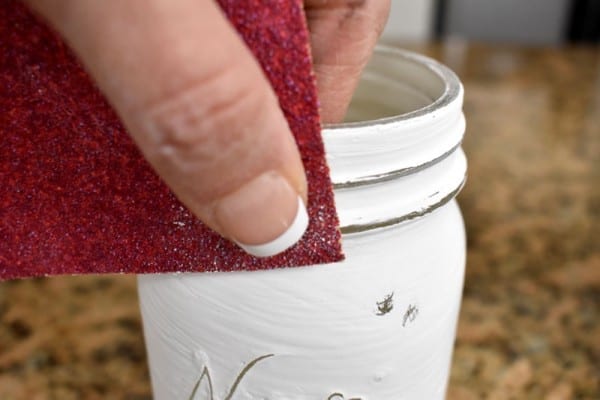
Sand off some of the paint here and there to give a worn look, especially on any raised areas on the glass such as the letters on the jar, and the neck of the jar where the lid would screw onto. I also sanded a few small flat areas here and there, but didn’t overdue it. Be sure to spray some sealer on them if they are going to be in contact with any water.
Wrap some jute string around the neck of the jar and tie it off with a bow.
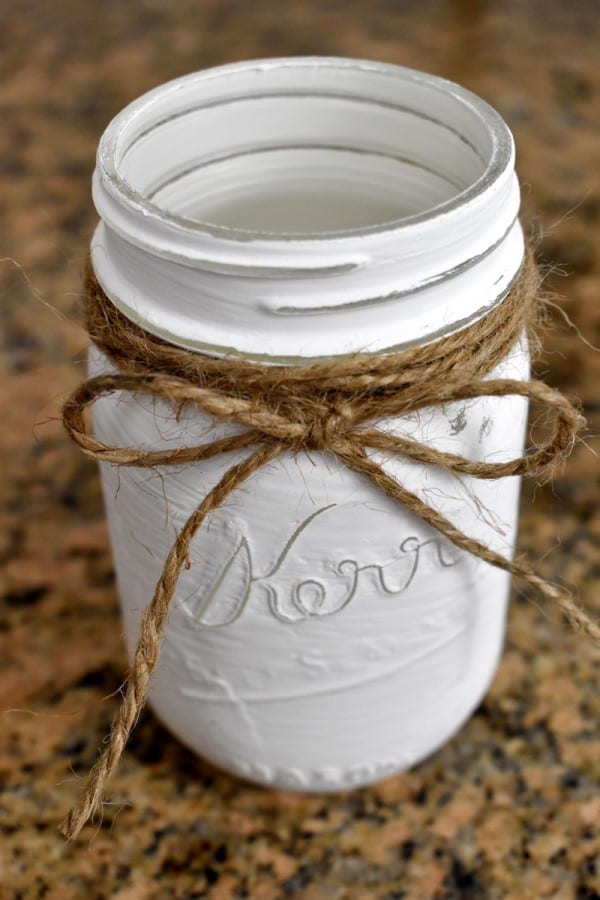
Now you are ready to put something inside the jars and you’re done. Beautiful!
Surekha Galagoda
Wow beautiful.
Tee
Thank you!
Simona
Lovely! Easy to make and very practical.
Tee
Thank you! I’ve been wanting to make one for a long time and finally finished it so I can use it for Easter! Thanks for your sweet comments!
Karren Haller
Oh my goodness, you have inspired me to make these, I have just the need for these, my son gave me a new set of very nice wooden spoons that need a new home!! Thank you for sharing on Oh My Heartsie Girl linkup, I appreciate your talent. Hope you will become a regular to share your ideas!! #omhgff
Tee
Thank you! You will love them because they are so versatile! I’m so glad you visited today!
Kippi
Pretty and functional project. I have been thinking about painting some jars, but can they be washed? Happy St. Pat’s Day, Kippi #kippiathome
Tee
Thank you Kippi! I would not recommend washing them. When using real flowers, I would place a more narrow jar or container inside that would hold the water.
angie
love it and how it would work in so many rooms. Thanks for sharing all I have to do now is get my little wood working man to make me one
come see us at http://shopannies.blogspot.com
Cecilia
Love this! Thanks for sharing at Vintage Charm!
Beverly
Tiffany,
These are so lovely. I need to make some for me.
Just wanted to let you know you are being featured on Over The Moon Linky Party this week. https://eclecticredbarn.blogspot.com/2019/03/over-moon-linky-party_10.html
Hugs,
Bev
Tee
Thank you so much Beverly! You just made my day! <3
dolores a urato
OMG !!!!!! i looooooove your blog Tiffany…….i just found you…………….what a treasure !!!!!!..looking forward to trying my hand at he ” gems”……..have a wonderful day and Blessings……… dee pls sign me up for emails………thank you………[email protected]
Tee
Thank you so much for you sweet comments! I have signed you up, Dolores, so you are now a member!
Kim @Serving Up Southern
Hi Tiffany!
These are so cute! I love the white contrast against the wood. These would be cute in so many places throughout the home. Thanks for sharing at Homestyle Gathering!
>>> Kim
Tee
Thank you Kim!
Julie Briones
Love the handles you used on this, Tee! I made something similar to put in my bathroom, but your handles are so much prettier! Thanks for sharing on Homestyle Gathering!
Tee
Thank you Julie! I appreciate your sweet comments!