

DIY Gumball Machine Snow Globe
DIY Gumball Machine Snow Globe
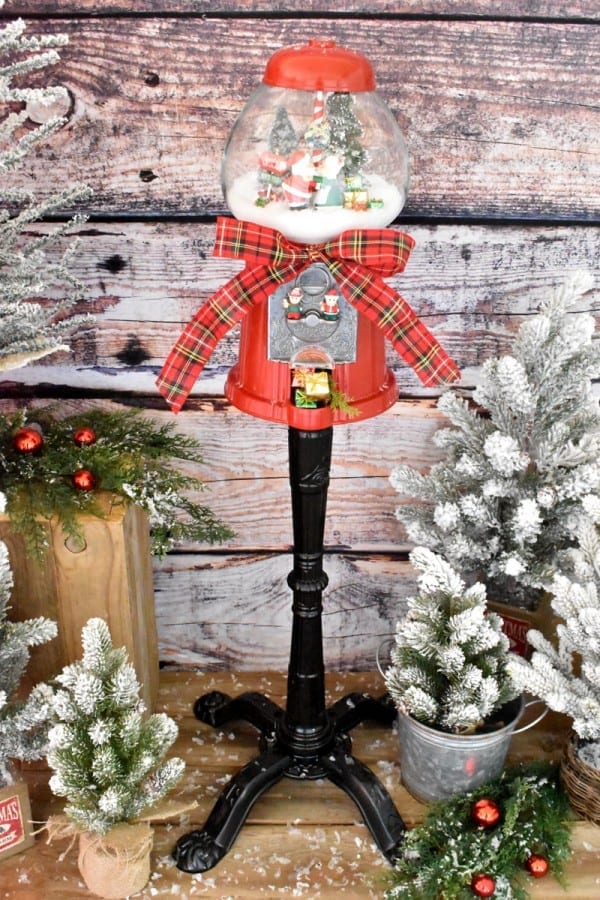
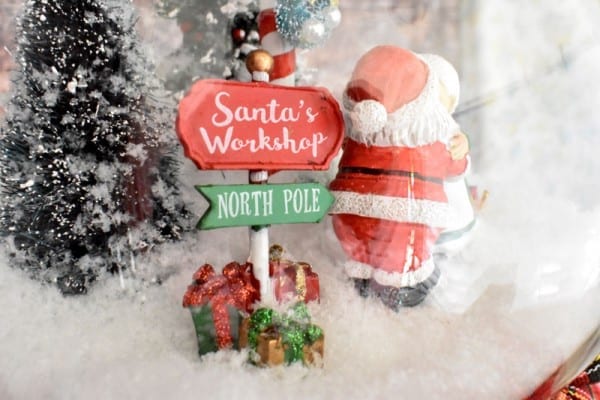
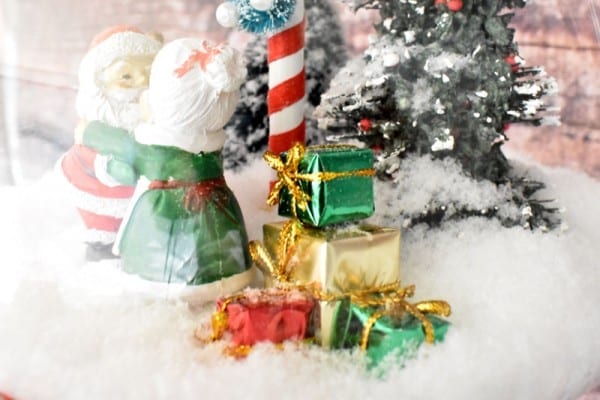
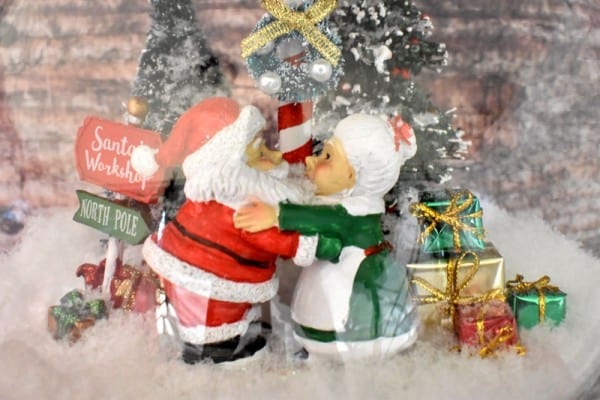
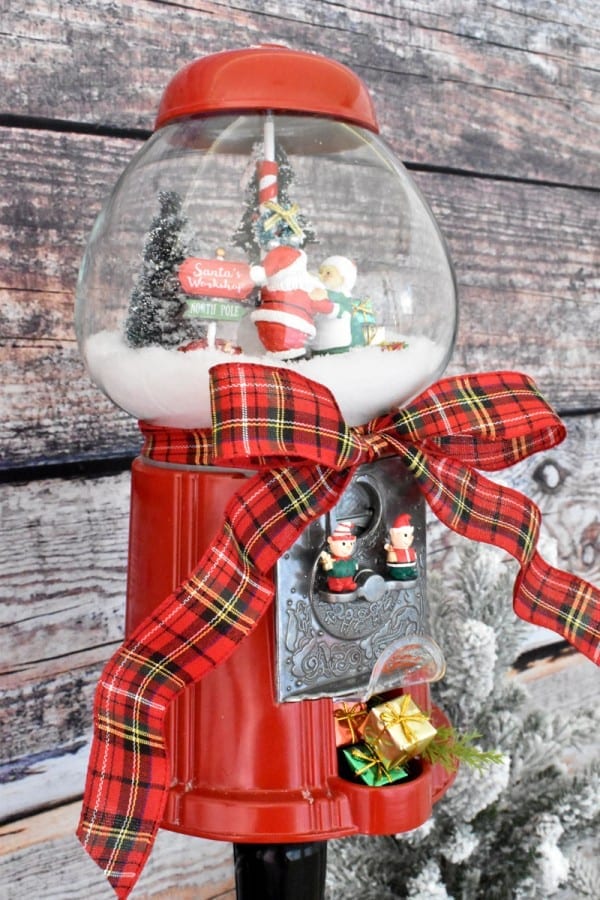
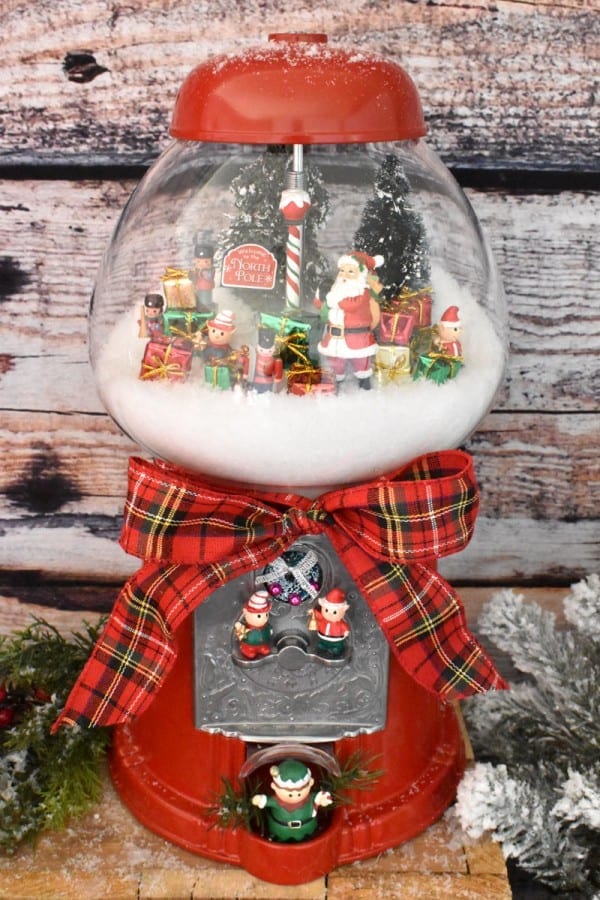
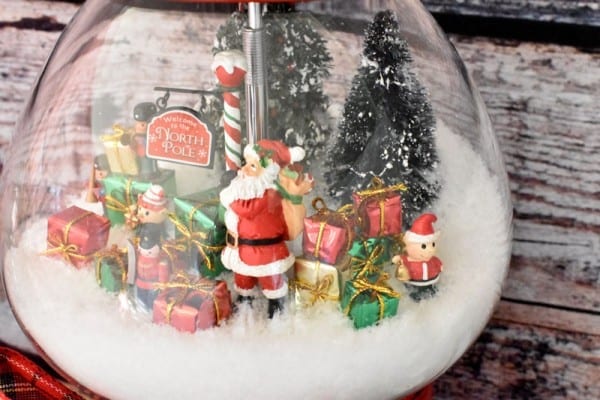
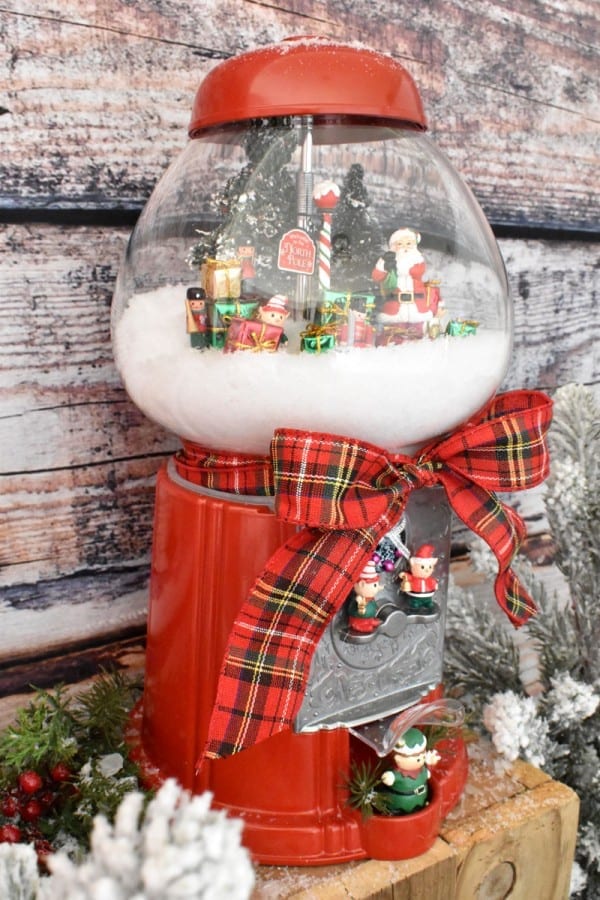
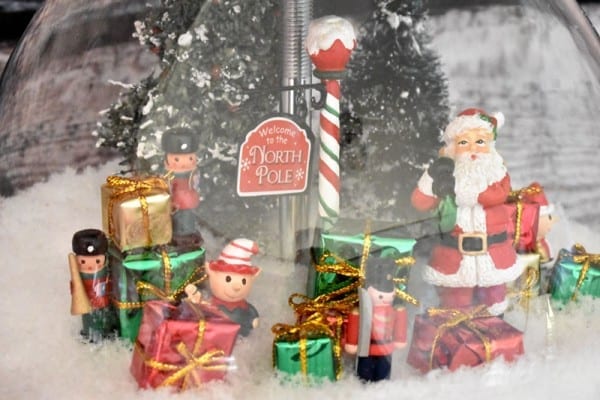
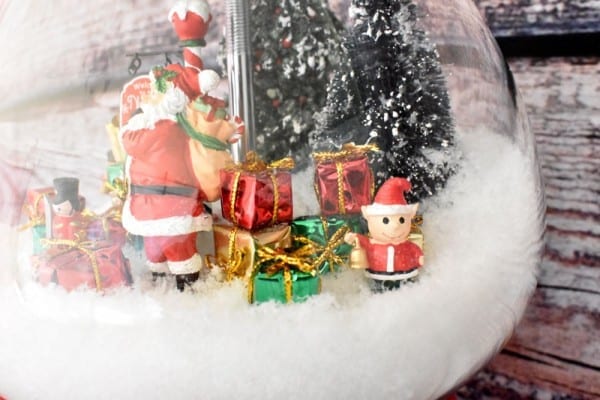
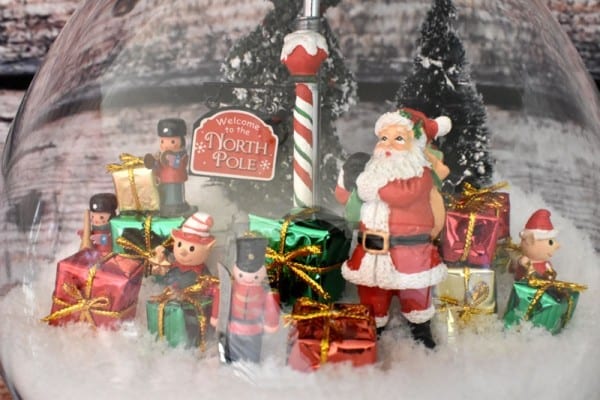
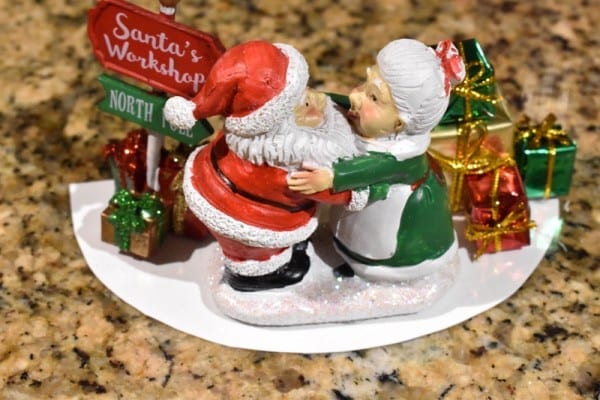
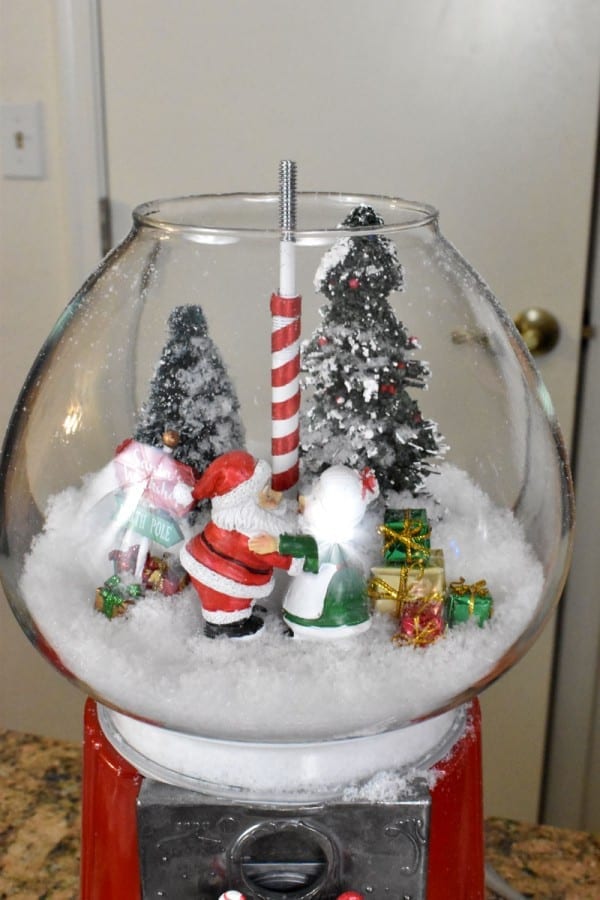
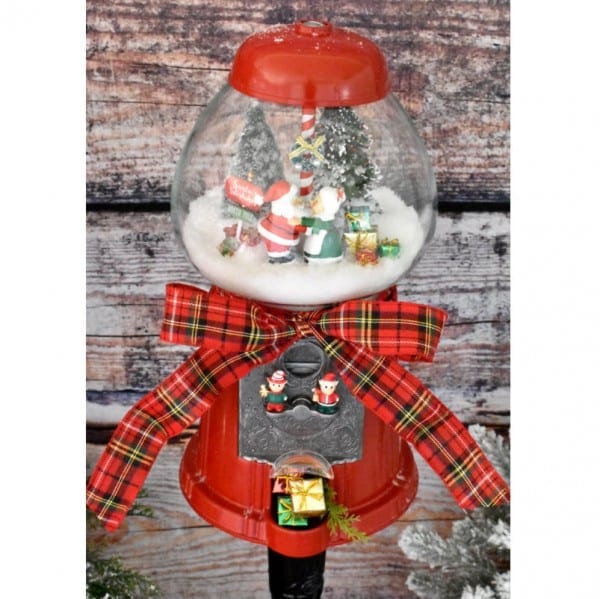
This past week Mom and I spent one afternoon putting these adorable gumball machine snow globes together! The one I made is shown in the above pics with Santa Kissing Mrs. Claus, while Mom’s has a completely different little scene of Santa with his elves and lots of colorful presents. They both turned out just as cute as can be!
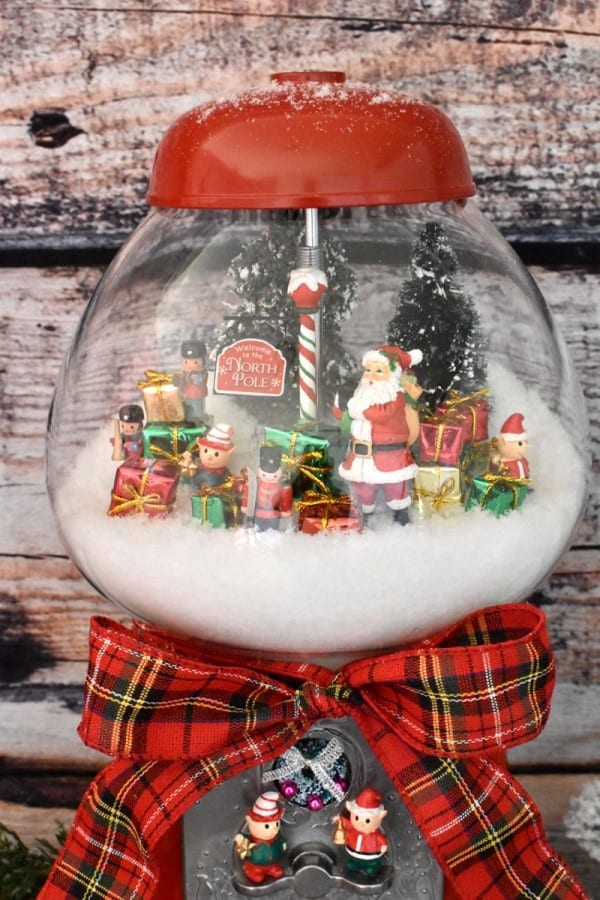

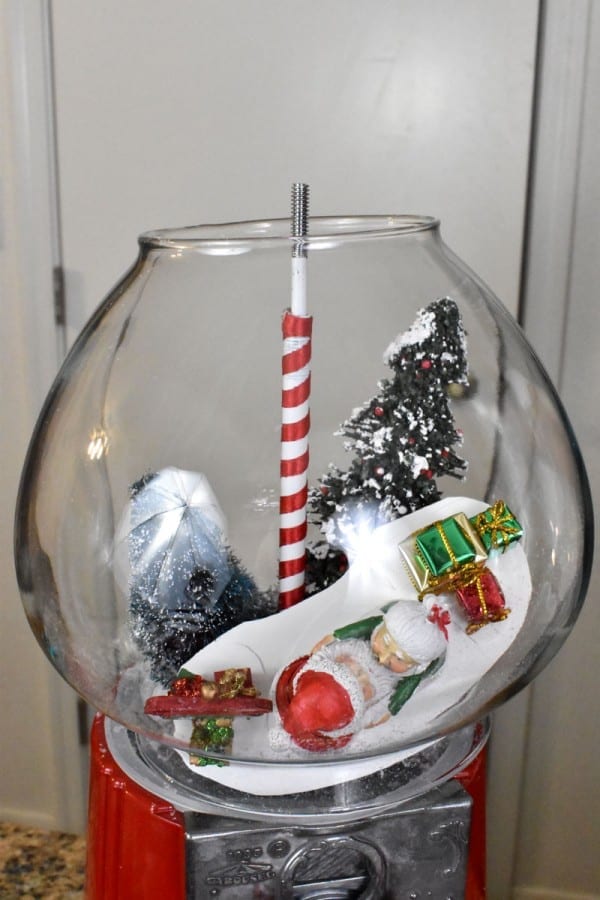
When Mom and I first started this project, we thought it was going to be easy-peazy, fast and easy…boy were we wrong! (until we figured out a much easier way…lucky for you!) Figuring this little part out took about 2 hours of trial and error by adding the snow first, then trying to (one-by-one) add the figures, only to have them fall sideways into the snow, LOL.
DIY Gumball Machine Snow Globe Tutorial
Supplies:
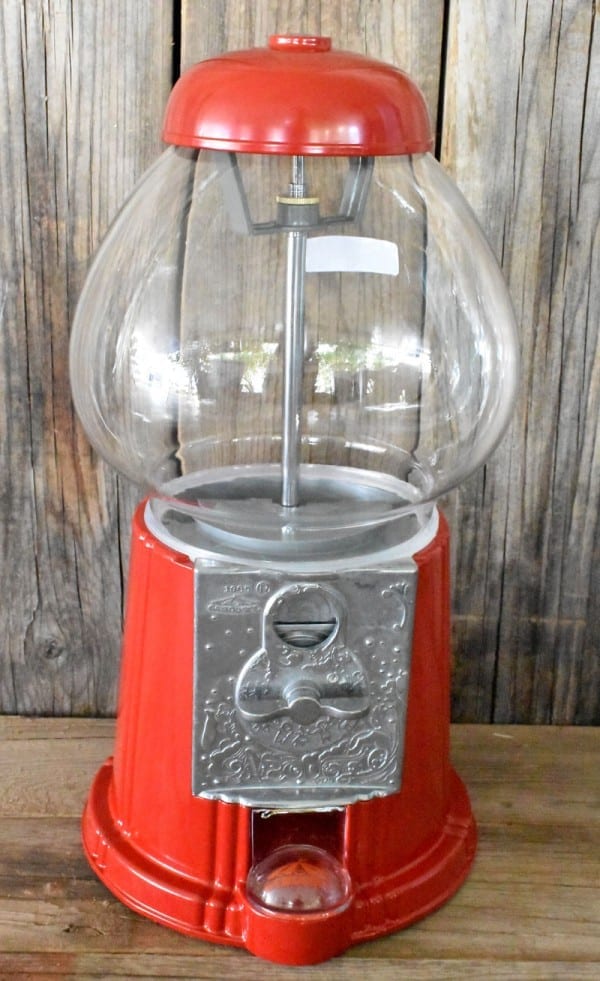
- Gumball machine-I ordered one that came with a stand HERE, or you can order one without a stand HERE.
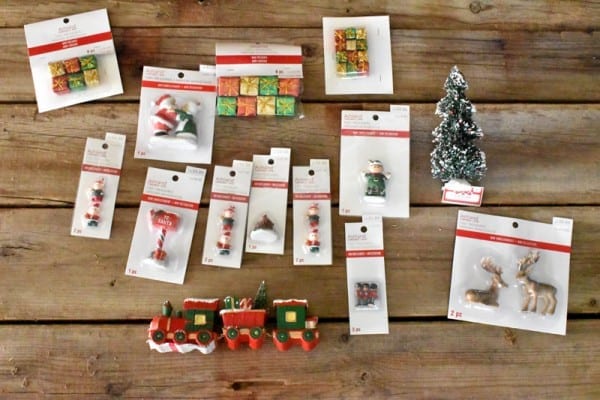
- Various Christmas figurines to put into the globe (we bought all of ours at Micheals)
- Bag of fake snow-my favorite snow to use for my globe is Buffalo Snow Flurries
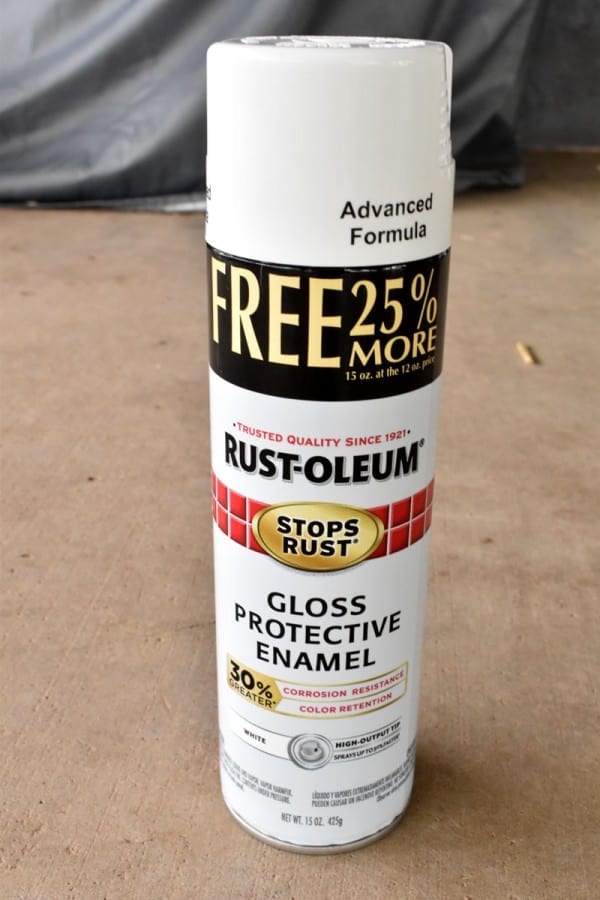
- White spray paint-for painting the middle pole
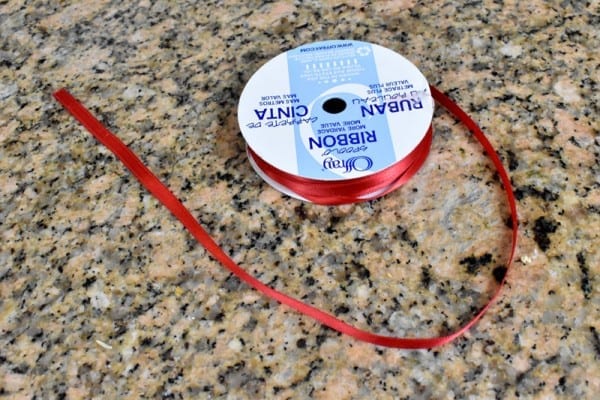
- Red ribbon at 1/4 inches in diameter
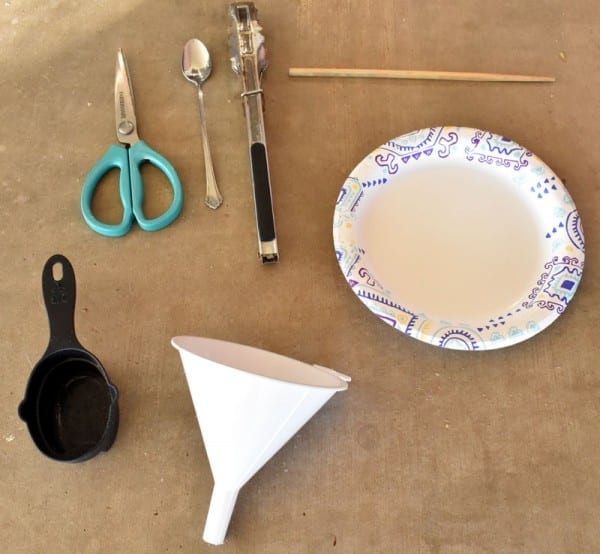
- Various tools that I used (scissors, small spoon, tongs, shop stick, white paper plate, scoop, funnel)
- Hot glue gun
- Flathead Screwdriver
- Tape – to tape stem on gumball machine to protect from painting
- Paper Towels
1
2

3
4
5
6

7
Assembly:
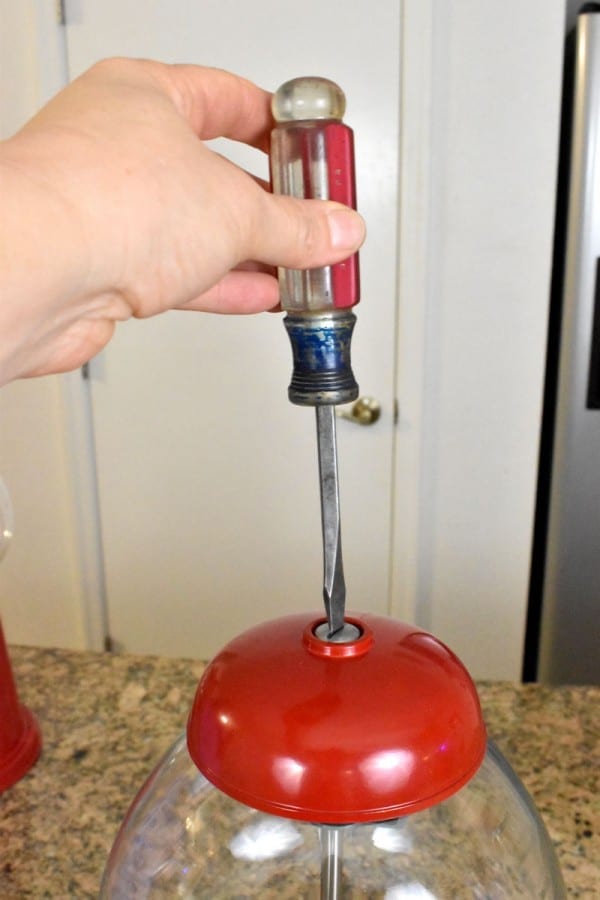
First, unscrew the top of the gumball machine.
Next, remove the top.
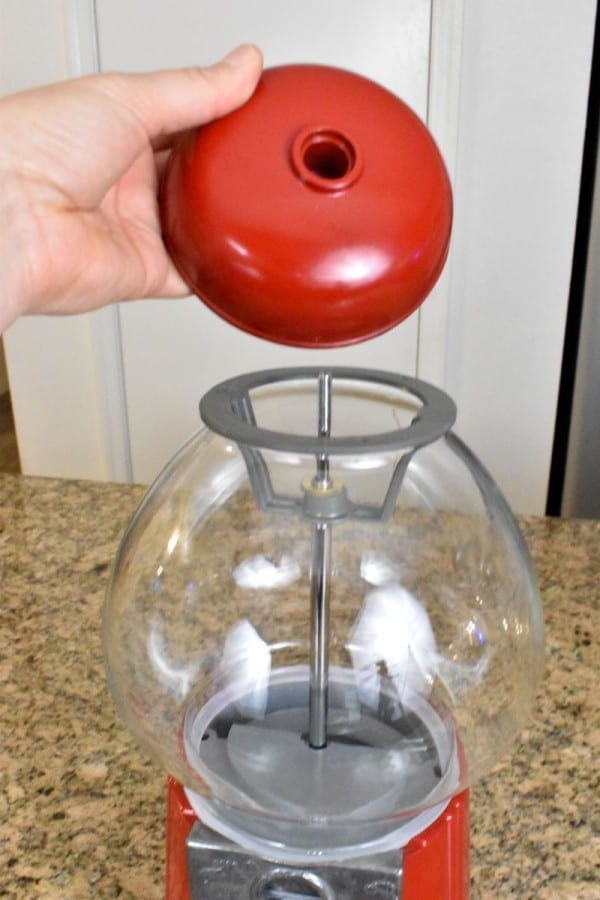
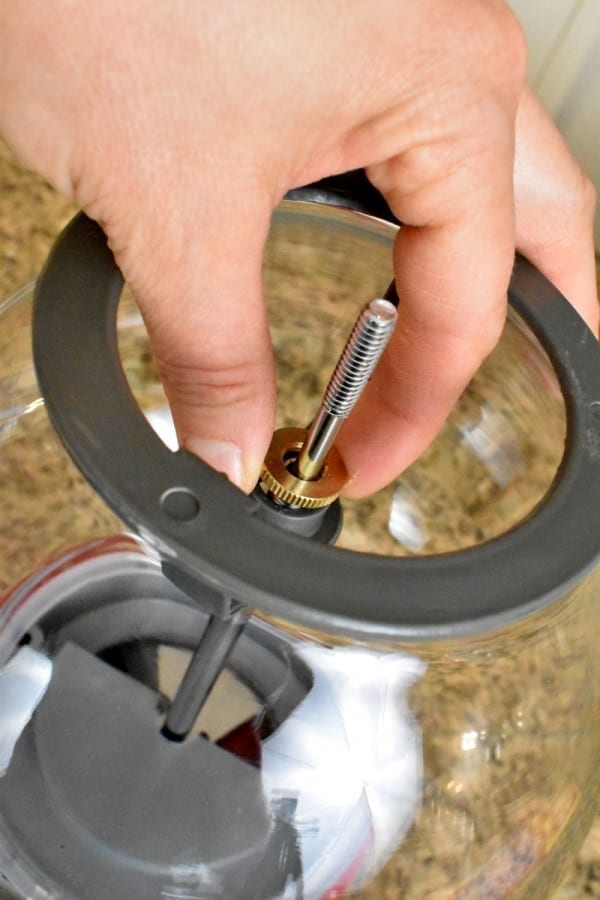
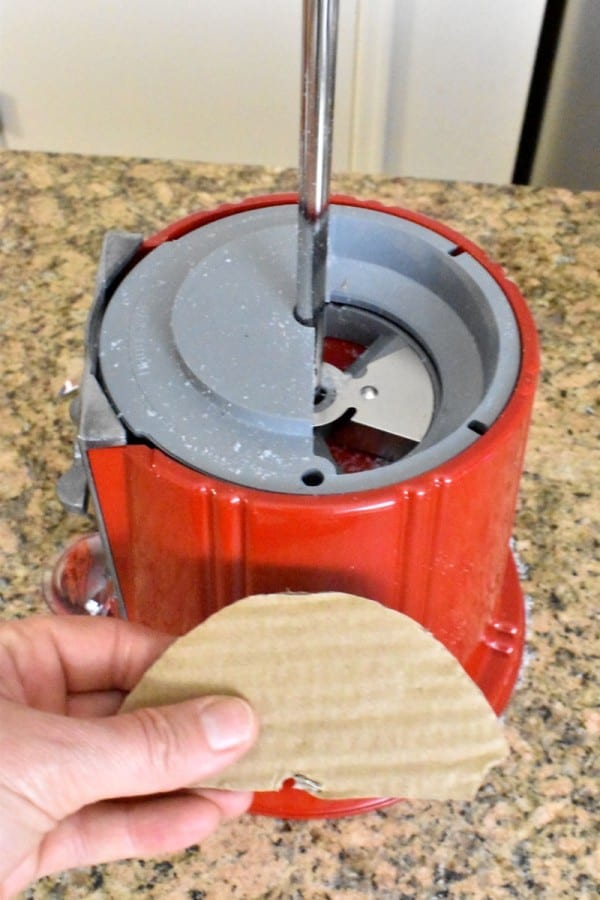
Now you can remove the grey retaining ring (at the top) by unscrewing the little nut holding it on. You can discard this piece if you want but make sure to keep the little rubber ring!

Next, remove the glass.
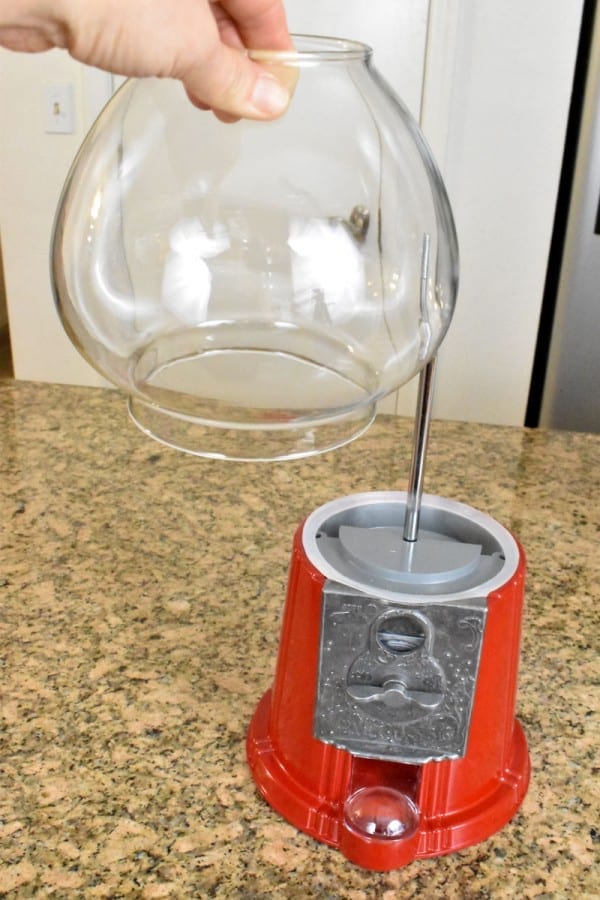
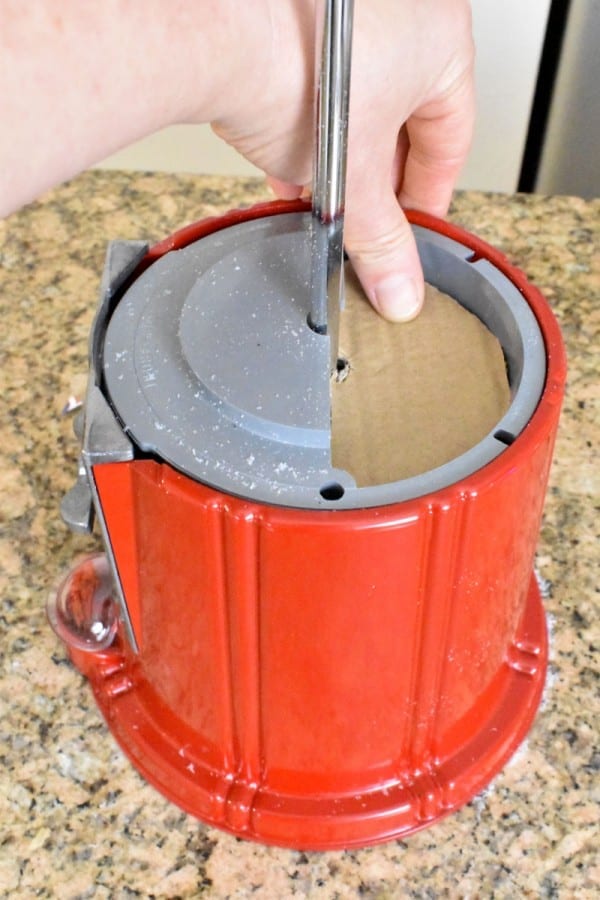
To avoid any snow from getting into the innards of the machine, you can now cut a piece of paper plate or cardboard and stuff it into the hole.
Making the Striped Pole:
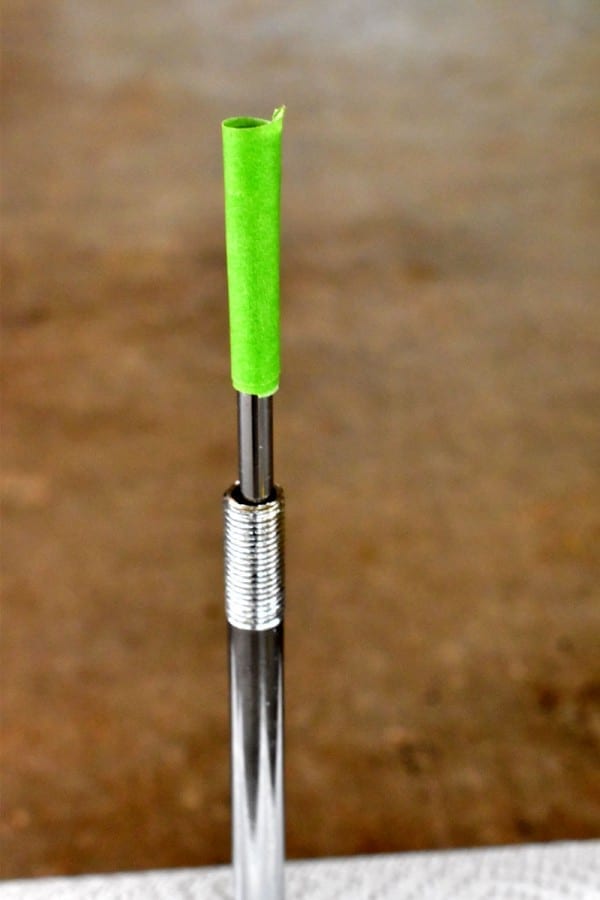
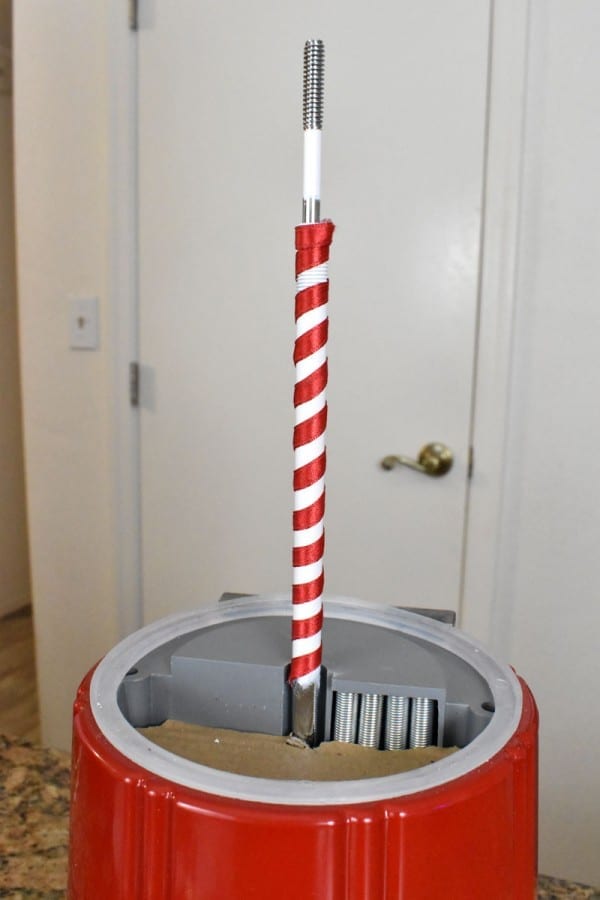
First, cover the whole machine with some paper towels or newspaper. Also, wrap a piece of tape over the top threads of the pole sticking out.
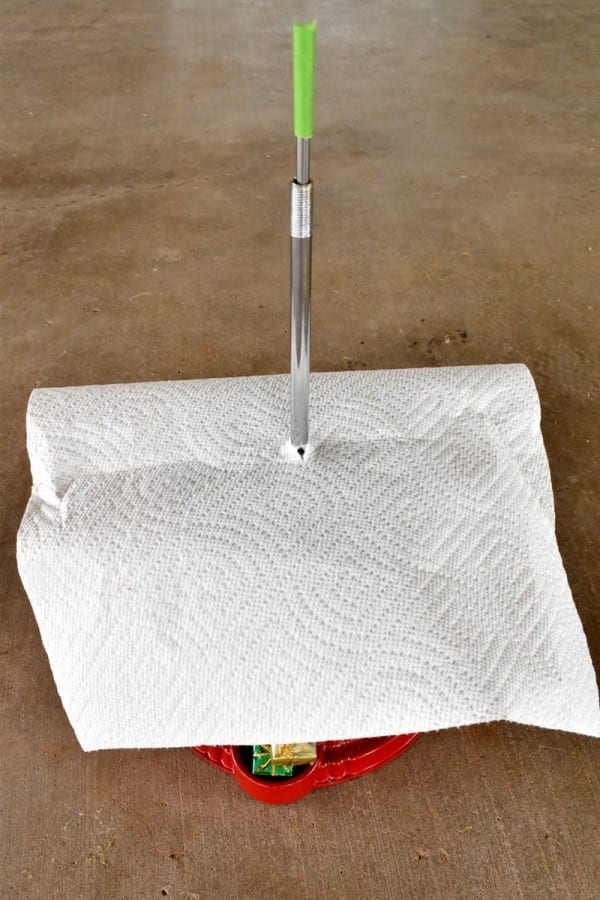
Next, spray paint the pole white. Make sure your machine is completely covered to avoid any over spray!

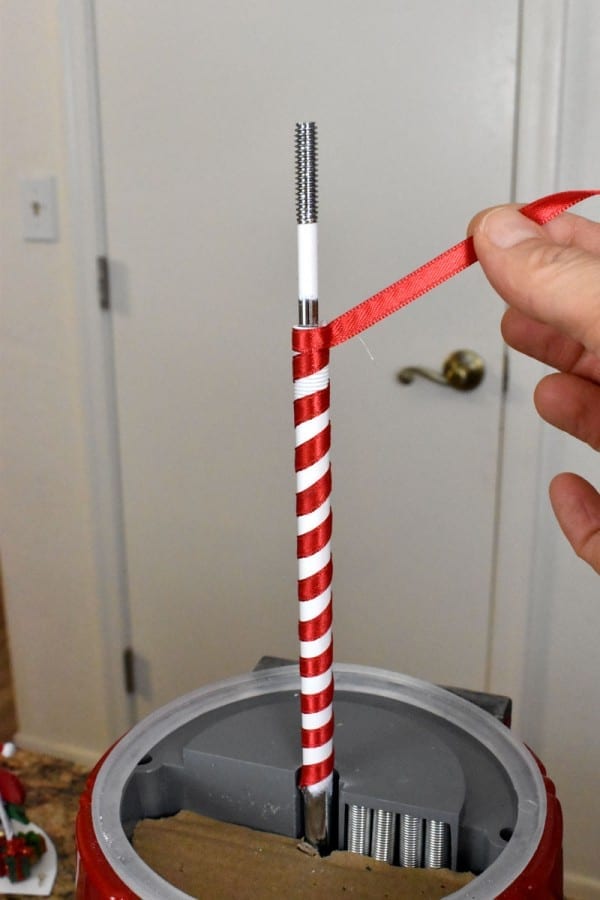
After it’s dry, add a dab of hot glue to the end of the red ribbon and secure it to the bottom of the pole. Then spiral it up to the top, securing the ribbon with another dab of hot glue. Cut off the excess.
Stabilizing Figurines:
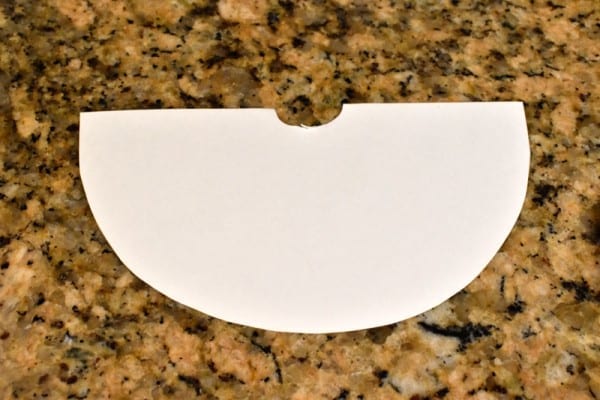
Cut another piece of paper plate and hot glue the little figurines in the positions that you want them to look inside the snow globe. Make sure the piece of paper plate is cut small enough to fit inside the globe. The paper plate piece stabilizes your figurines, preventing them from falling after they are set up inside the globe.
Note: I found that the easiest way to assemble the figurines is by first putting them all in through the bottom of the globe, THEN adding the snow. I literally dumped the snow on top of everything, then gently pulled each figurine up to the top of the snow, shaking them off a bit. That was it!
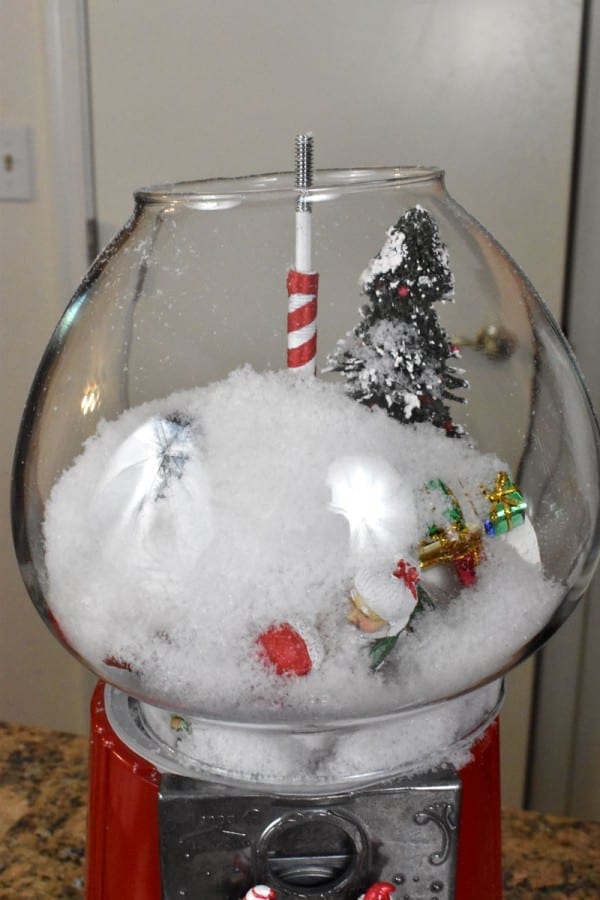
For the finishing touches I put some snow in the funnel and poked it through with the chopstick to add a little snow to the areas I thought needed more. The tongs helped with grabbing the figurines and moving them into position.
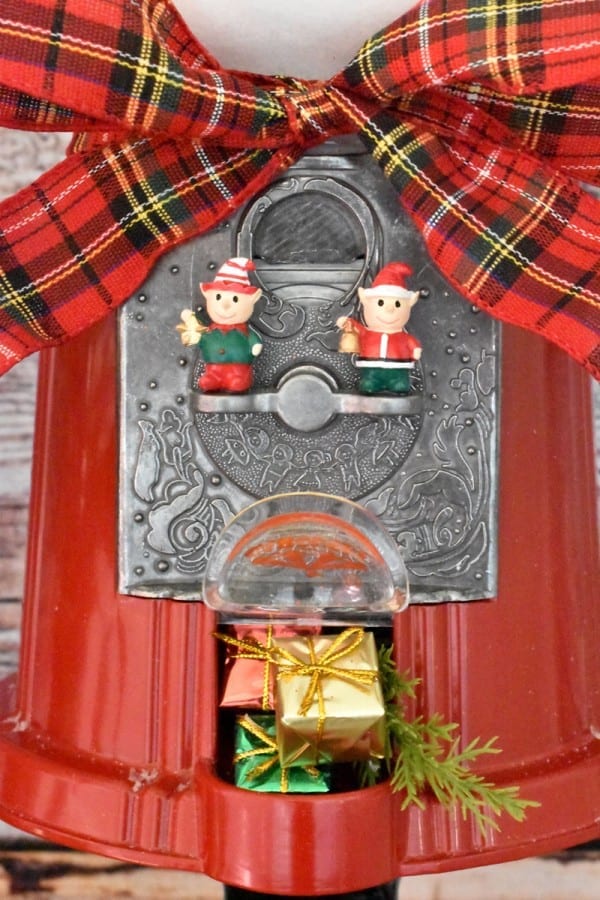
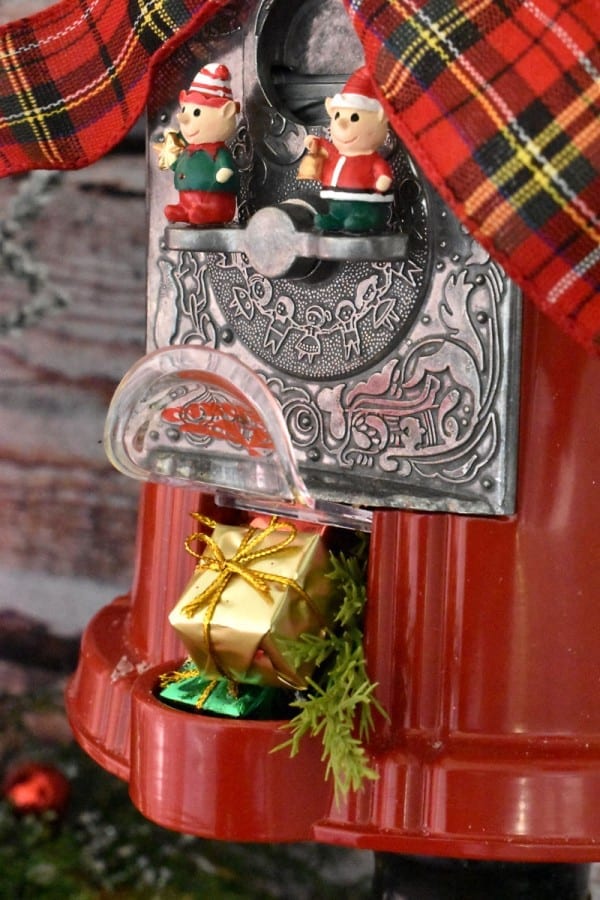
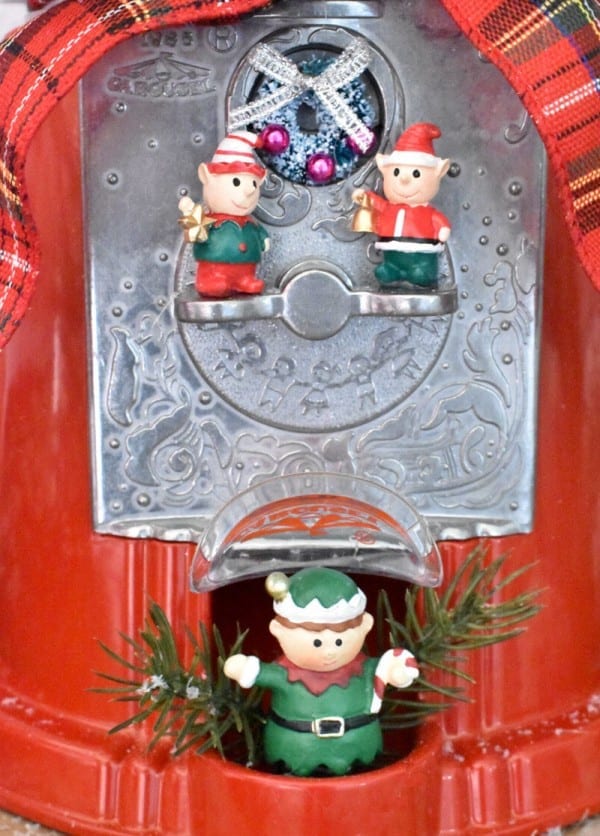
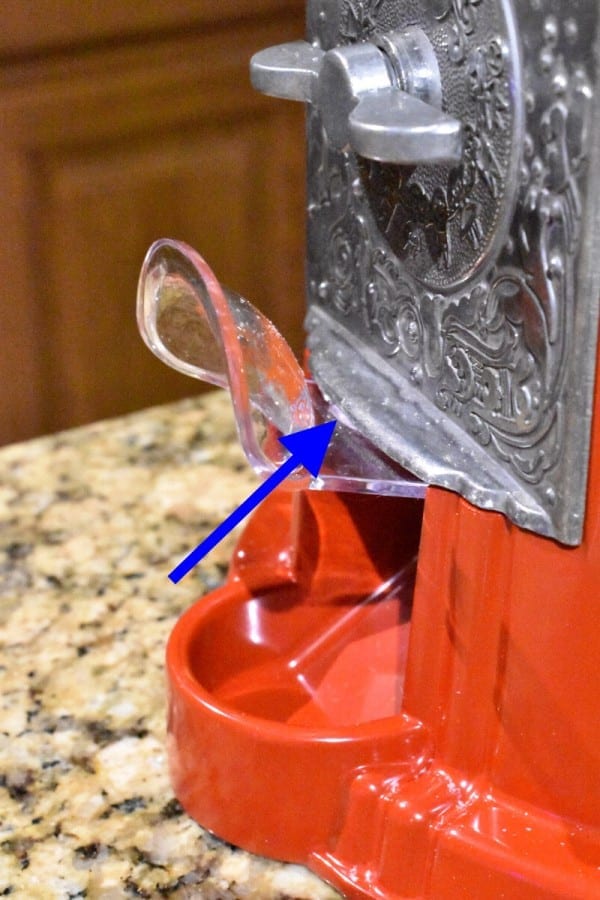
I put a dab of hot glue to the little gumball flap to keep it open.
Now, just add the rest of the figurines and decorations to the outside of the gumball machine. Also, you can now screw on the top (don’t forget to place the little rubber ring on the top of the globe before screwing on the top).
Yay! You are finished! Now isn’t this adorable?
Merry Christmas!!!!
Feel free to comment! I love to hear from you!
DIY Gumball Machine Snow Globe
Sharing at these great link parties:
Busy Monday – Inspire Me Tuesday – The Hearth & Soul – Metamorphosis Monday – All About Home – Follow the Yellow Brick Home – You’re the Star – Shoestring Elegance – Tutorials & Tips – Inspire Me Monday – Little Cottage Link Party – Inspire Me Monday – Wonderful Wednesday – Creative Muster Party – Wow Me Wednesday – Your Whims Wednesday – Tuesday Turn About – Homestead Blog Hop – Tuesdays with a Twist – Wonderful Wednesday – Charming Homes & Gardens – Share Your Style – To Grandma’s House We Go – Vintage Charm Party
More Great Link parties I’m sharing at:
Waste Not Wednesday – Party in Your PJs – Thursday Favorite Things – Grace at Home – Keep in Touch – Friday Favorites – Funtastic Friday – Funtastic Friday – Friday at the Fire Station – Happy Pink Saturday – Dare to Share – Saturday Sparks – Create, Bake, Grow & Gather – A Morning Cup of Joe! – Farmhouse Friday – Happiness is Homemade – Snickerdoodle Create Bake Make – Inspire Me Monday – Silver Pennies Sunday – Love Your Creativity
Gail
Love this idea ! Will make in the near future for Christmas 2020! Thanks for sharing!
Tee
I’m glad you like it, Gail! If you do make one, please post a picture of it here!
CraftAtticResources
I love snow globes but this is the most original one I’ve ever come across. Beautiful project!!
Tee
Thank you so much for your sweet comments! The kids that come over are always mesmerized with this Christmas snow globe!
Dee | Grammy's Grid
How cute, I like it! Thanks so much for linking up with me at my party #UnlimitedMonthlyLinkParty 19.
Tee
Thank you Dee!
Marsha
This is so adorable and unique. The details are beautifully done. It brings such a smile to everyone.
Tee
Thank you, Marsha! I’m so glad you like it! I appreciate your kind words!
Kristie
What a cute snowglobe! Yours is my favorite. It’s featured on the Little Cottage Link Party today!
Tee
I’m tickled you like it, Kristie! Thank you for featuring me!
Claire
Aww, love this. It turned out great 🙂
Tee
Hi Claire, Thank you so much!
Michele Morin
Incredibly cute!
Tee
Thank you so much, Michele! I’m so glad you like it!
Maristella
Adorable!Happy Advent!
Tee
Thank you, Maristella!
Cecilia
How cute! Thanks for sharing at Vintage Charm!
Tee
Thank you, Cecilia, for your sweet comments!
Kristin
This is such a cute idea Tiffany! Thanks for sharing at Charming Homes & Gardens! We are excited to feature you this week!
Tee
Thank you, Kristin! I’m tickled to be featured!
Debbee M
It is adorable! Such a clever and festive reuse of the gumball machine. I giggled a bit when you mentioned it was not as easy as you first thought. I’ve run into unexpected roadblocks on craft projects too lol!
Tee
Haha! Debbee, I don’t think I have come across one project where there wasn’t something I had to figure out! This one didn’t dissappoint, either, but I’m glad we found a solution and it works great! Thank you for your sweet comments and I appreciate your stopping by!
Melynda Brown
Hello, this is one of my favorites for Encouraging Hearts and Home, this week! I hope you stop by and say hello, this post has been pinned! Thank you for being a part of Encouraging Hearts and Home, we appreciate all that you share. Have a great week ahead!
Tee
Thank you so much, Melynda! I will stop by for sure! I appreciate your kind words!
Barbara Chapman
Such a cute idea for repurposing a gumball machine! Happy to tack on this “extra” post to your feature this week at Share Your Style #286, Tiffany!!
Have a fun rest of your week…
More Christmas hugs,
Barb
Tee
I’m so glad you like it, Barbara! Thank you for the added link on your site! It was very much appreciated!
Beverly
Tee,
OMG, this project is so adorable. What a wonderful tutorial. It is cute beyond words. Just want to let you know that I featured you on Thursday Favorite Things. https://www.eclecticredbarn.com/2020/12/thursday-favorite-things_17.html
Hugs,
Bev
Debbie-Dabble
Tee,
This is absolutely adorable!! Love this and I like that you can also take away from your post ideas to do just a snow globe type of scene….So much inspiration!! Thanks for sharing!!
Thanks so much for taking the time to stop by and by letting me know that you did by leaving such a sweet comment!! Merry Christmas to you and your family!! Stay safe, healthy and happy!!
Hugs,
Deb
Tee
Thank you so much, Debbie, for your kind words! I’m so glad you visited today! You are welcome as well!
Dee | Grammy's Grid
CONGRATS! Your post is FEATURED at my #UnlimitedMonthlyLinkParty 20.
Tee
Thank you so much Dee! I really do appreciate the feature!
Catherine
These are really neat! What a fun Christmas project!
Tee
Thank you, Catherine! I appreciate your kind words!