

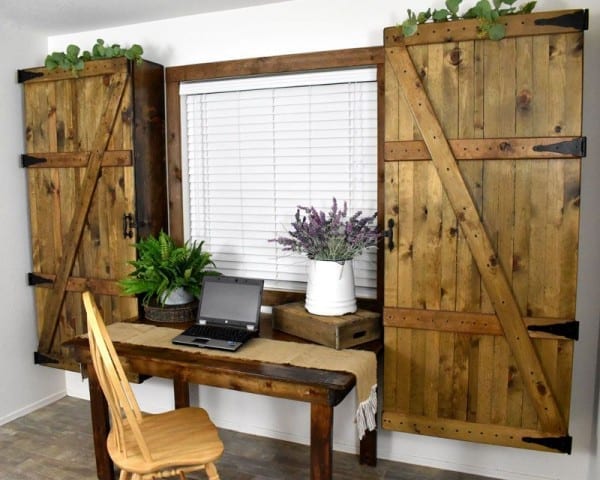

DIY Rustic Floating Storage Cabinets
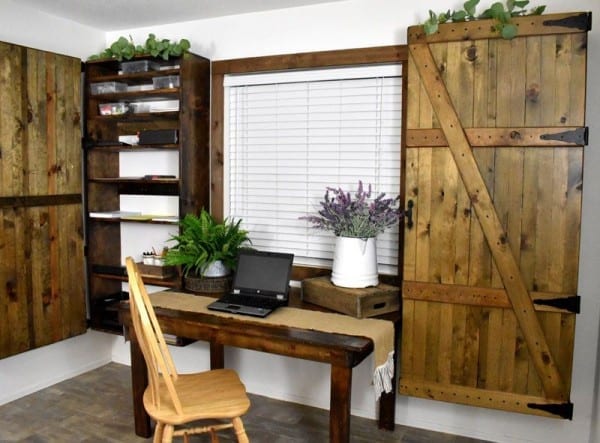
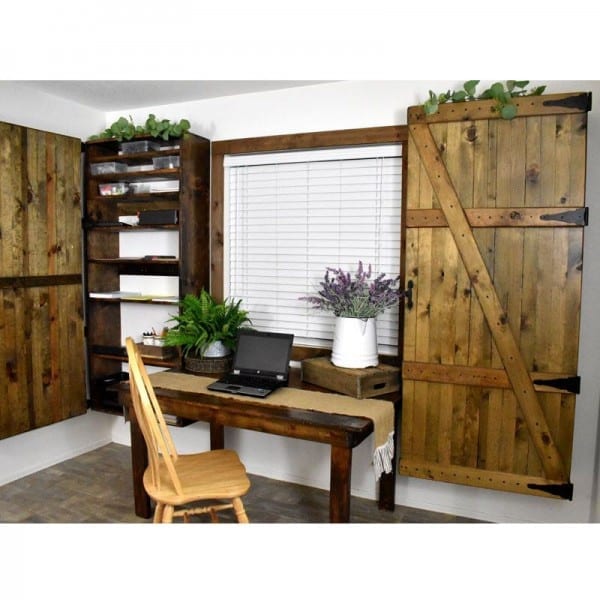
Do you need extra storage? Do you love a rustic look? Then I have the perfect project for you! These beautiful storage cabinets are roomy and versatile enough to store office supplies, shoes, linens, toys and many other things. I especially love them because they’re suspended off the floor which makes the room seem much larger than it is. They’re also super easy to vacuum or sweep under making it a cinch to keep the floor clean. I absolutely love mine and you will too!!
(The tutorial for the rustic table sitting in-between the cabinets can be found HERE).
Tutorial:
Tools:
- Chop saw
- Pencil & measuring tape
- Belt sander (this is optional as I like to round off the sharp edges of my wood to give a more worn look when I’m finished putting the cabinet together)
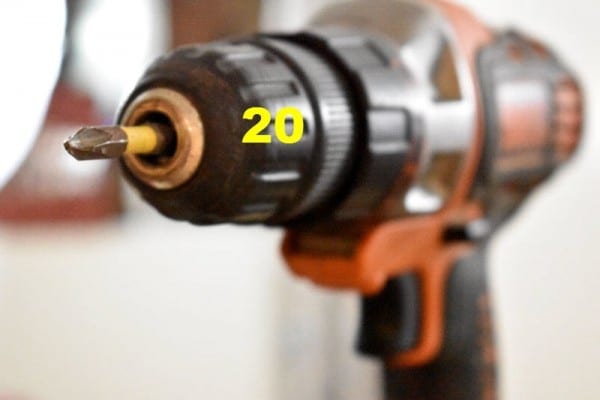
- Hand drill with bits
- Carpenter’s square (to make sure wood is square when screwing together)
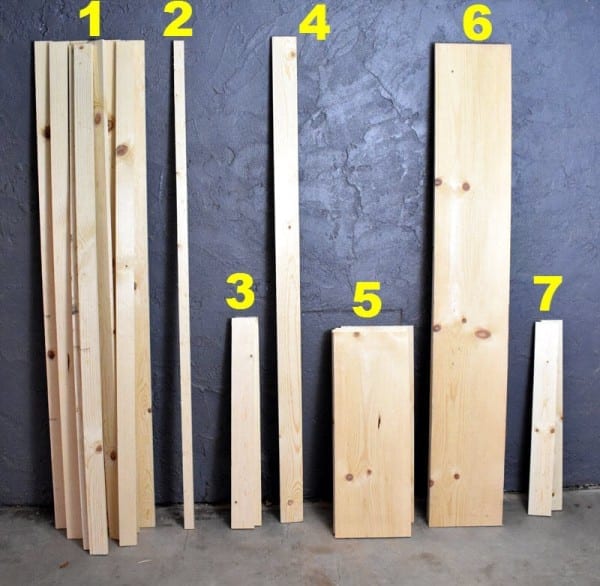
Supplies:
- (12) 1x3s at 6ft long (door pieces)
- (1) 1×2 at 6ft long (door piece)
- (2) 1x4s at 2ft 8in long (top and bottom door braces)
- (1) 1×4 at 6ft long (diagonal cross brace of door)
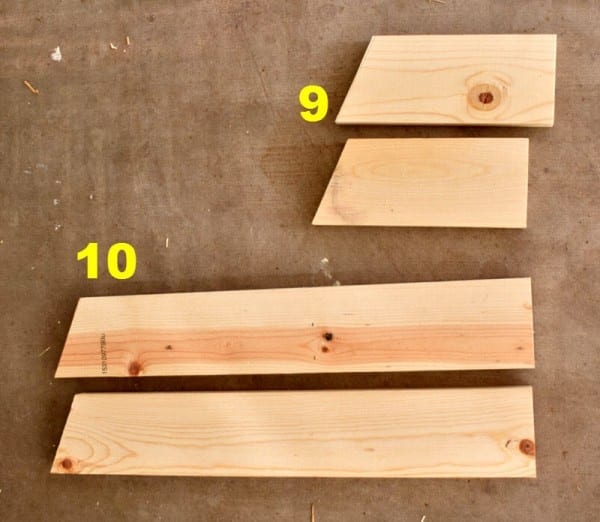
- (2 plus 1 (each) for every shelf needed) 1x12s cut at 2ft 6 1/2in long (these are the top & bottom of the cabinet box, and also the shelves of the cabinet. You’ll need at least 2 for the top & bottom and then one for every shelf that you want inside)
- (2) 1x12s at 6ft long (cabinet box)
- (3) 1x4s at 2ft 6-1/2 in long (back braces)-you’ll use these to mount the cabinet to the wall with
- (1) 1×3 at 2ft 6in long (inside door brace)
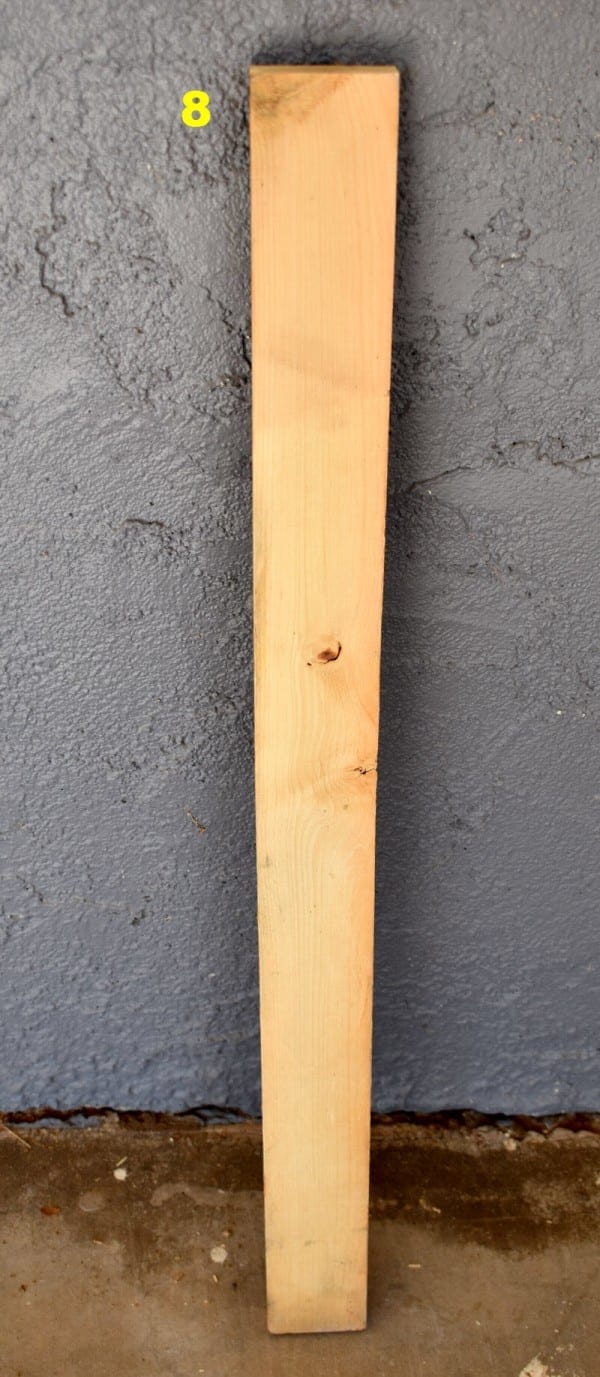
- (2) 1x4s at 8-1/2 in long (short cross brace of door)-one end on each piece will need to be cut at a 22.5 degree angle
- (2) 1x4s at 1 ft 9in long (medium cross brace of door)-one end on each piece will need to be cut at a 22.5 degree angle
- Carpenter’s square
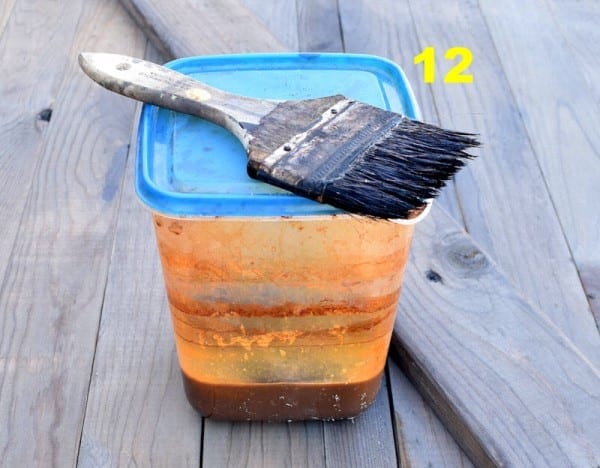
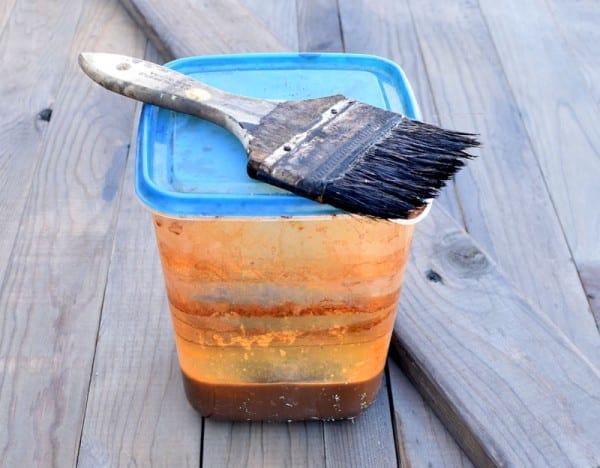
- Old wood stain & paintbrush (I used my own homemade DIY Old Wood Stain)
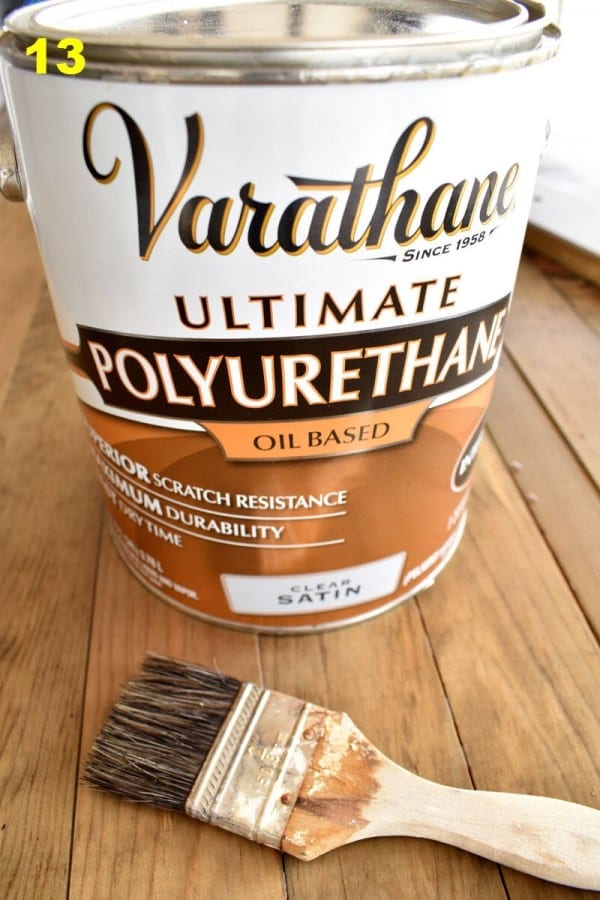
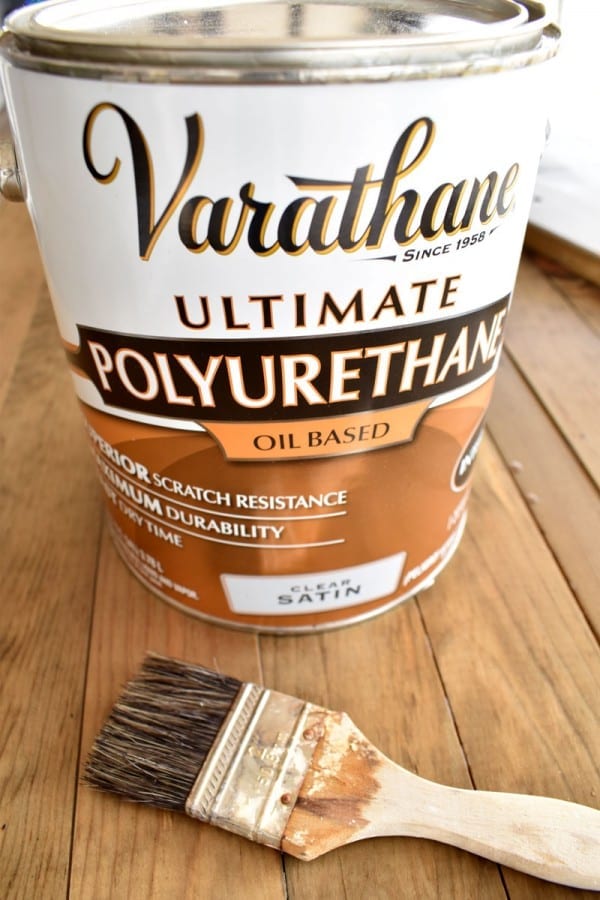
- Clear satin polyurethane & paintbrush
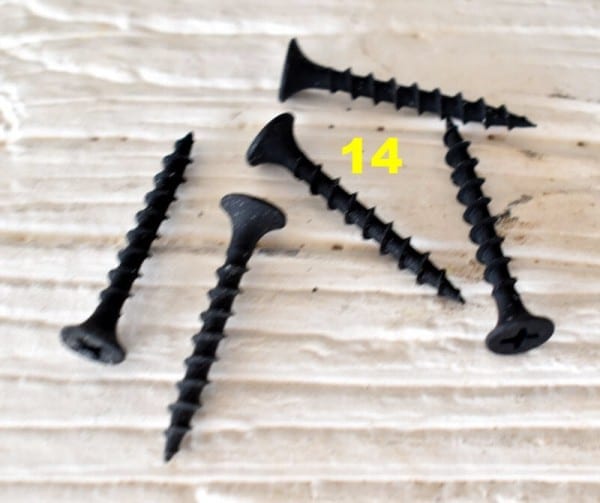
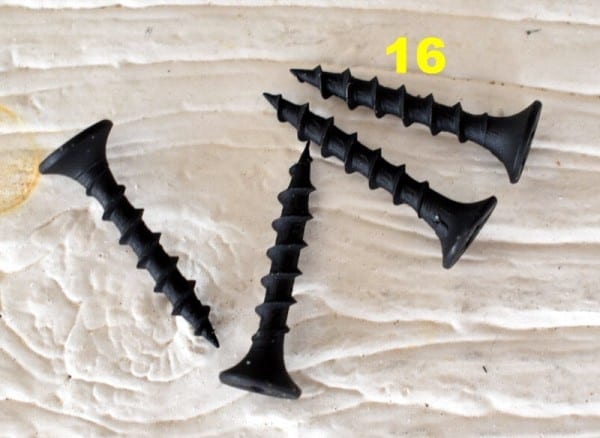
- (1) Box of 1-1/4 in wood screws (use black ones to give an old look)
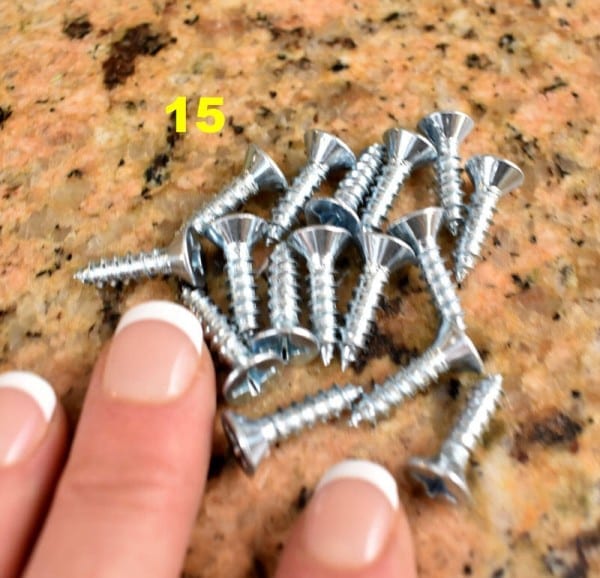
- (1) Box of 3/4 in wood screws (I couldn’t find black ones so I touched them up with some black paint when the project was done)
- (1) Box of 1 in screws (use black ones to give an old look)
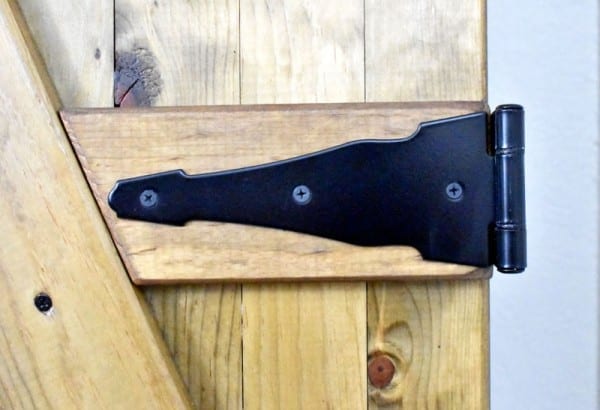
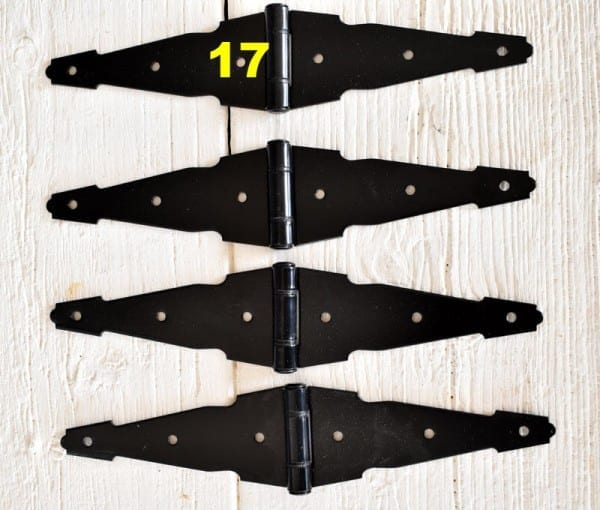
- (4) Double-Sided Strap Hinges-(I bought mine at Home Depot HERE)
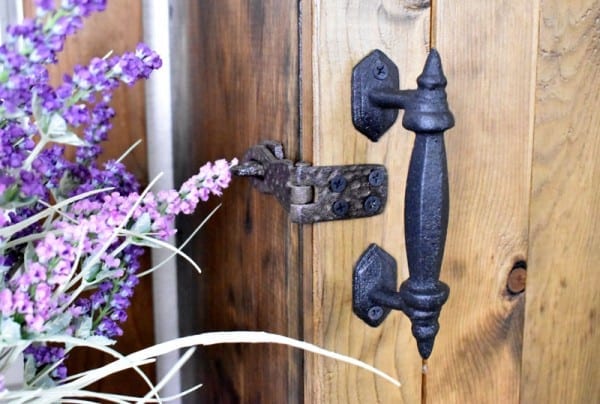
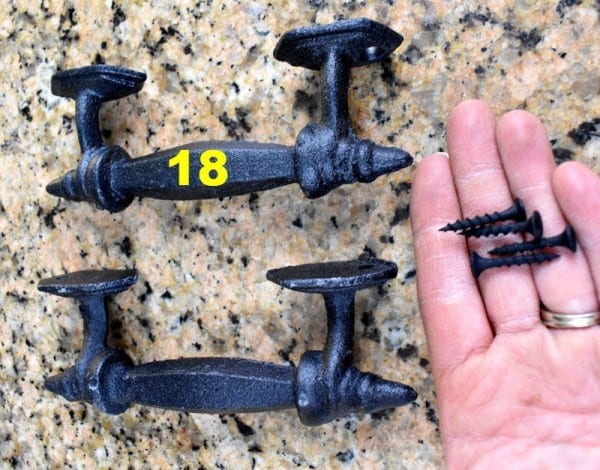
- (2) Rustic looking handles (I bought mine at Hobby Lobby HERE)
- (1) Padlock metal door latch (I bought mine at Hobby Lobby HERE)
Directions:
Cabinet & Shelves Assembly:
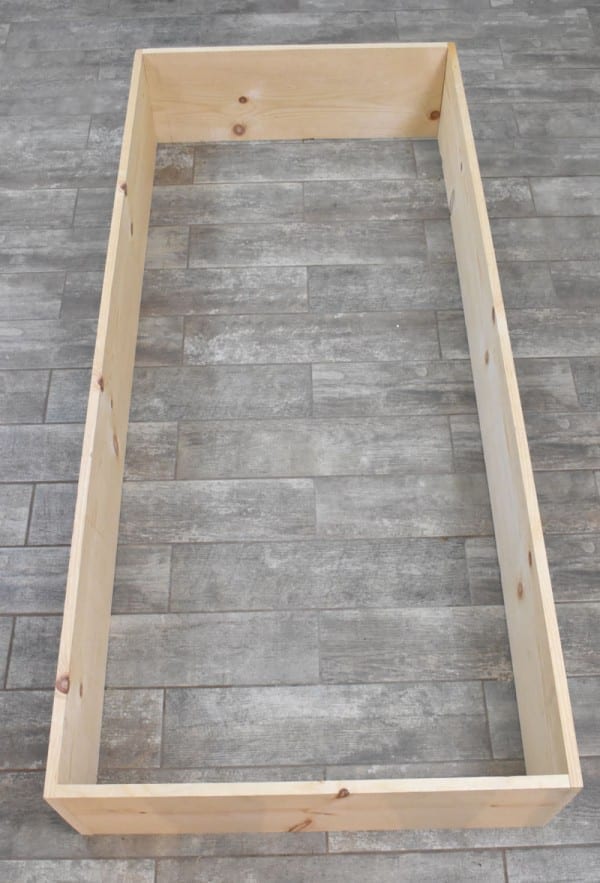
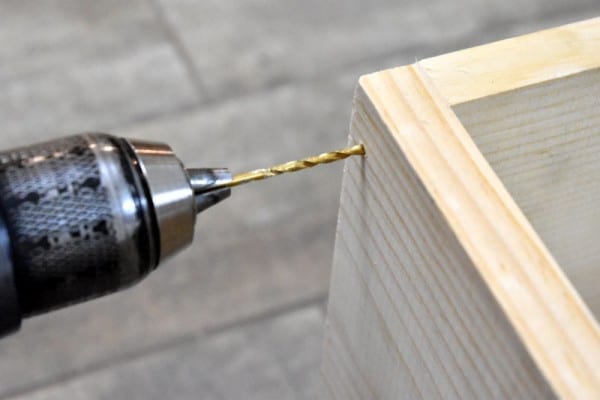
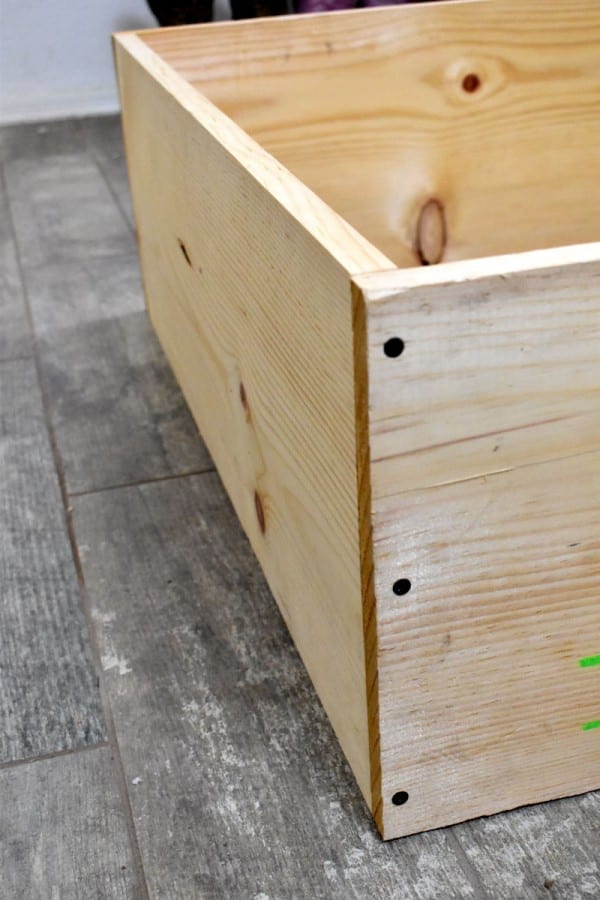
To make the cabinet box, screw together the two long 1x12s and two of the shorter 1x12s using the 1-1/4in screws. Make sure to ‘sandwich’ the shorter boards in-between the longer ones.
An important tip: For each screw, make sure to drill a pilot hole first to prevent the wood from cracking. You will be so glad you did this!

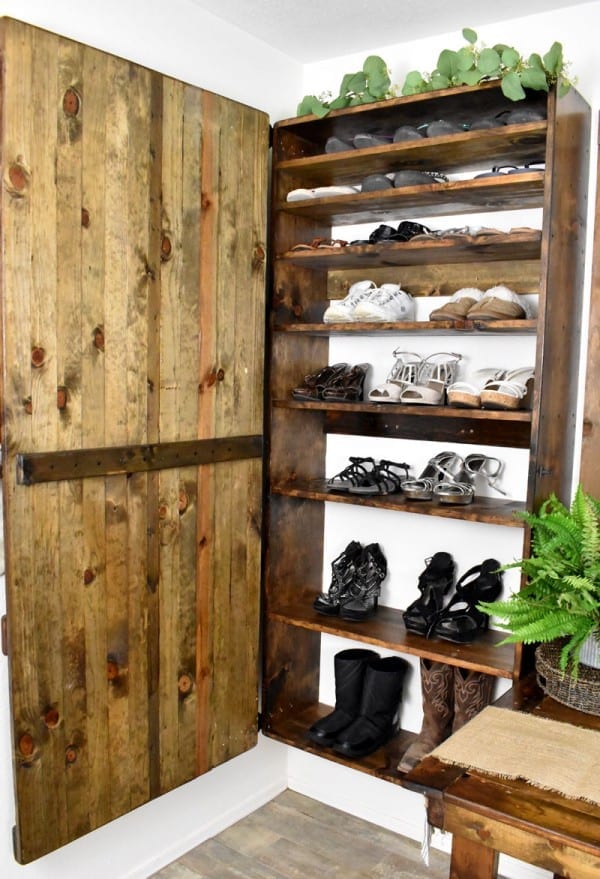
Then, add the rest of the shorter 1x12s to make the shelves,
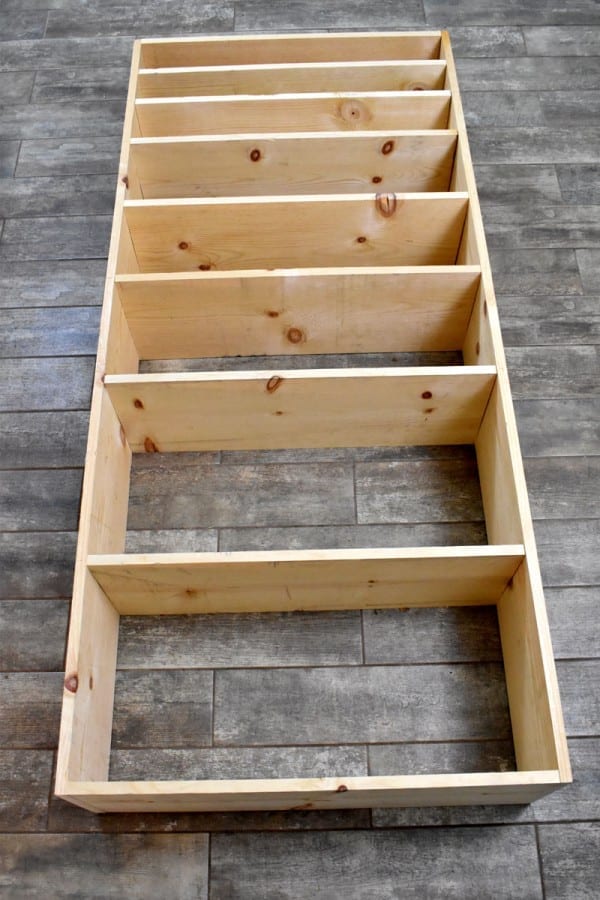
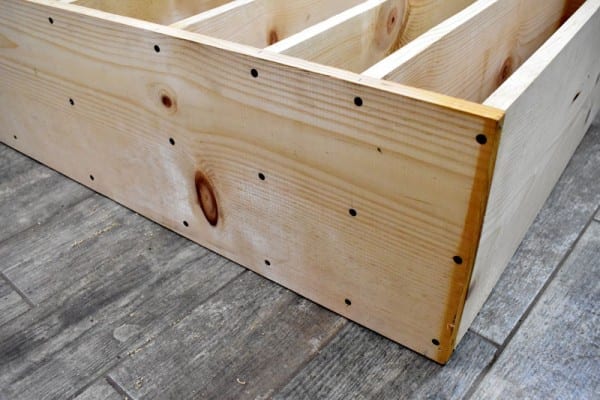
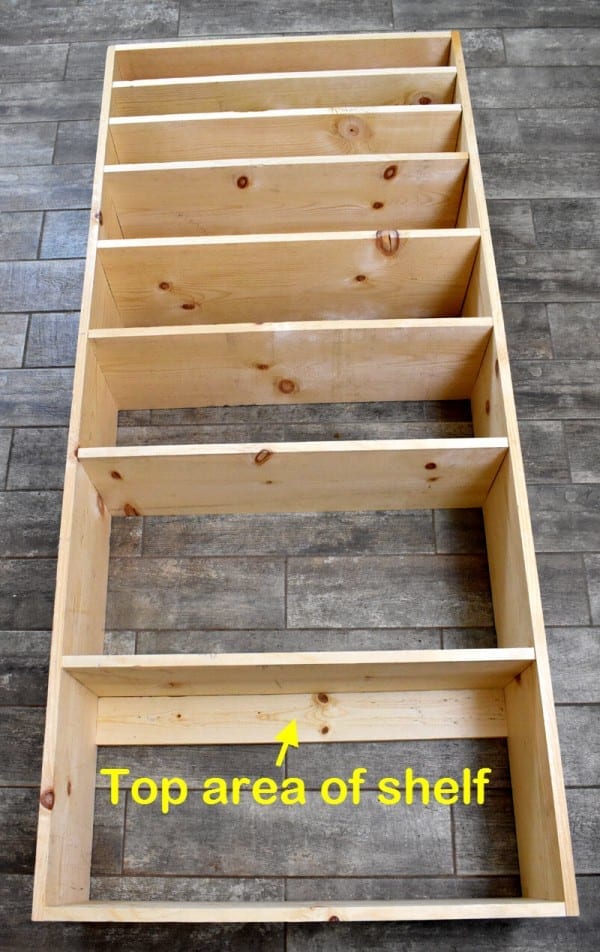
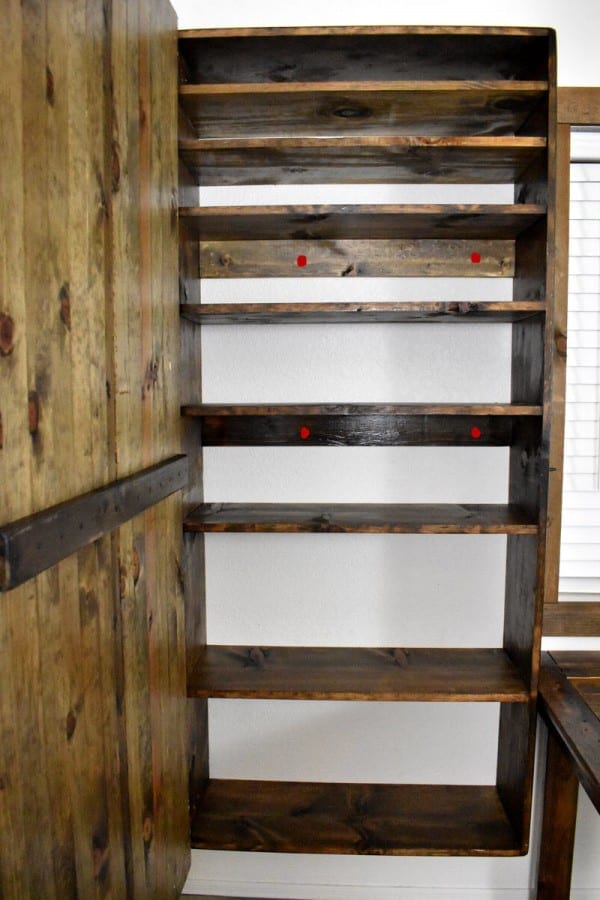
Screw the back braces on. Make sure you put one in the upper, lower, and middle area of the cabinet.
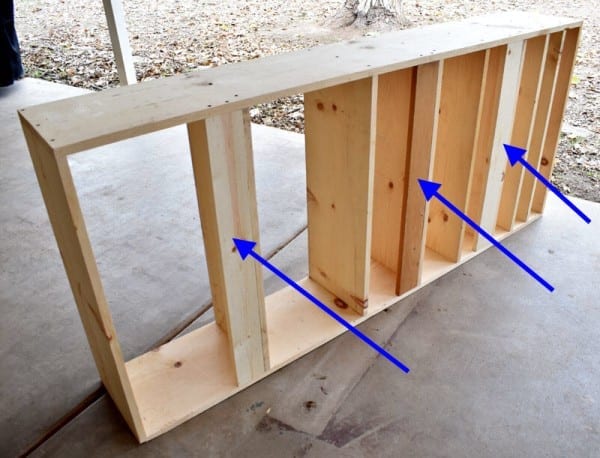
Also, I made sure my back braces were mounted at the top area of each shelf instead of the bottom. This leaves more room for things sitting on the shelf.
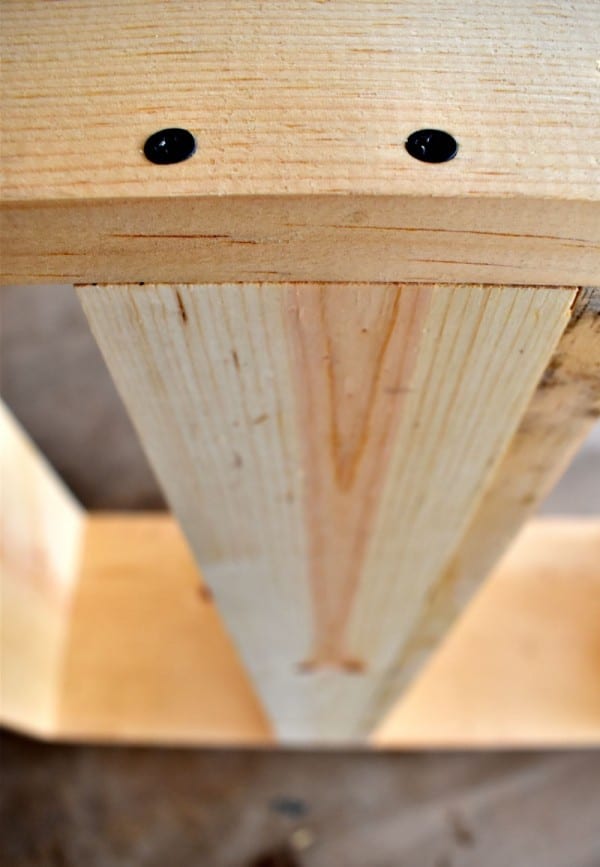
Here’s a close view of one of the back braces screwed to the cabinet. I made sure to use at least 2 screws on each end.
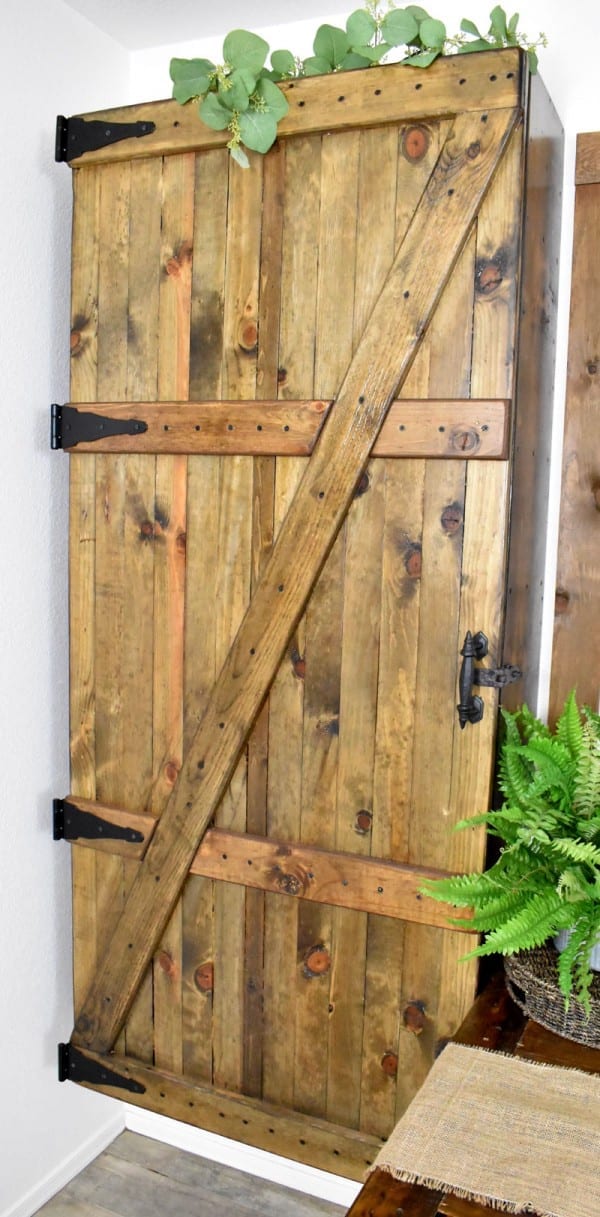
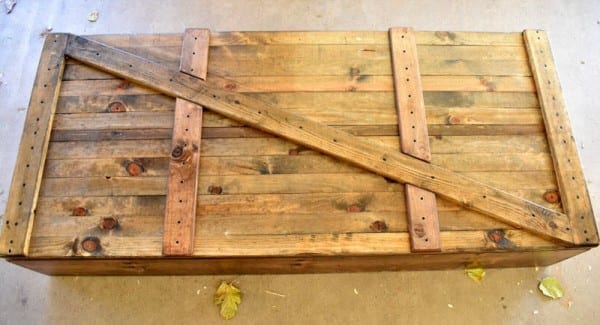
Door Assembly:
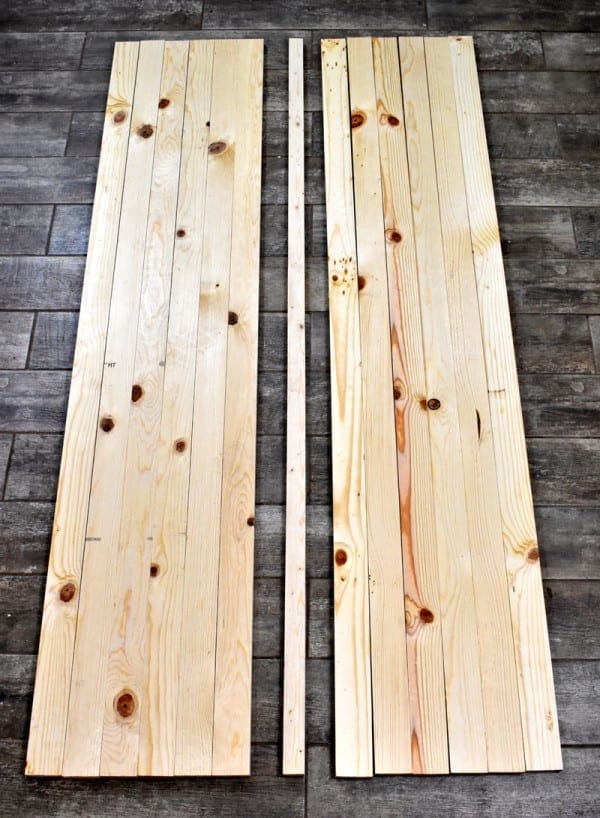
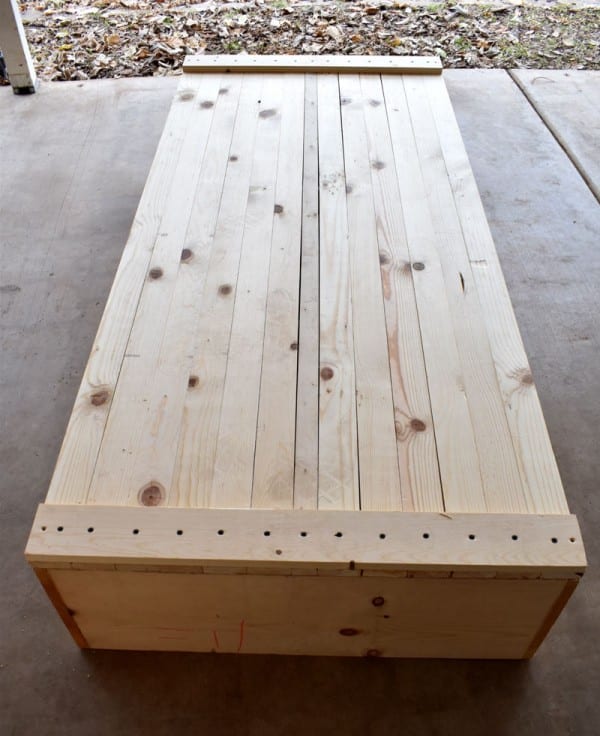
Gather together all of the door pieces. The skinnier 1×2 will be in the center of the 12 wider ones.
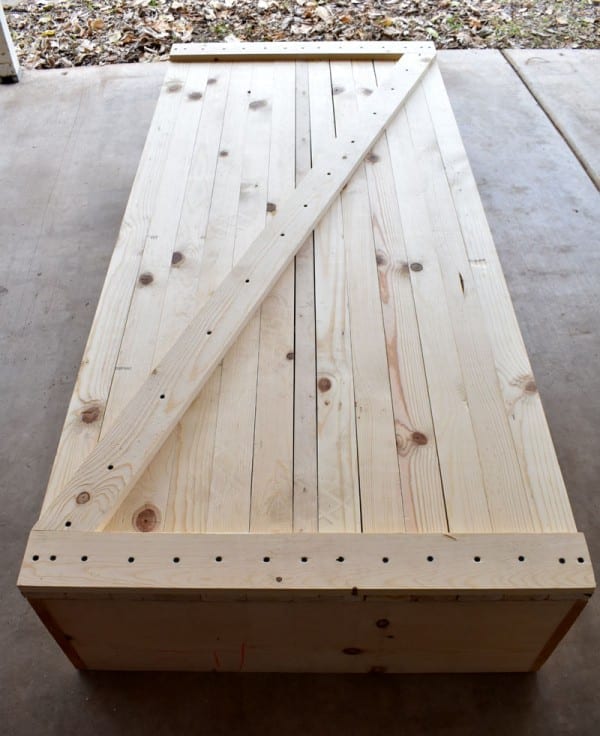
Next, line the wood up this way on the cabinet box that you just built, then screw on the top and bottom door braces with the 1in screws. Building the door on top of the cabinet box helps to keep everything lined up nicely.
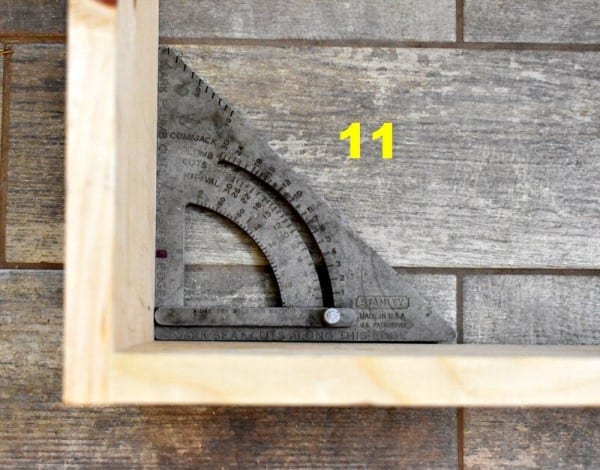
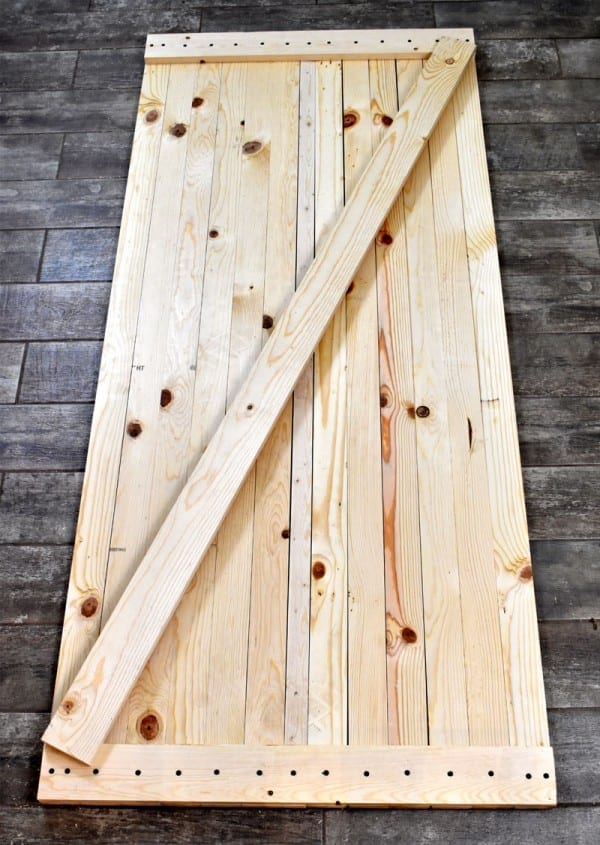
After your wood is lined up, lay out the diagonal cross brace of the door. A 22.5 degree cut will need to be made at both ends of the brace.
For double checking, I like to mark my wood with a pencil where I want the cut to be before cutting, just as a precaution to avoid cutting the angle in the wrong direction. You can never be too careful!
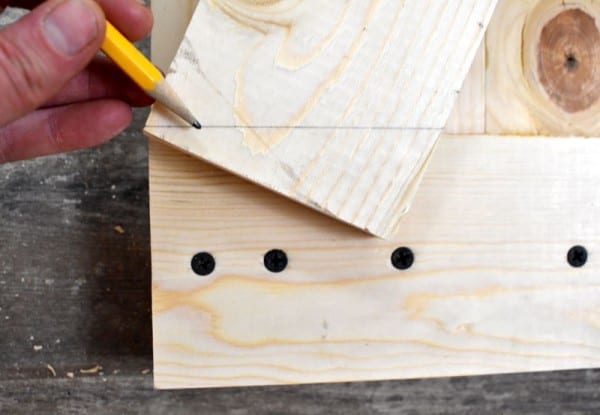
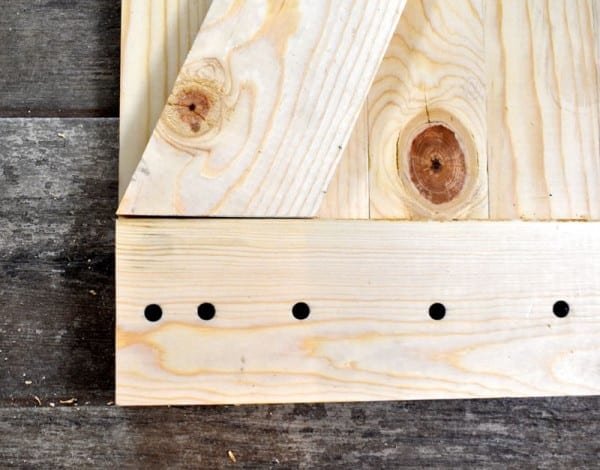
Then, I line the mark up with my blade to make sure it’s right on.

Perfect!
Screw on the diagonal brace with the 1in screws.
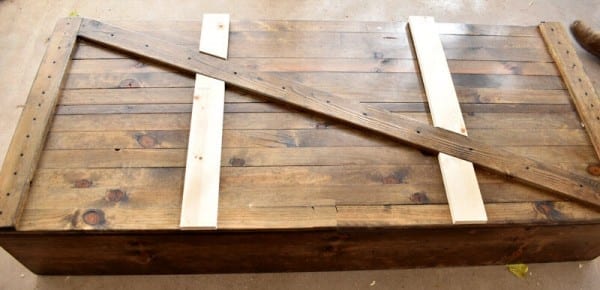
Next, screw on the the short and medium cross braces of the door with the 1in screws. As you can see, I decided to add these extra braces AFTER I stained my cabinet, so do yourself a favor and add them BEFORE you stain it…LOL
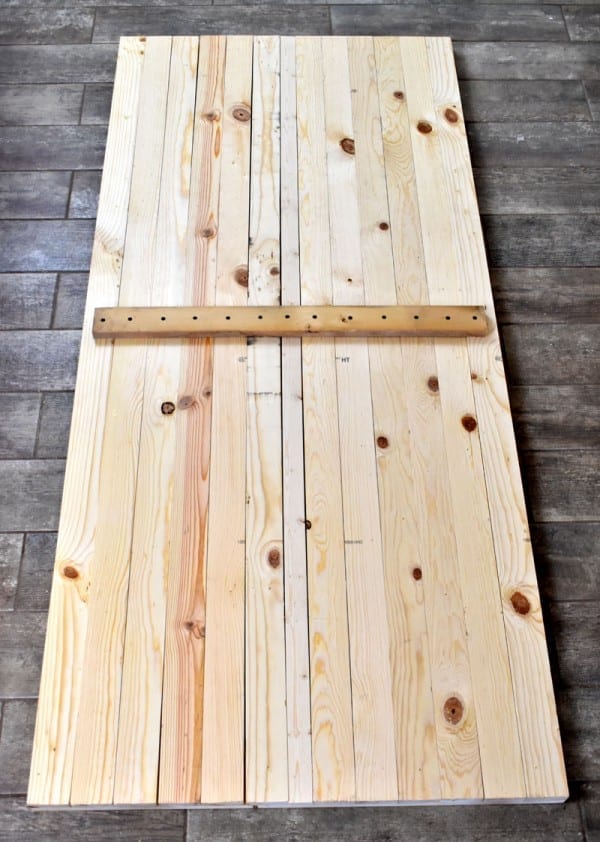
Flip the door over and screw on the the inside door brace with the 1in screws. Make sure you center it or else the door won’t close correctly.
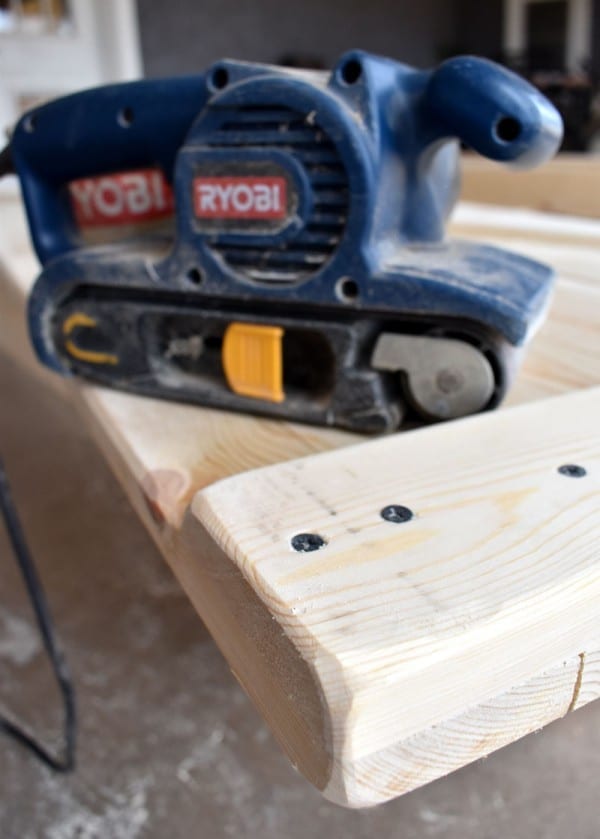
To get more of a worn look, I rounded off all the outer edges of the cabinet with a belt sander. A belt sander takes off a lot of material in a little amount of time.
Staining the Cabinets:
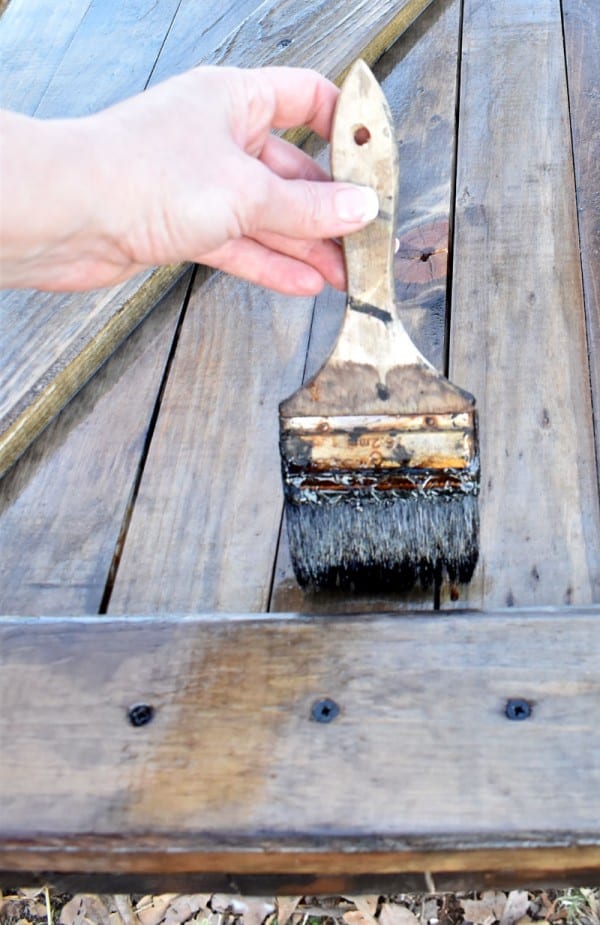
Now you are ready to stain it! Although I used my homemade DIY Old Wood Stain, to make the wood look old, you can use any kind of stain you want.
After the stain was dry, I added the clear satin polyurethane.
Quick note: Only add one coat of this brand of polyurethane if you want a ‘Satin’ finish instead of a glossy finish. Although it says ‘Satin’, it does get glossier with more coats! (I found this out after adding two coats and my door was so glossy that it looked wet even after it dried!)
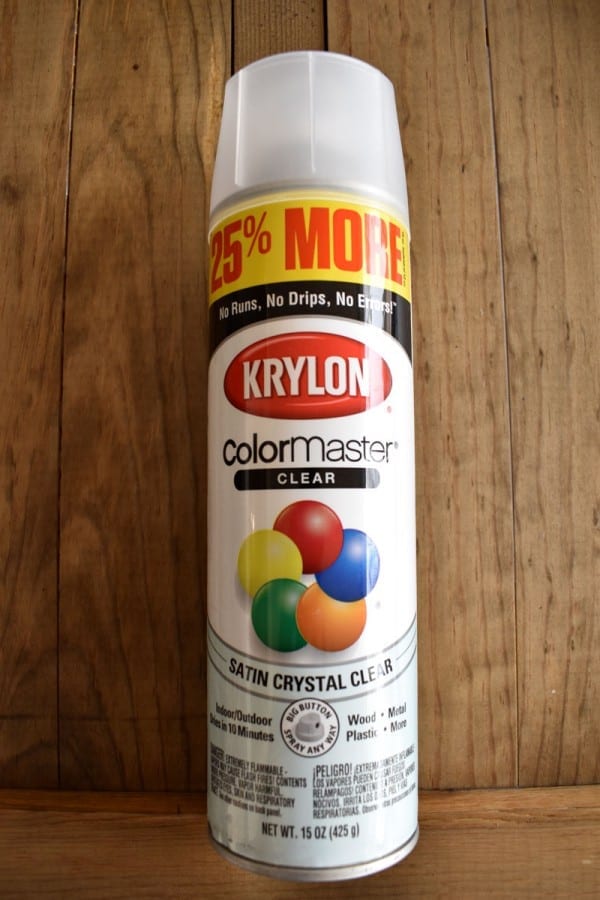
To de-gloss the polyurethane coating, I sprayed on a coat of satin clear coat. Thankfully, this worked very well and I no longer had a shine to the finish.
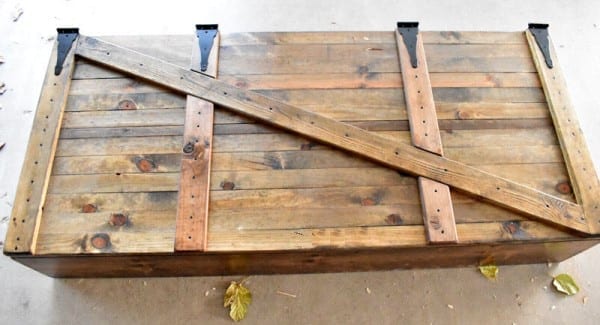
Attaching Hardware:
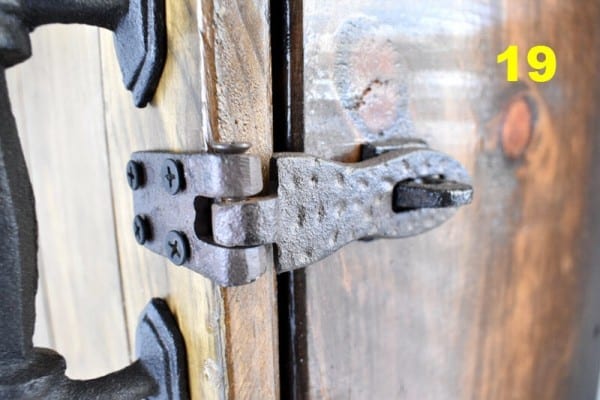
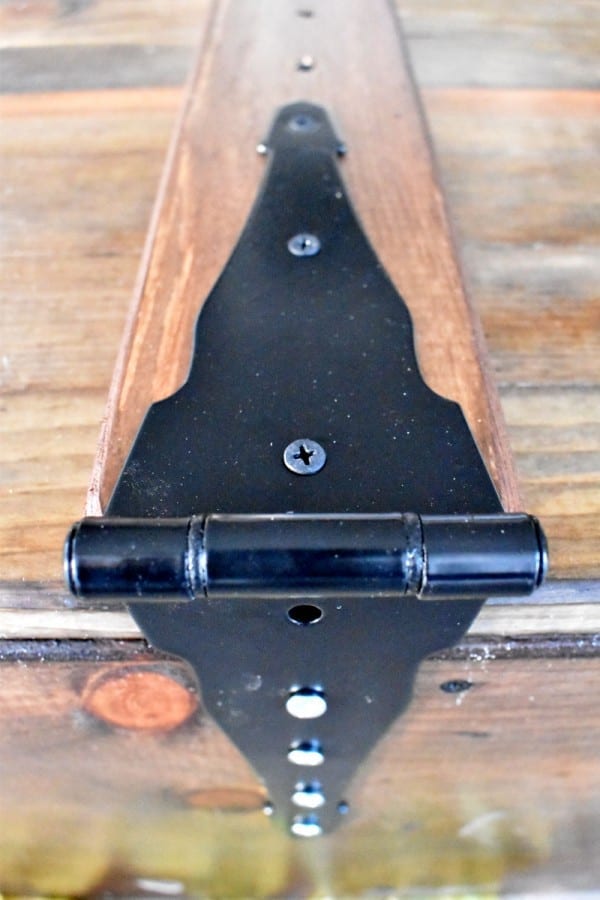
Time to attach the hinges! To make the cabinet sturdier, I drilled two more holes with my hand drill into one side of each hinge. I did this because one of the holes won’t be used when you mount it to the door.
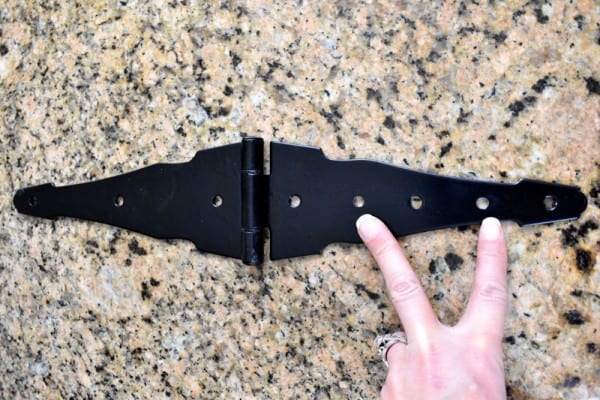
Mount the hinges with the 3/4in screws
As you can see, one of the holes won’t be used
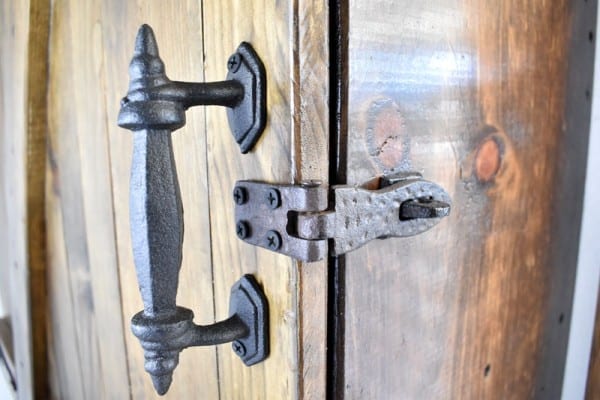
Lastly, mount the handle and the padlock door latch with the 1-in screws
Mounting the cabinets:
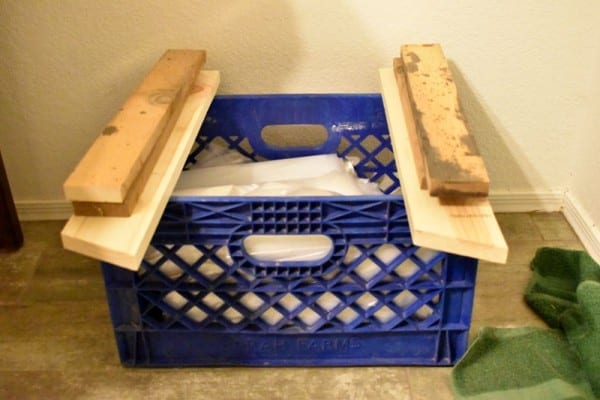
I have a method to mount the cabinets relatively easily if you don’t have any help. Set the cabinet on something that will hold it at the exact height it will be mounted on the wall. (I used a crate with some wood pieces stacked on top)
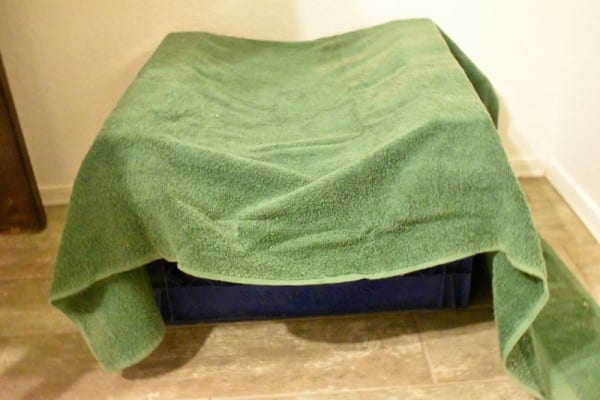
Then I covered the top with an old towel
Next, set the cabinet on top of the box, (use a level on the top to make sure it is straight), mount it to the wall, then slide the box out from beneath. The towel helps it slide out easy and prevents any scratching.
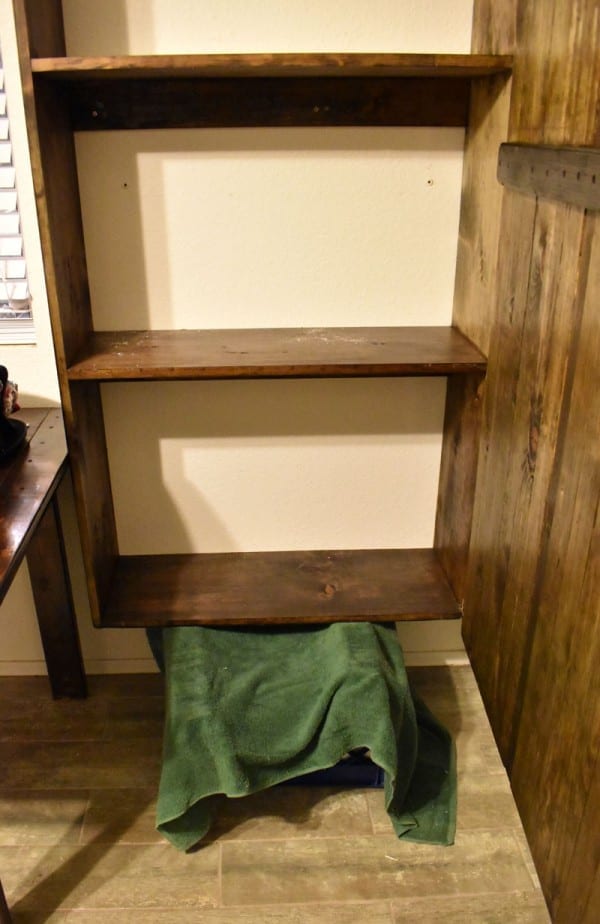
The red dots show where I drilled 3in wood screws through the back braces and into the studs inside the wall to mount (The third back brace in the pic is hidden by the lower shelf).
You are finished! Yay!
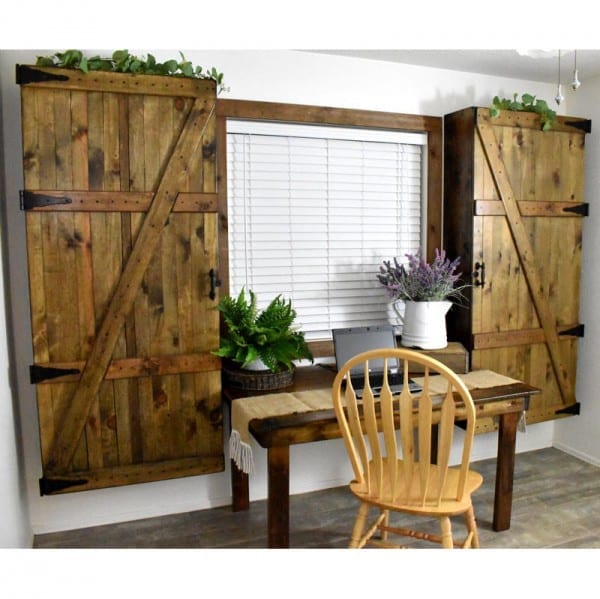
Aren’t they awesome?!!
DIY Rustic Floating Storage Cabinets
Sharing at these great link parties:
The Hearth & Soul Celebrate Your Story Inspire Me Monday You’re the Star Unlimited Monthly Link Party Tutorials & Tips Inspire Me Monday Fabulous Party Inspire Me Monday Wonderful Wednesday Tuesdays at our Home Make it Pretty Monday Farm Fresh Tuesdays Recipe & DIY Linky Project Inspired Inspire Me Tuesday Beautifully Made Creative Muster Party Wow Me Wednesday A Gathering of Friends Talk of Town Party Reader Tip Tuesday Your Whims Wednesday Turn About Tuesday Homestyle Gathering Homestead Blog Hop Tuesdays with a Twist Wonderful Wednesday Home and Garden Thursday Wall to Wall DIY Wednesday Share Your Style Wednesday AIM Link Party
More great link parties I’m sharing at:
To Grandma’s House We Go Vintage Charm Simple Homestead Blog Hop Waste Not Wednesday Style Showcase Party in Your PJs Thursday Favorite Things Feathered Nest Friday Grace at Home Keep in Touch Home Matters Party Friday Feature Funtastic Friday Friday Favorites Family Homesteading/off the Grid Best of the Weekend Friday at the Firestation Flaunt it Friday Handmade Otherwise Happy Pink Saturday Dare to Share Saturday Sparks Create, Bake, Grow & Gather A Morning Cup of Joe! Farmhouse Friday Snickerdoodle Create Bake Make Happiness is Homemade Sundays at Home Sundays Best Link Up Saturday Shuffle Blog Hop Saturday Sharefest Over the Moon Silver Pennies Sunday Dishing it & Digging it Merry Monday
Kathleen Rupp
Wow! This is a fantastic project! I really love the idea and I’m sure you are loving all the new storage space that you are getting now. I need all the storage space I can get so this would be right up my ally. It would be my husband doing the woodworking though…not I ! ha….so I will be pinning for him of course:) Love it; saw your post at the snickerdoodle party:)
Tee
Thank you for your sweet comments! I sure do love mine. It is so easy to vacuum right under them without having to move them away from the wall. If you make your own, feel free to post your pics here so we can all see them!
Ashlyn
These are gorgeous! WOW! I would LOVE to have these in my mud room! You have such wonderful ideas! Thank you for sharing!
Tee
Thank you! That is sweet of you to say. Post pics if you make some of your own!
Cecilia
AH-Mazing! You are the power tool queen! Thanks for sharing at Vintage Charm!
Tee
Thank you so much! I really appreciate that!
sherry cole
I just want to let you know that I chose your project for my feature at Totally Terrific Tuesday this week. You did a great job! Thank you for sharing your project with us. We can’t wait to see what you do next.
Tee
Thank you so much Sherry! I really do appreciate your kind comments. You really made my day!
Babychaser
I love how these look like they could slide closed over the window. 🙂 Pinned it to my farmhouse board!
Here from Snickerdoodle.
Blessings,
Babychaser
Tee
Thank you! I’m glad you like them! I had never thought of having them slide closed over a window.
creaconstruyereciclarestaura
Muchas gracias por tan maravilloso trabajo y tan bien explicado. Me quedo por aquí disfrutando su blog creo compartimos las mismas aficiones. Un saludo.
Tee
Thank you for your kind words! I went to your site today and yes, we do have similar hobbies! I’m glad you visited today!
Hugs,
Tiffany
My Easy Decoration
I am passionate about wood! these cabinets left the environment with wonderful rustic style! What’s more, it gives us the feeling that we are closer to nature … One varnish is enough to make the material even brighter and ready! Simple, practical and stylish !! I loved!!!
Tee
Thank you for your sweet comments!
Cheryl Lemily
Amazing DIY Rustic Floating Storage Cabinets. I really love this DIY idea for a storage cabinet. My kitchen is very small, and I need more storage for my kitchen stuff so I can use this cabinet in my kitchen. Thank you for his DIY cabinet idea.
Tee
Hi Cheryl! I love mine! They can store a lot of things and I like the fact that I can vacuum under them without moving anything!