
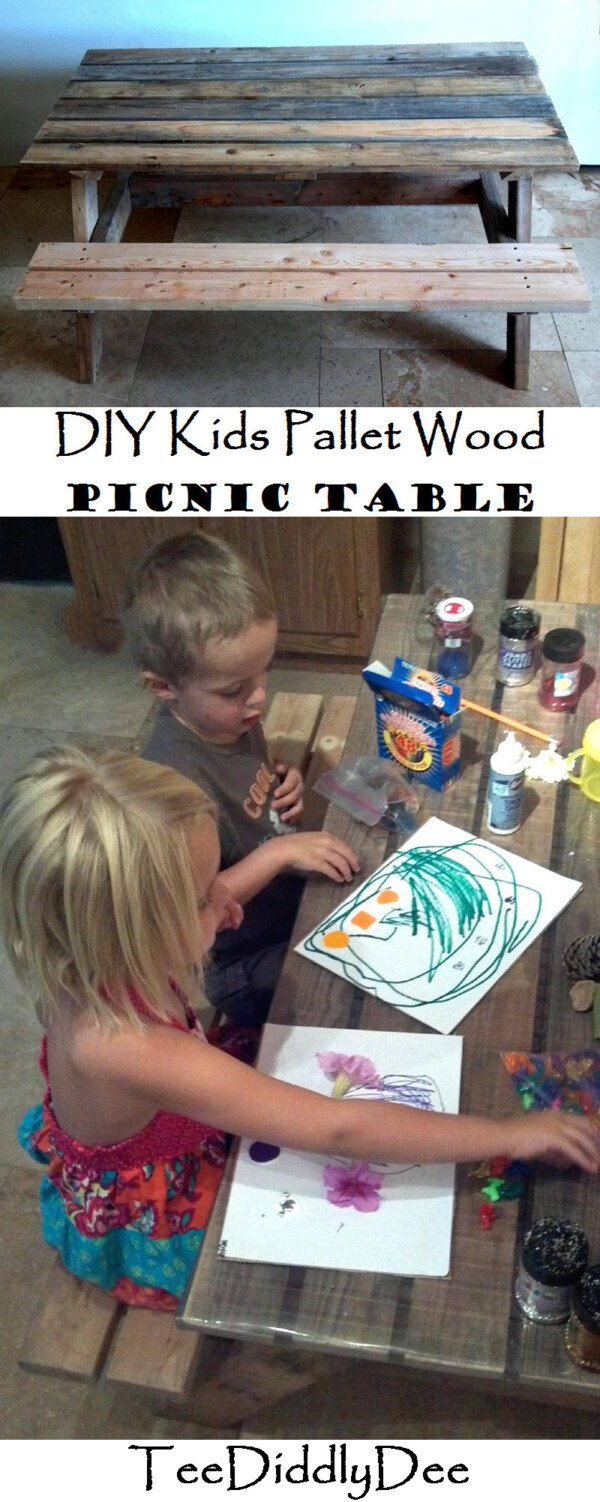
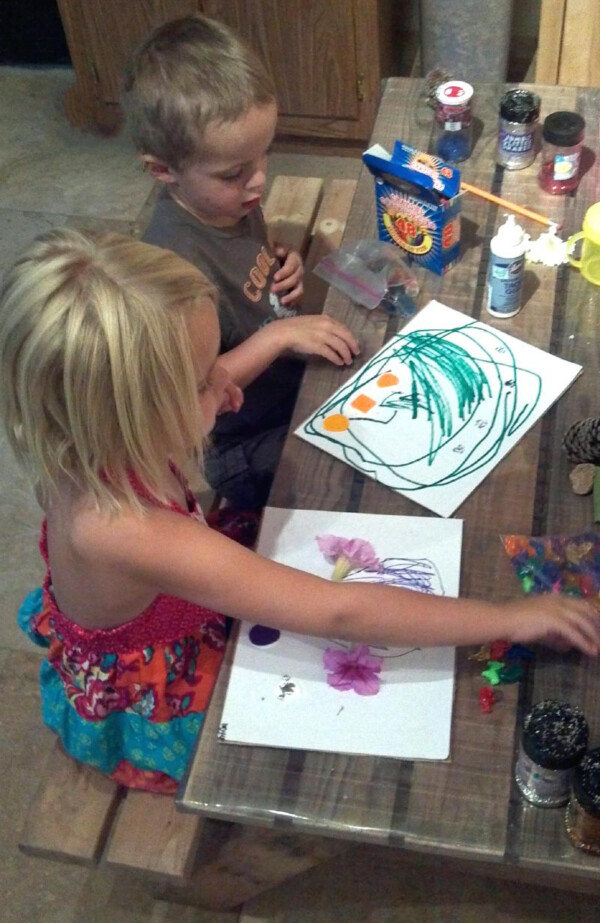
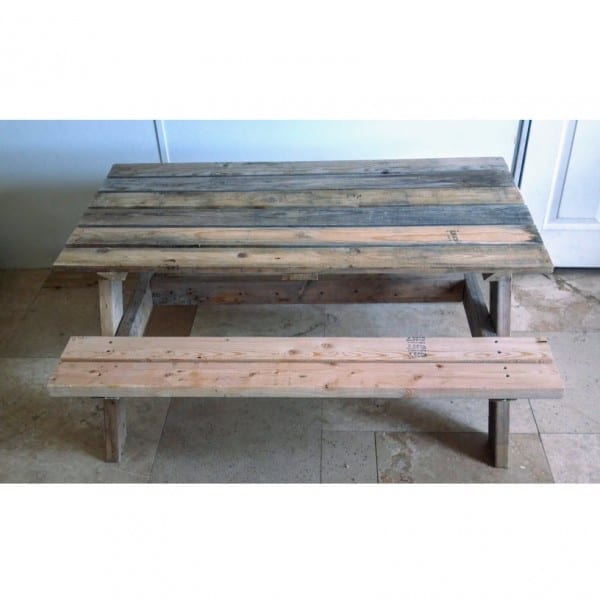
This kid-sized picnic table ended up turning out really cute and it gets so much use when I have kids come over to visit! It’s the perfect size for the kiddos as they can eat off of it, do crafts on it, play board games, and do so many other things while having the perfect place to sit! This awesome table is also light enough that it can be moved outdoors to sit in the shade under the trees and have a picnic! I built the lower part of the table with some lumber that I purchased at the hardware store and finished the table top off with some old pallet wood that was just laying around the property.

Supplies:
- six 1x4s ‘pallets’ at 48in (tabletop) or you can also use four 2x6s at 48in
- one 1×4 at 23 1/2in (tabletop support-needed only if you use 1x4s instead of 2x4s for tabletop)
- two 2x4s at 23 1/2in (tabletop supports)
- Four 2x4s at 26in (legs)
- Two 2x4s at 40 1/2in (seat supports)
- one 2×4 at 37in (bottom support)
- Four 2x4s at 48in (seat boards)
- 2 1/2 wood screws
Tools:
- Hand drill with drill bits
- Sander
- Chop Saw
- Tape measure
- Level
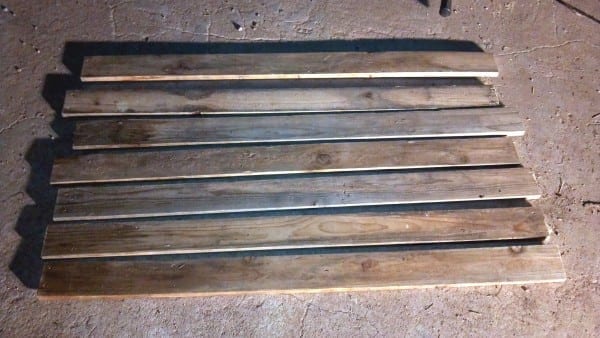
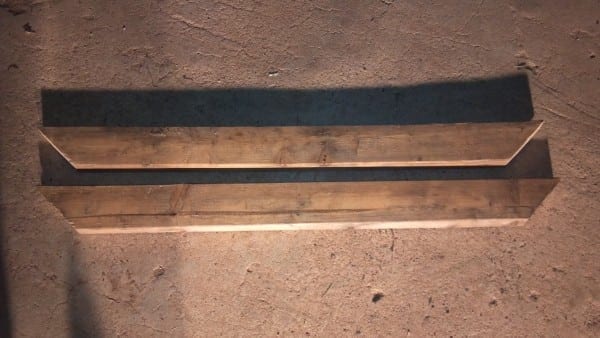
Starting with the tabletop, lay out the 1x4s
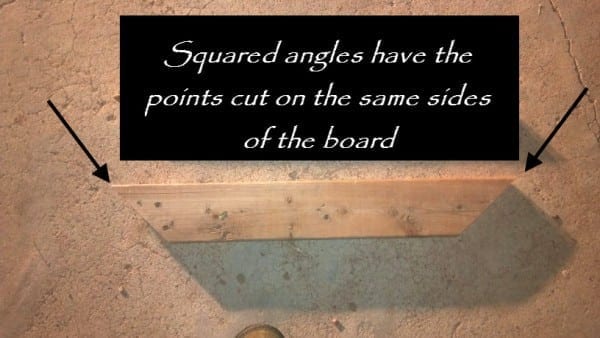
Cut 45 degree ‘squared angles’ on each end of the tabletop supports
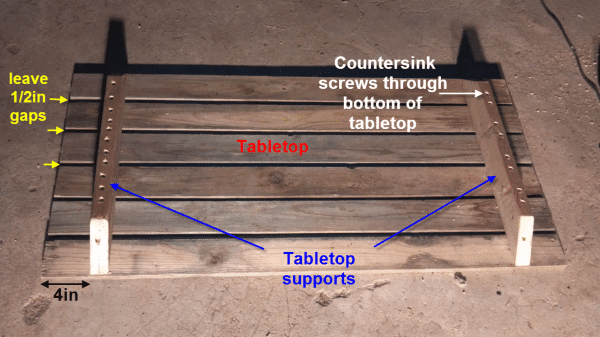
Place the tabletop supports onto the 1x4s. Make sure to leave a 1/2in gap in-between each tabletop board. Screw tabletop supports to tabletop by countersinking the 2 1/2in screws through bottom of tabletop supports.
(Click HERE to learn about countersinking)
For the legs cut each end 30 degrees ‘off square’
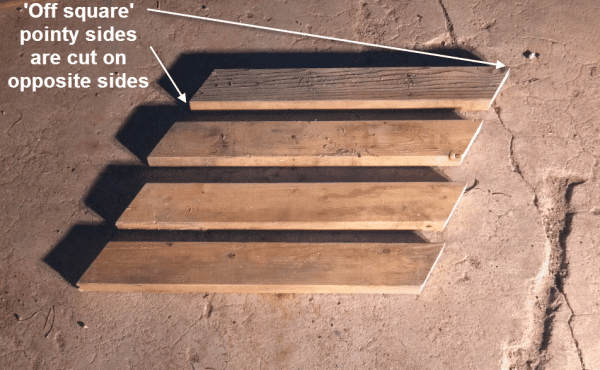
Spacing the legs evenly, I lined them up on the outer edge of the table top supports and screwed them in

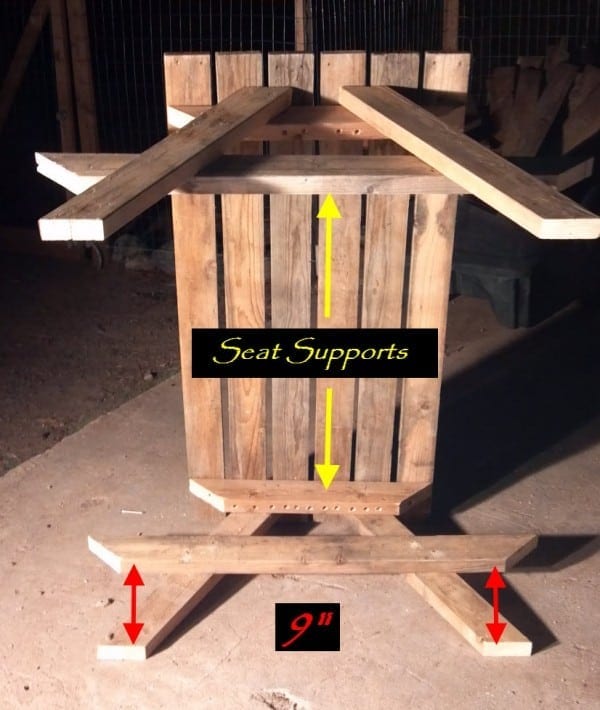
Seat supports: Cut 45 degree squared angles on both ends of each board
Center and measure 9in from bottom of legs, and screw in supports
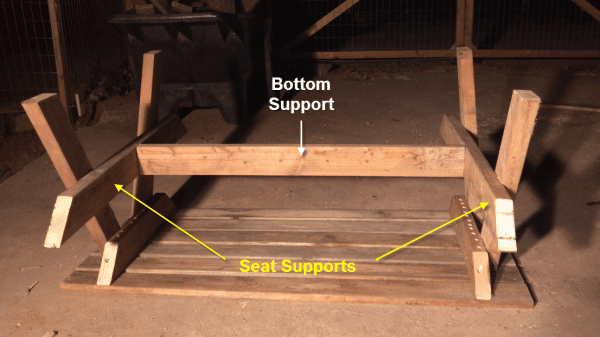
Screw bottom support into center of seat supports
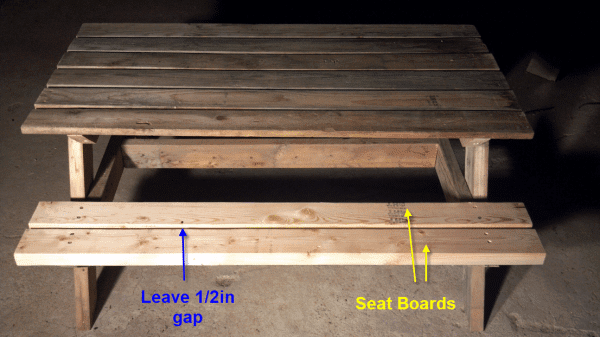
Last but not least, screw in the seat boards! Leave a 1/2in gap in-between the two boards
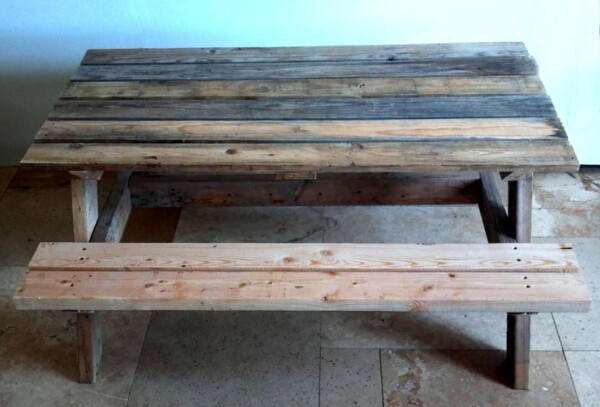
Since I used 1x4s instead of 2x4s for the table top, it was a little flimsy so I screwed a table top brace into the bottom of the table top. This makes it very strong

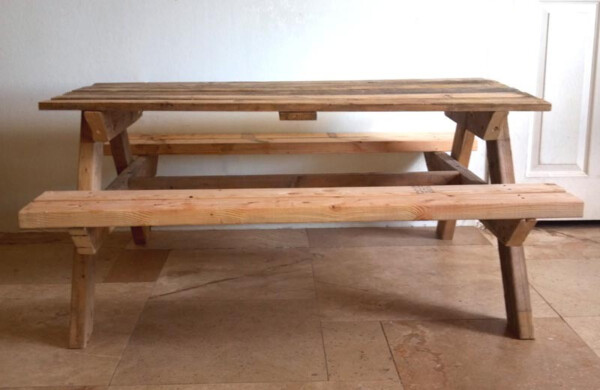
It’s ready for the kiddos!
ostermann
Saved as a favorite, I like your web site!