
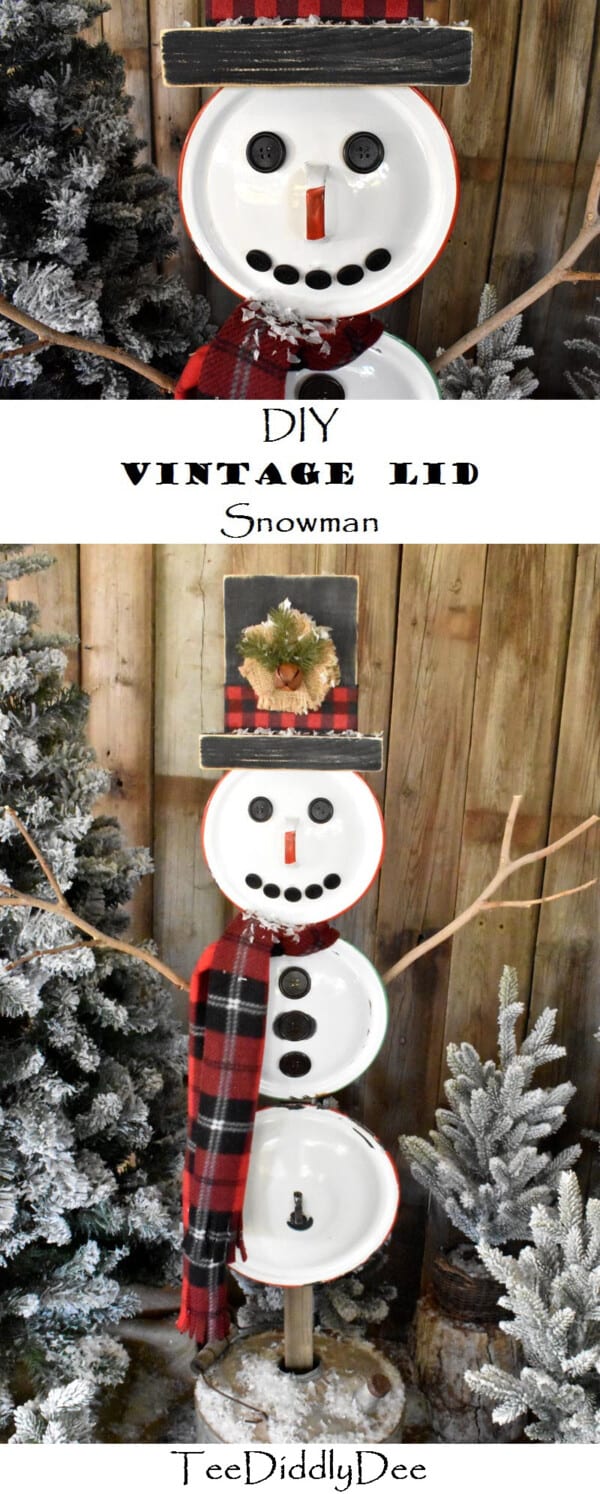
DIY Vintage Lid Snowman
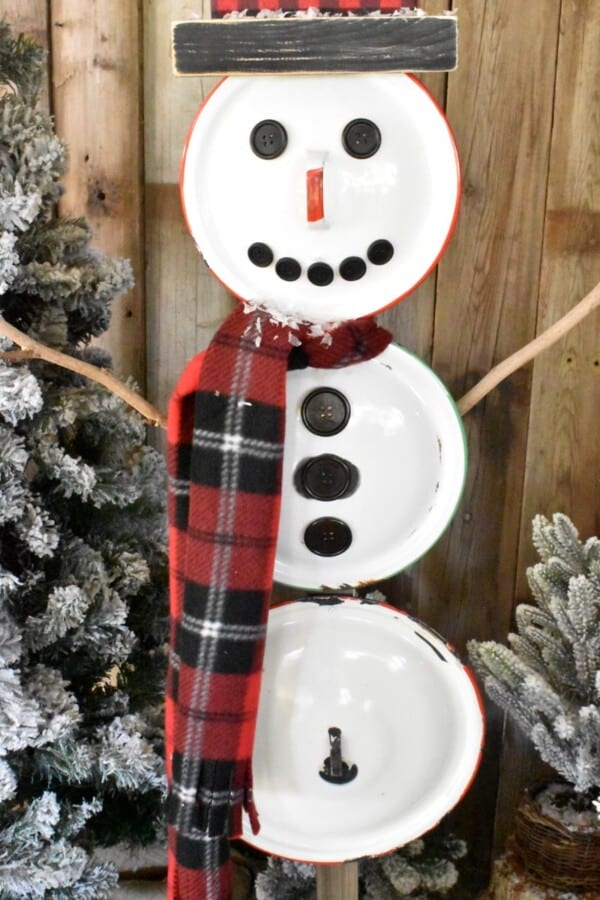
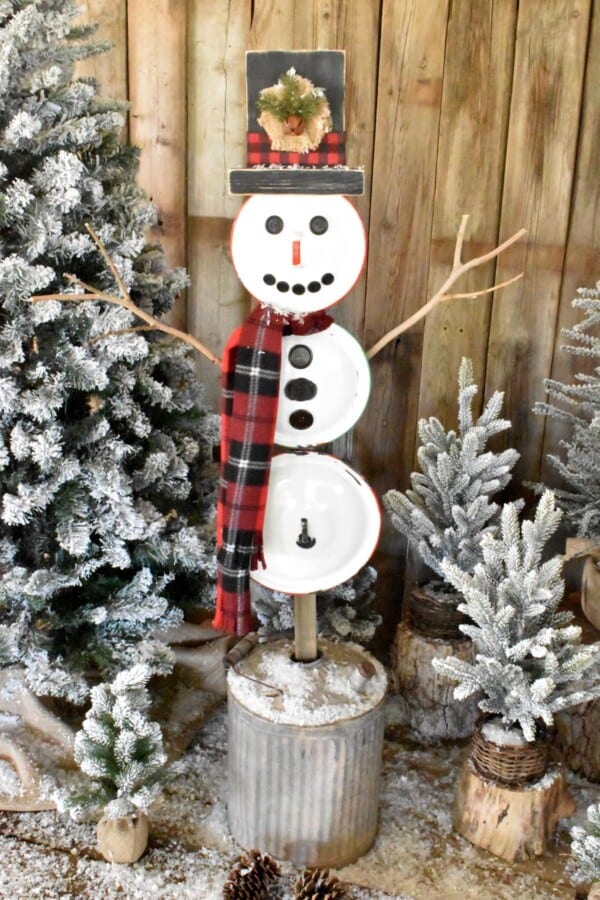
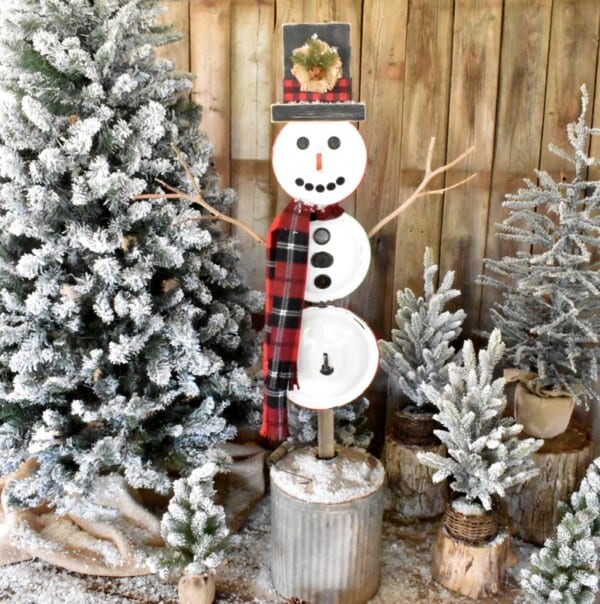
This charming DIY Vintage Lid Snowman turned out so cute, he is sure to delight children from 1 to 100! His nostalgic look is reminiscent of days gone by, with his traditional top hat, his black button eyes and mouth, his warm wintery scarf, and his adorable stick arms. He would be the perfect holiday touch to your front porch or near your walkway, greeting all your guests and visitors with his warm big smile and outstretched hands to welcome everyone to your home. Since he is not made of snow, he will remain a “jolly happy soul,” all winter long, whether it is 10 below zero or on warm, sunny days!
I think he’s cute as a button, don’t you? I’m definitely going to make another one to go with him!

The children in my neighborhood have already named him Frosty!
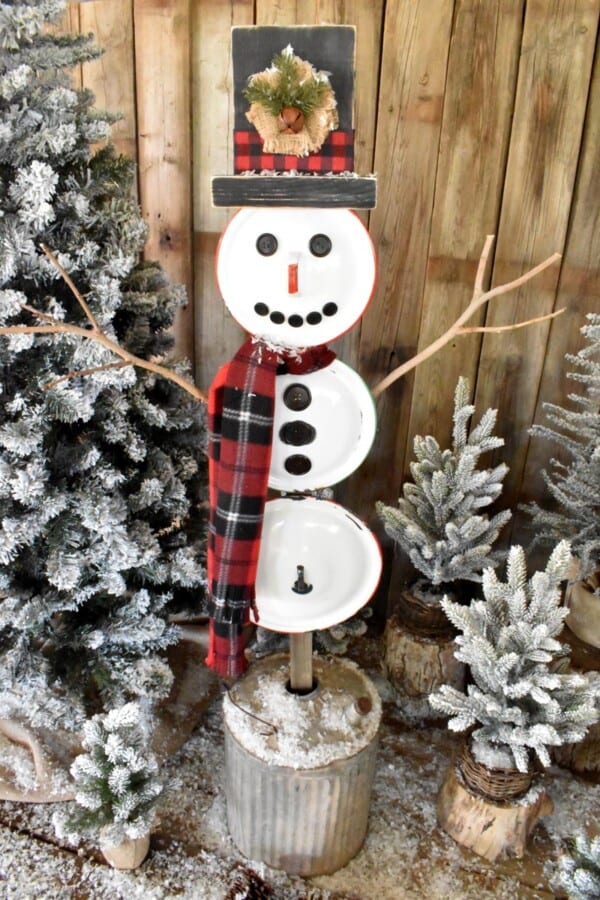
He is all bundled up, ready for the holidays!

You can put him in the garden, in a pot on the porch or near your sidewalk so everyone can see him. I have this little guy standing in an old, vintage metal bucket so I can place him wherever I want!
DIY Vintage Lid Snowman Tutorial
Supplies:
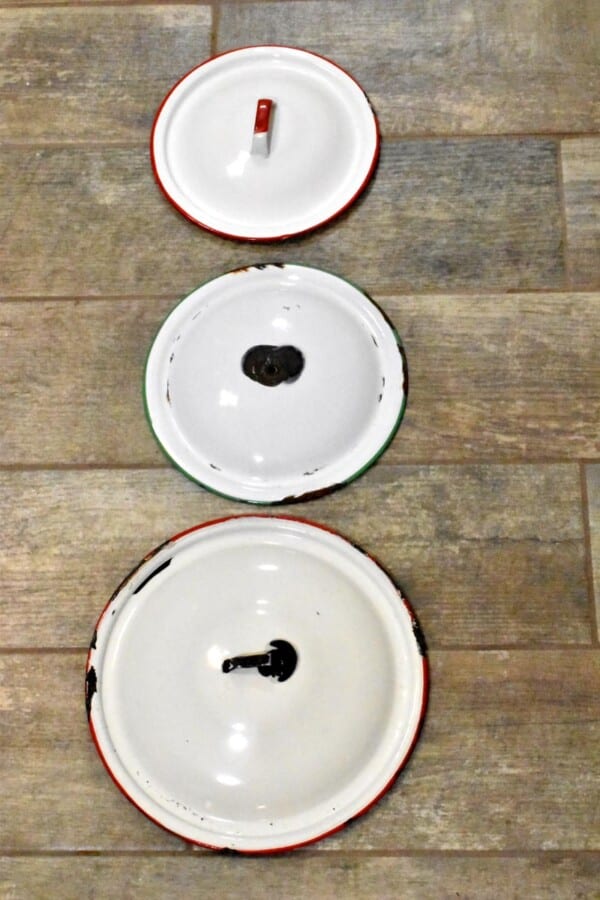
- (3) White Lids -You can use vintage enamel lids like I did or just regular metal pan lids and spray them white. I used 3 different graduated sized lids. Head = 8 inches, Belly = 8 1/2 inches and his Torso = 10 inches but any size lid would work as long as they are all different sized.
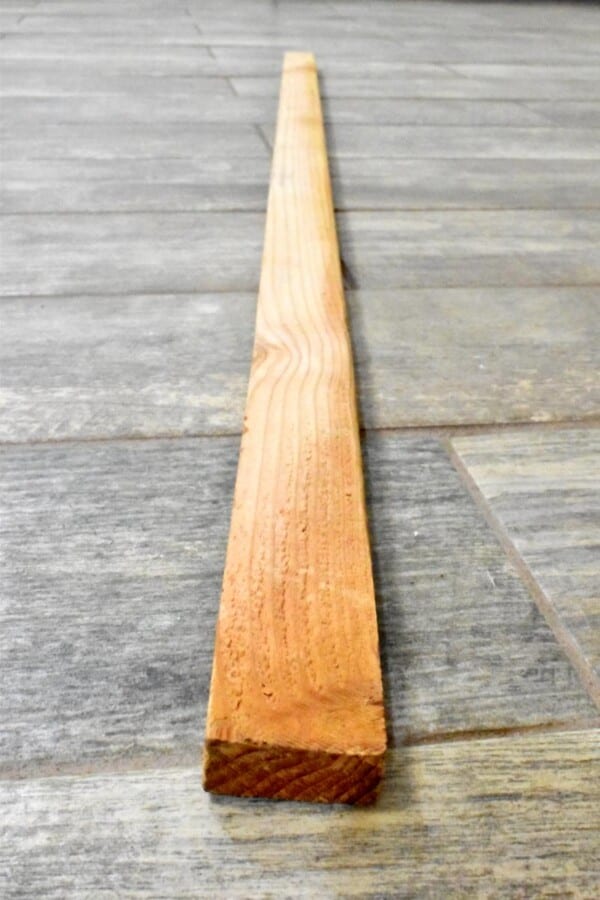
- (1) 1in x 2in x 8 ft long board – (Found at Lowe’s or Home Depot)
- Back Brace/Stake – 46 inches long (or longer as needed for larger lids).
- Hat brim – Cut a piece at 7 1/2 inches long
- (1) 3/8in x 6in x 3ft board for Hat. Cut piece at 6 3/4 inches long (I found mine at Lowe’s HERE )
- Buttons (various sizes) I bought mine at JoAnn’s but any craft store should have them.
- Eyes (2) 1 inch
- Mouth (5) 3/4 inch
- Belly Buttons (3) 1.5 inches
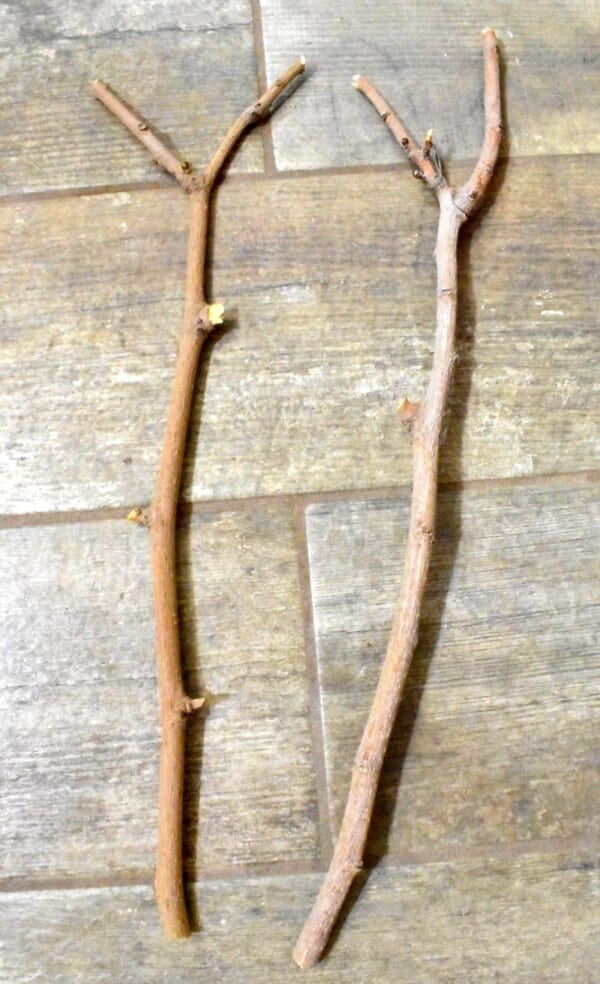
- Small Tree branches with “fingers” -you’ll need to cut two at about 18 inches in length (arms). Make sure they are thick enough (approx. 1/2 inch thick) at the base to put a couple of screws through to attach.
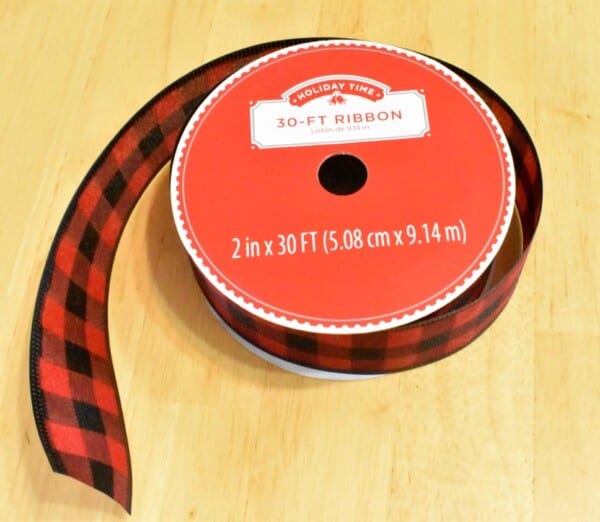
- Ribbon (Hat Decor) I used 2 inch wide plaid ribbon cut at 10 1/2 inches long (hat band) Found at (JoAnn’s, Michaels, etc.)
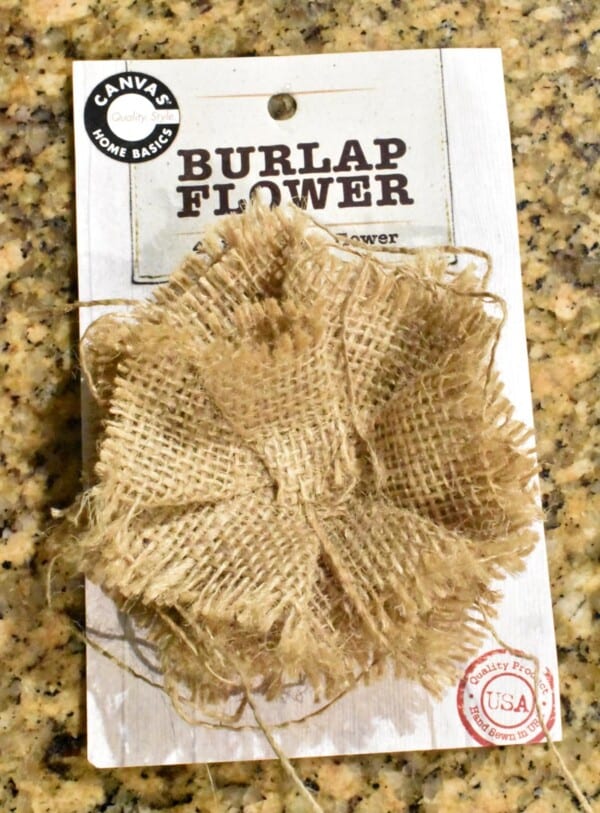
- Burlap flower (Hat Decor) – (Found at Walmart)
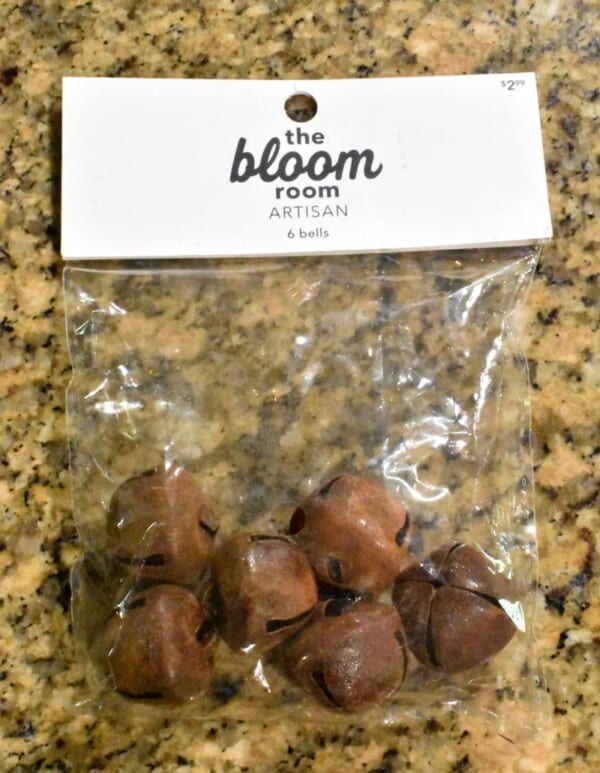
- Rusty Bells (Hat Decor) – (Found at any craft store)
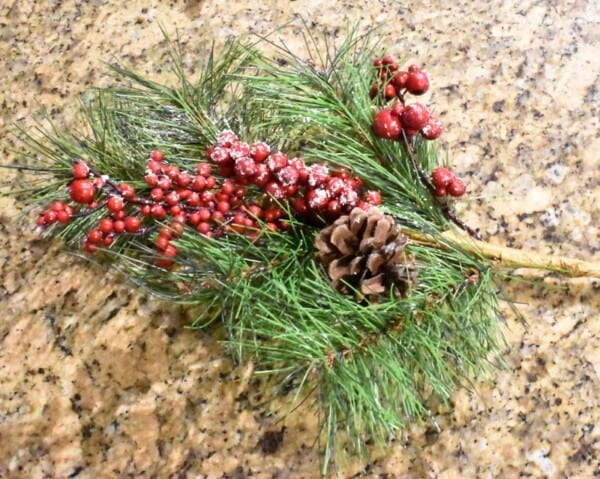
- Pine Greenery (Hat Decor) – I just pulled off and trimmed a few pieces from the branch (Found at Michael’s, JoAnns, etc.)
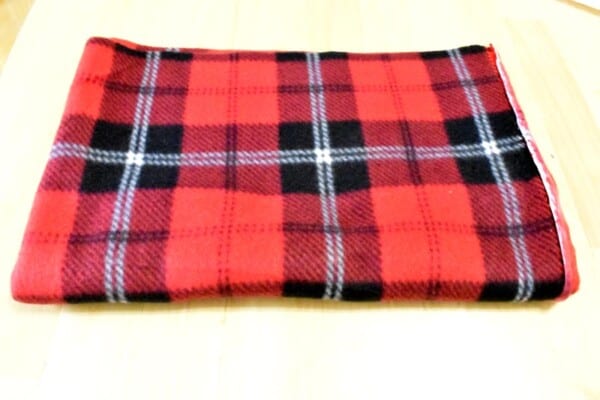
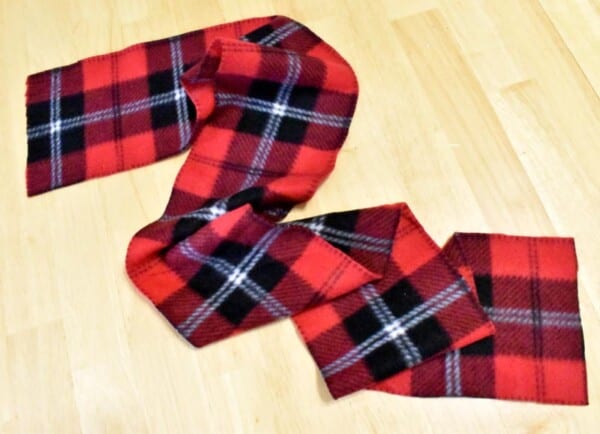
- Plaid fleece (Scarf) – I bought 1/4 yard – Cut 5 1/2 inches wide at 4 feet long. (Found at JoAnn’s)
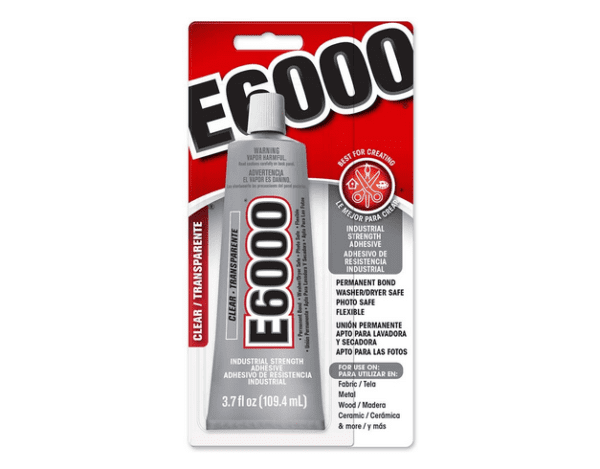
- Glue (I used E6000 found HERE) I used this to glue on the buttons.
Paint:
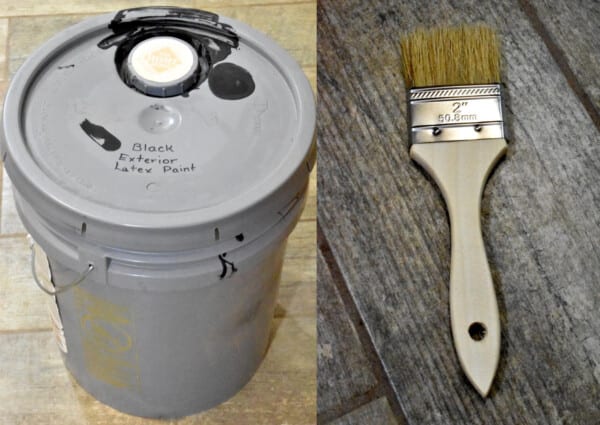
- Black paint and a Paintbrush (spray paint will work fine also)
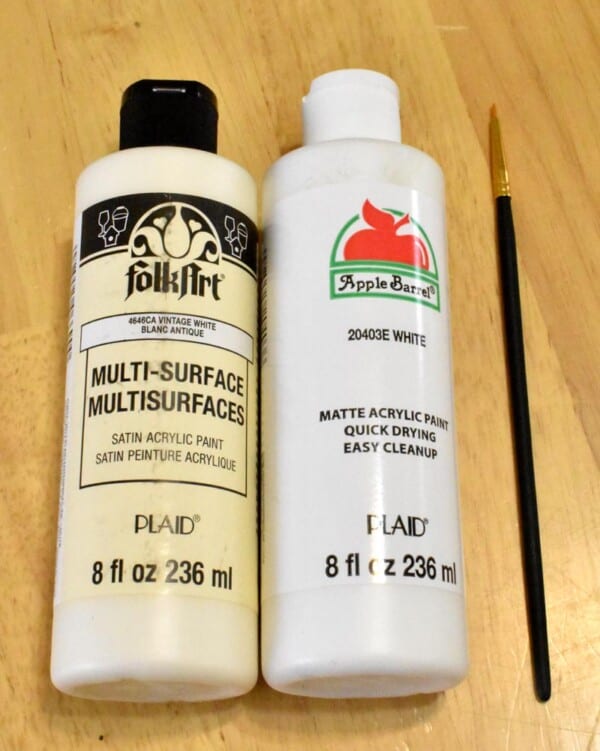
- White paint (Acrylic or any exterior paint) the same color as your lids, and a small paintbrush (to hide each screw after attaching lids)
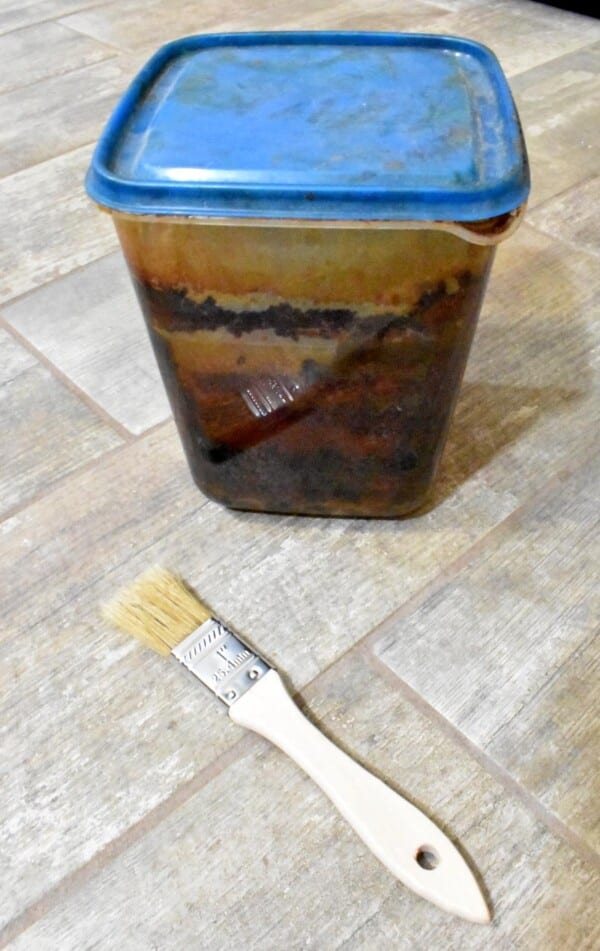
- Old wood stain to make wood look old-I stained the back brace (see my cheap DIY Old wood stain tutorial HERE)
Tools:
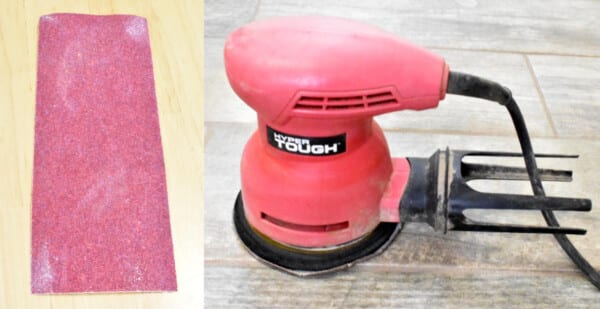
- Sandpaper (60 grit) can be used entirely, but an Orbital Sander (with 60 grit sandpaper) was also used to sand down edges of hat faster.
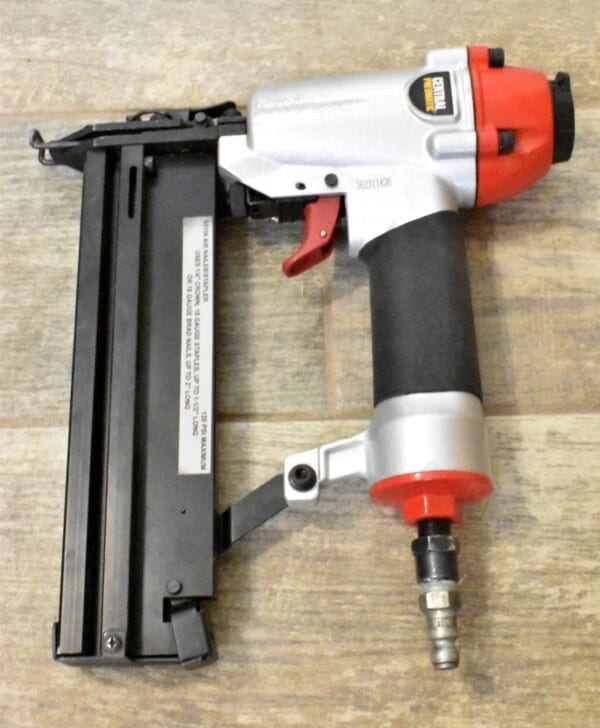
- Nail gun with 1 inch nails
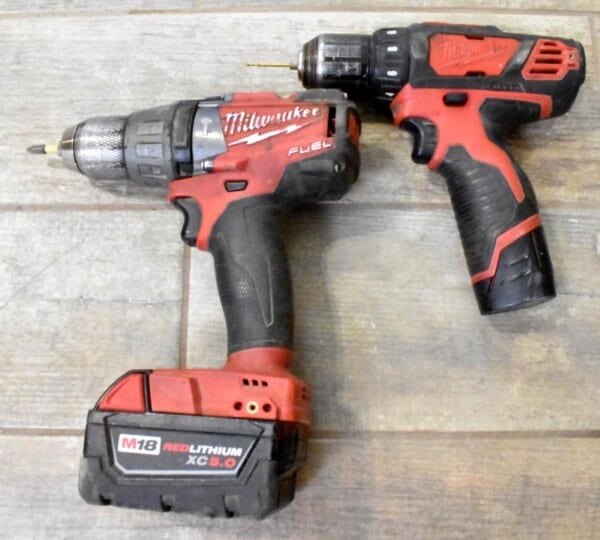
- Hand Drill with Philips Bit and Drill Bit for drilling pilot holes (I use two drills to avoid having to keep changing around the bits).
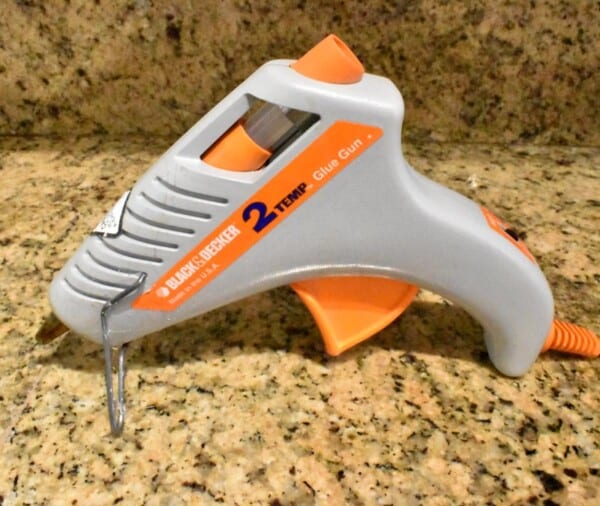
- Hot Glue Gun and Glue Sticks
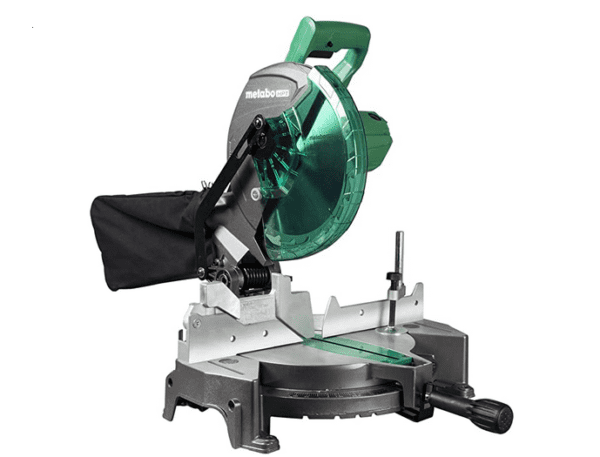
- Miter Saw
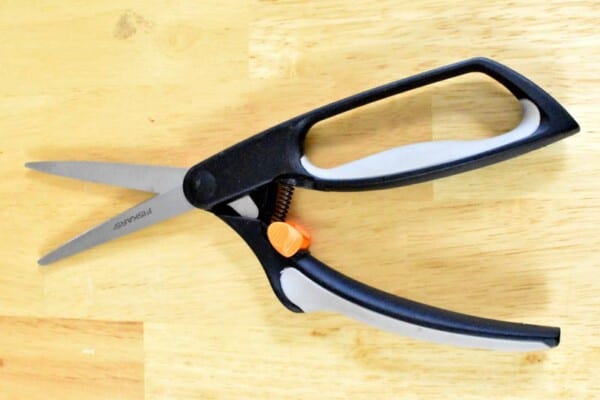
- Scissors – to cut fabric
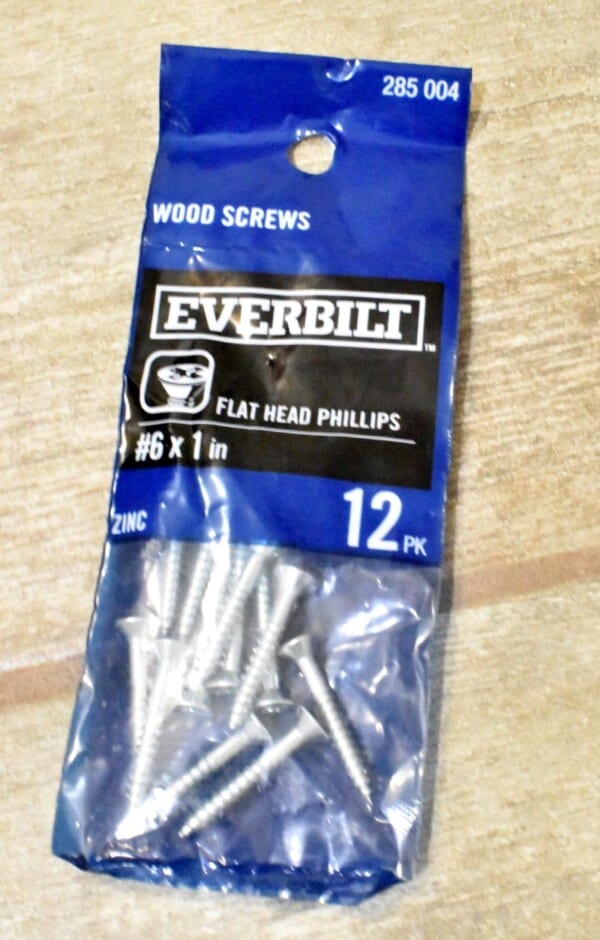
- #6 1 inch wood screws – to attach hat and hat band, plus twig arms to board.
- #4 1/2 inch wood screws To attach lids to board (my lids worked great with this length but depending on how thick your lids are, you may need longer ones).
Pictures of Supplies:
White lids – I used 3 different sized lids. Head = 8 inches, Belly = 8 1/2 inches and his Torso = 10 inches
Note: Any size lid would work as long as each one is a different size.
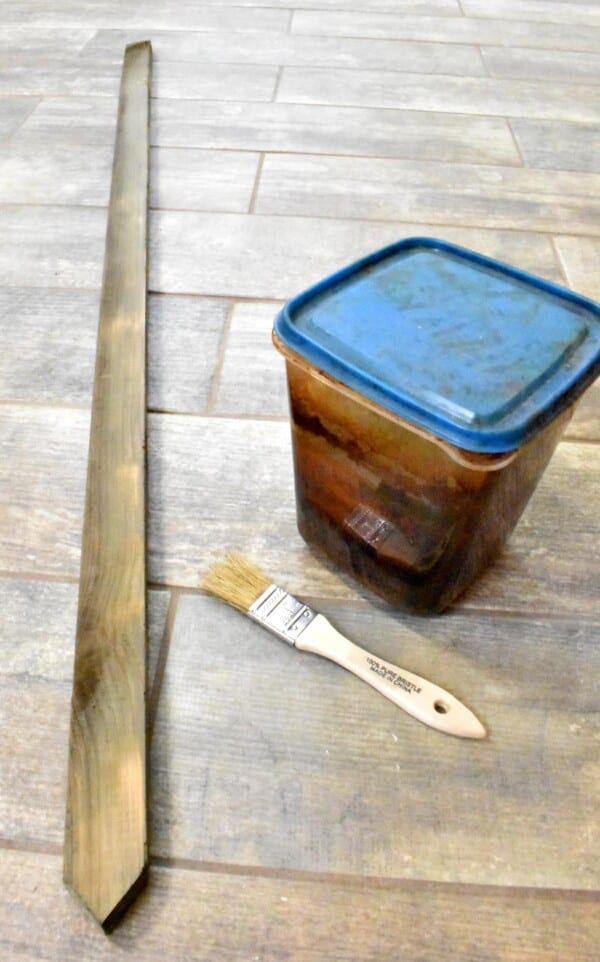
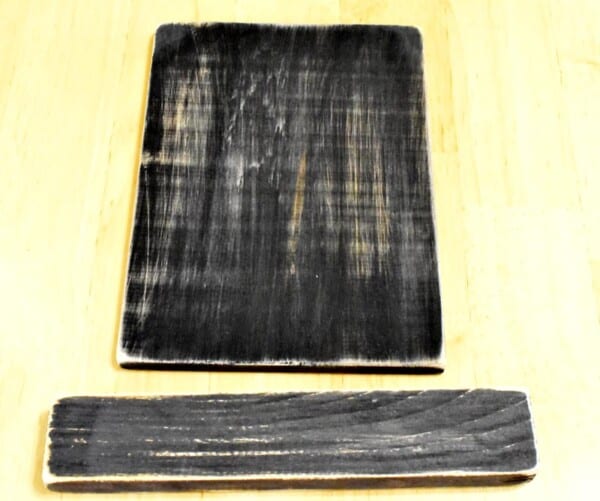
2. Back Brace/Stake and Hat Brim:
- (1) 1in x 2in x 8 ft board
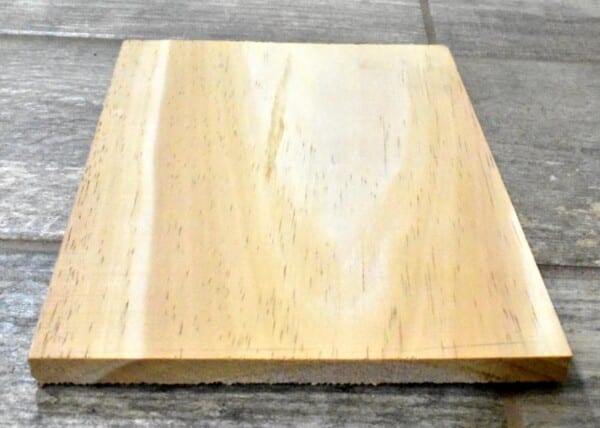
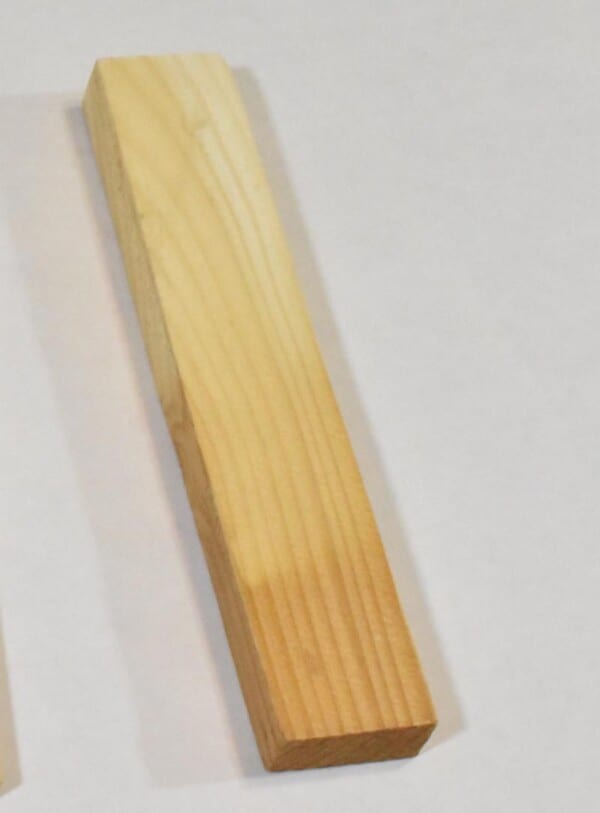
3. Hat:
- (1) 3/8in x 6in x 3 ft long board.
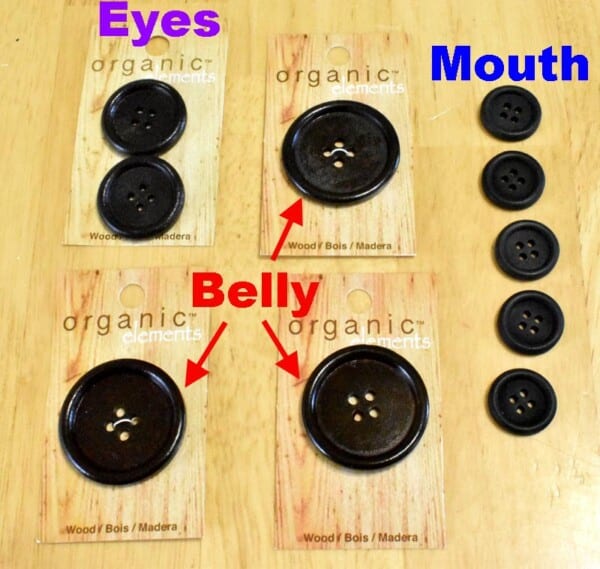
4. Buttons:
-
-
- (2) Eyes – 1 inch
- (3) Belly Buttons – 1.5 inches
- (5) Mouth – 3/4 inch
-
Note: I tried to get wooden looking buttons that were not very shiny.
5. Small Tree branches with “fingers.”
Note: We were going to use these branches below, but found some with more fingers (See final pictures).
(Hat Decor)
6. Hat Band:
- Ribbon -I used 0 1/2 inches of 2-inch wide plaid ribbon (hat band).
8. Rusty Bells
9. Pine Greenery
10. Scarf – Plaid Fleece
11. E6000 Glue – to glue on the buttons
Pictures of Paint:
- Black Exterior Paint and Brush (Hat)
2. Acrylic Paint and Brush (screw heads)
3. Old wood stain and Brush (Back Brace/Stake) (see my DIY Old wood stain tutorial HERE)
Pictures of Tools:
- Sandpaper (60 grit) can be used entirely but Orbital Sander (with 60 grit sandpaper), was also used to sand down edges of hat faster.
3. Hand Drill with Philips Bit and Drill Bit for drilling pilot holes (I use two drills to avoid having to keep changing around the bits).
4. Glue Gun and Glue Sticks
5. Miter Saw
6. Scissors for fabric

DIY Vintage Lid Snowman Instructions
Cutting & Painting the Wood:
Back Post/Stake:
To make the Back Post/Stake, first, gather your 1x2in and cut the first piece at 46 inches long (If you have larger lids than what I used, add more length as needed).
Next, cut a point at one end of the back brace/stake with the miter saw. I made a 50 degree cut on both sides of the point.
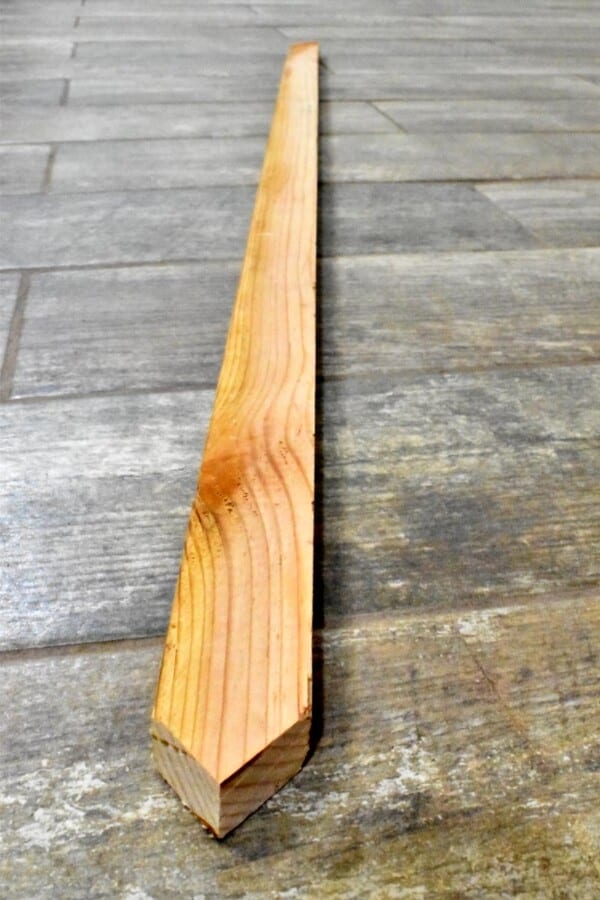
After cutting the post, paint it with the old wood stain. Let dry.
Cutting Hat and Hat Band:
Hat Band:
Cut a 7 1/2 inch piece off the remainder 1in x 2 in board.
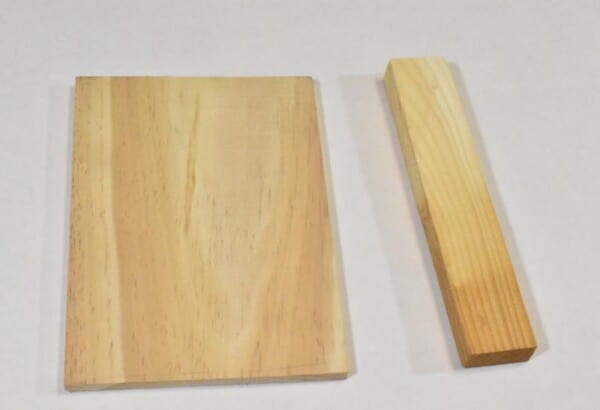
Hat:
Gather your 3/8in x 6in x 3ft board and cut a piece at 6 3/4 inches long.
Painting the Hat:
First, assemble your 2 hat pieces.
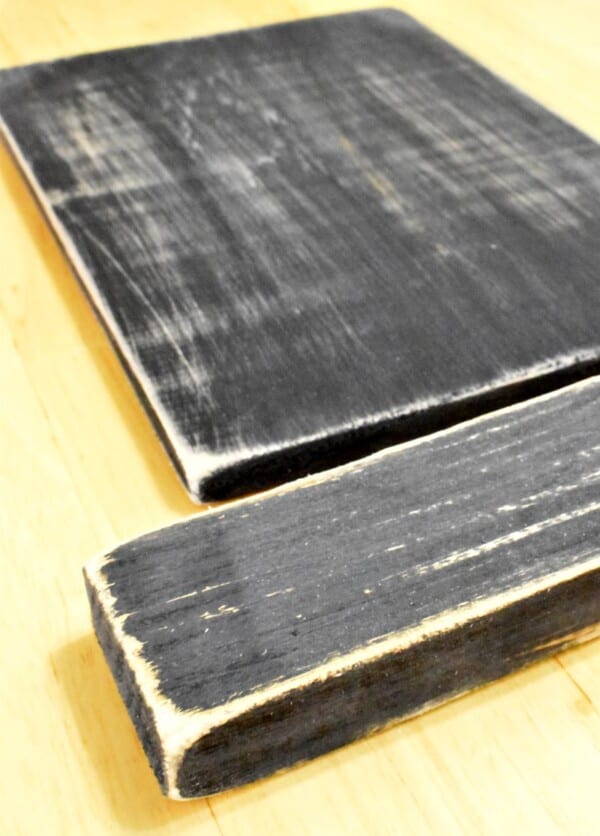
Next, paint both sides and edges of both hat and hat brim with the black paint. Allow to dry.
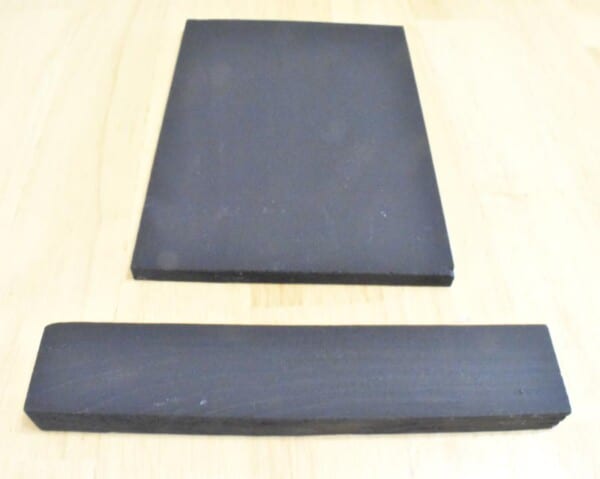
To distress the hat, sand the wood pieces, front, back and all sides with sandpaper, if desired.
Note: To make it go faster, I sanded the edges and corners with the orbital sander, and used regular sandpaper for the middle parts of the pieces.
The orbital sander made it easier to round the edges a little, but you can achieve the same look with sandpaper.
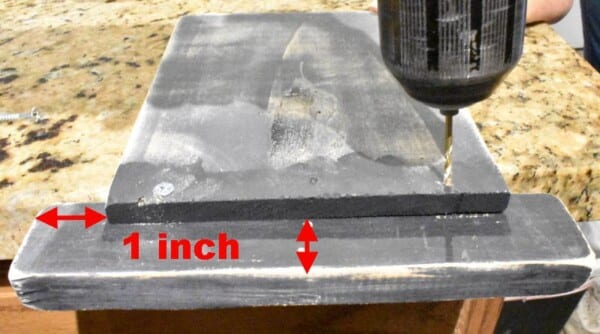
Attaching the hat to the brim:
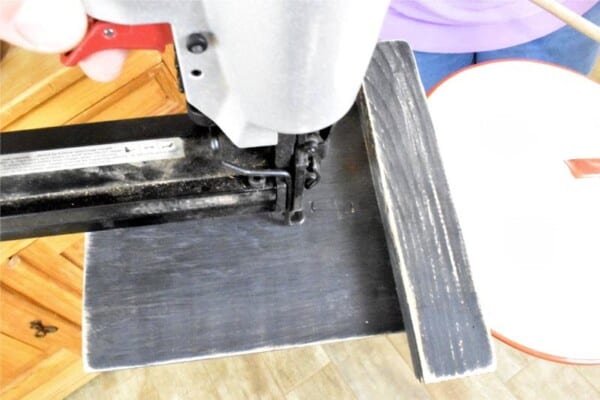
First, center the hat 1 inch from the bottom of the brim and 1 inch from both sides. After drilling pilot holes, screw the top of the hat together to the brim of the hat using the one inch screws, .
Note: It is important to drill pilot holes to avoid splitting the wood! You can also use a nail gun, but I like using screws because they make it sturdier and less apt to fall apart later.
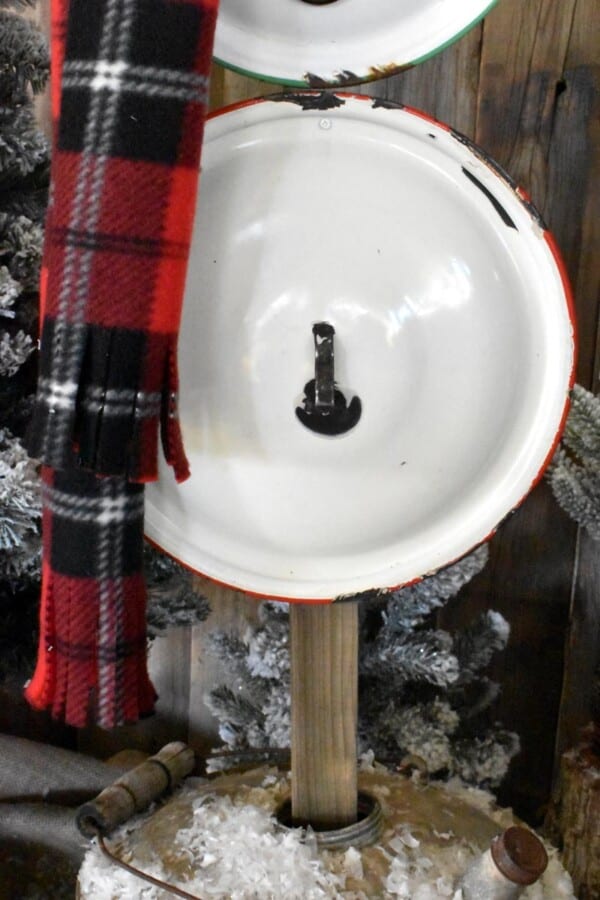
Body Assembly:
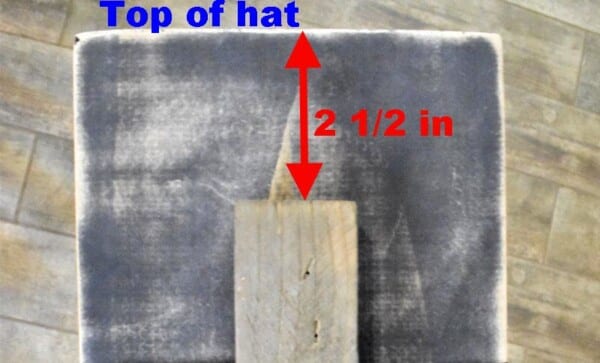
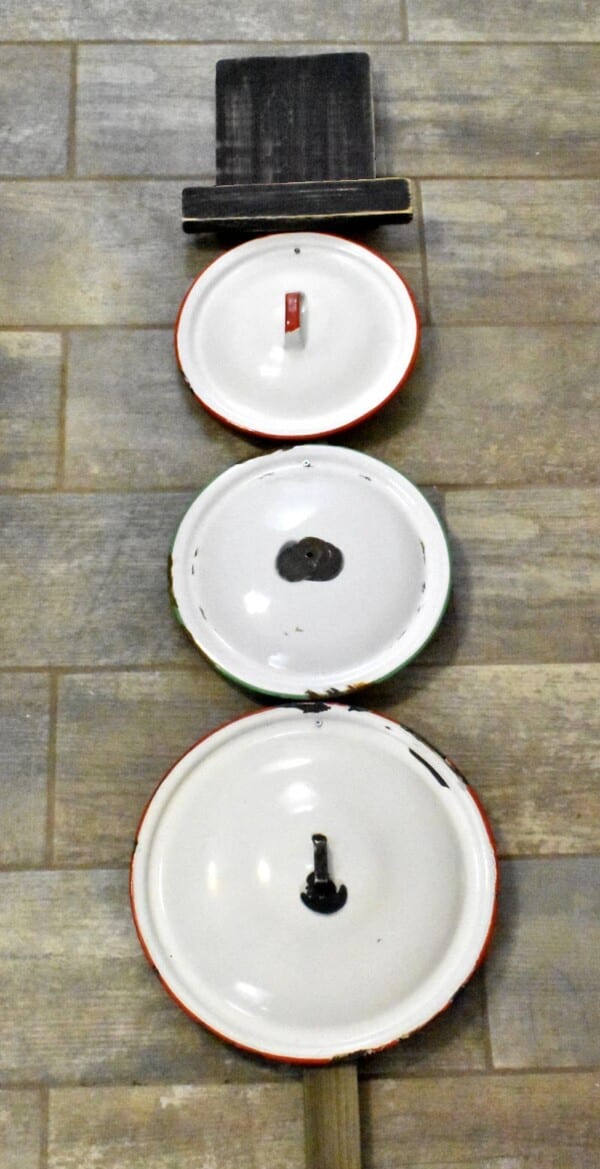
First, lay out the hat and the lids onto the support stick as shown.

The top of the hat will sit approximately 2 1/2 inches above the top of the support stick.
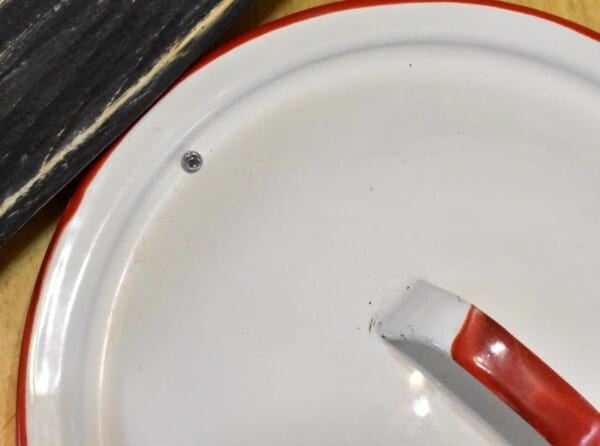
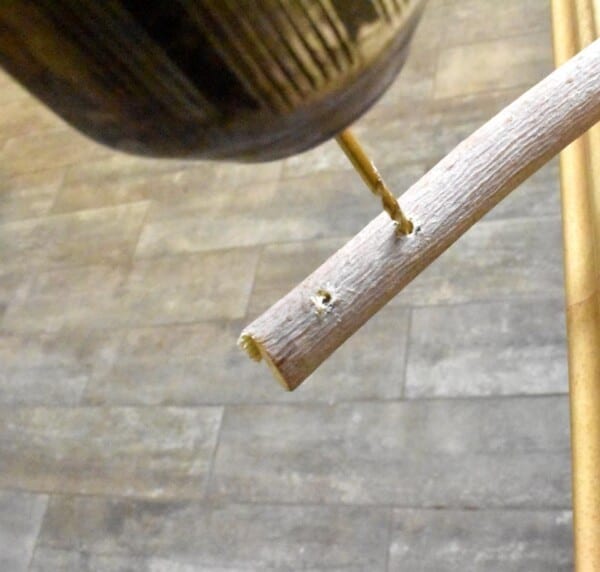
Now, mark where you want your screws to be on your lids. We marked inside the crease on each lid.
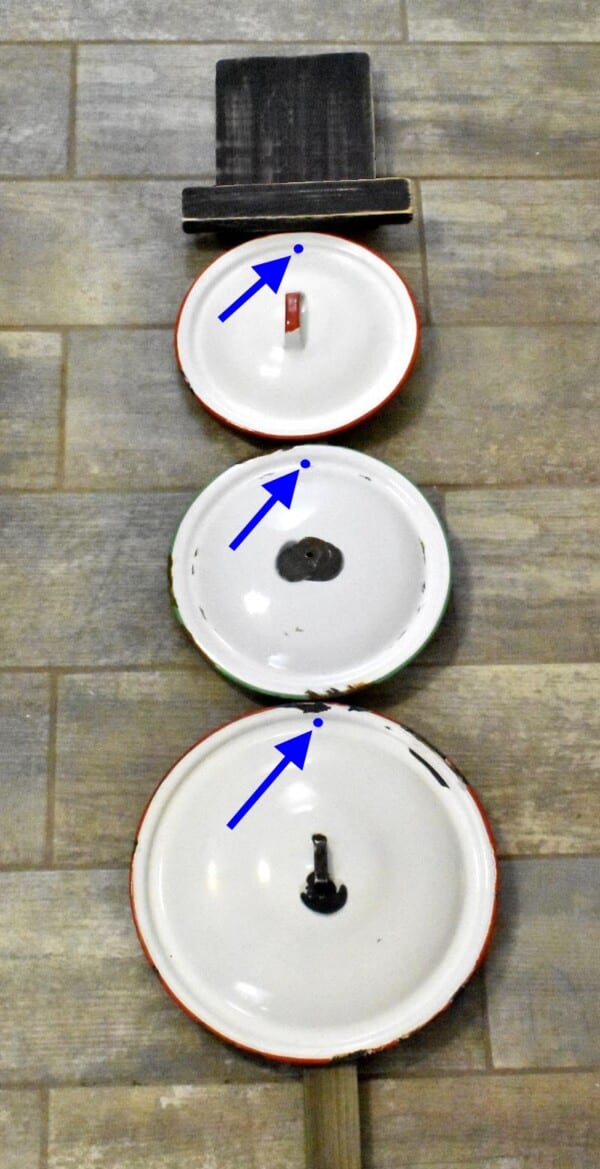
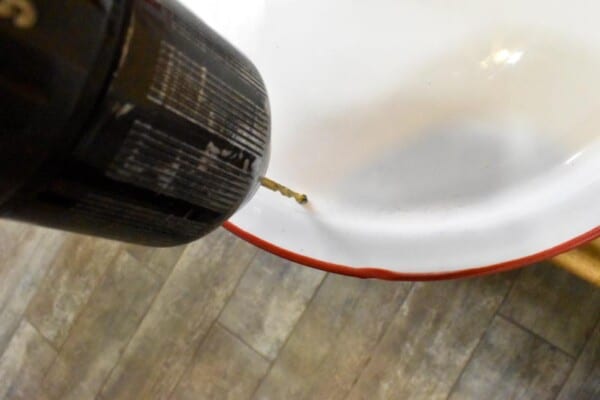
Next, drill a pilot hole where you marked.
Now it’s time to screw your lids onto the support stick. Remember that the hat will be overlapping the head lid a bit (and it is still not attached to the stick), so make sure to adjust the head lid as needed, before screwing it on.
Using a 1/2 inch screw, screw the head lid into the support stick. Since the hat overlaps the head lid and covers where the screw will be, you’ll have to temporarily move the hat up a bit to do this.
Finally, screw the other two lids into the support stick. (Hat is still not attached)
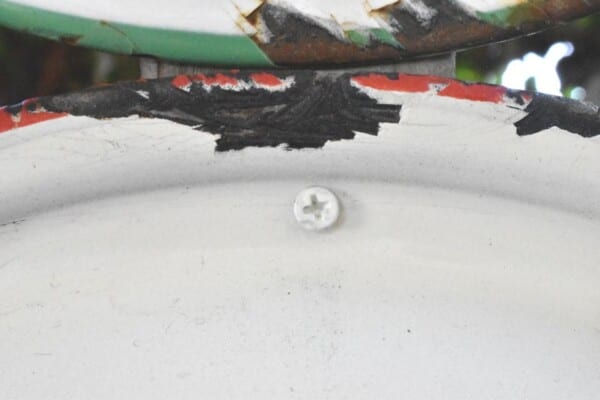
(Add a little dab of white paint to each screw to hide them.)
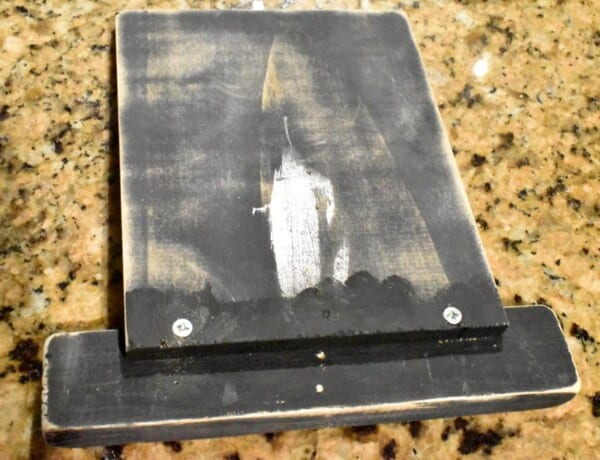
Attaching the Hat:
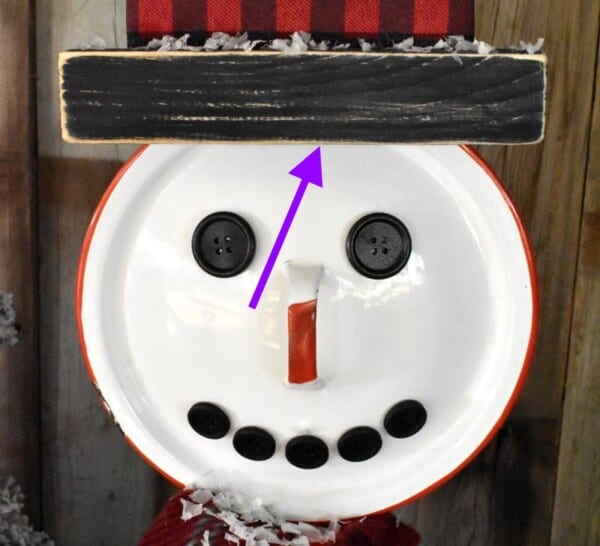
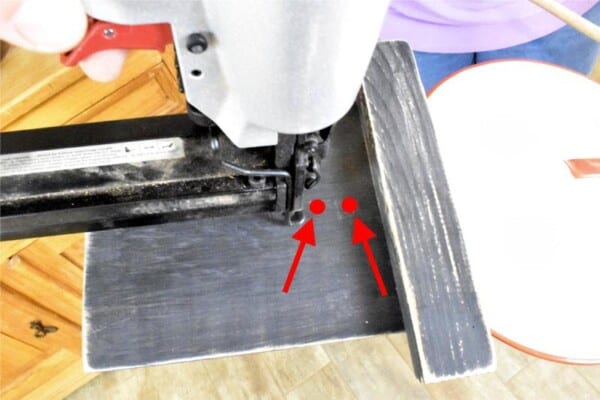
First, center the hat on the post and making sure it is overlapping the head lid as far as it can. Now, using the nail gun, nail the hat onto the support stick.
Note: In hindsight, I would suggest screwing in a couple of 1-inch screws starting 1/2 inch up from the brim of the hat and the other one at 1 1/2 inch up from the brim and screw them through the front of the hat and into the back post (see red dots shown below). The 2 to 2 1/2 inch ribbon that you will apply later will hide both screws and the hat will be much more secure.
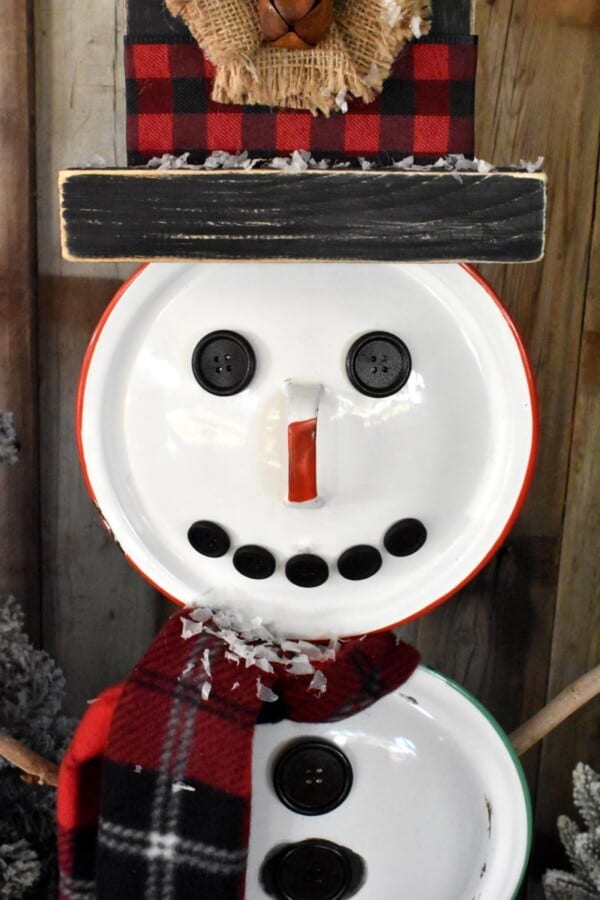
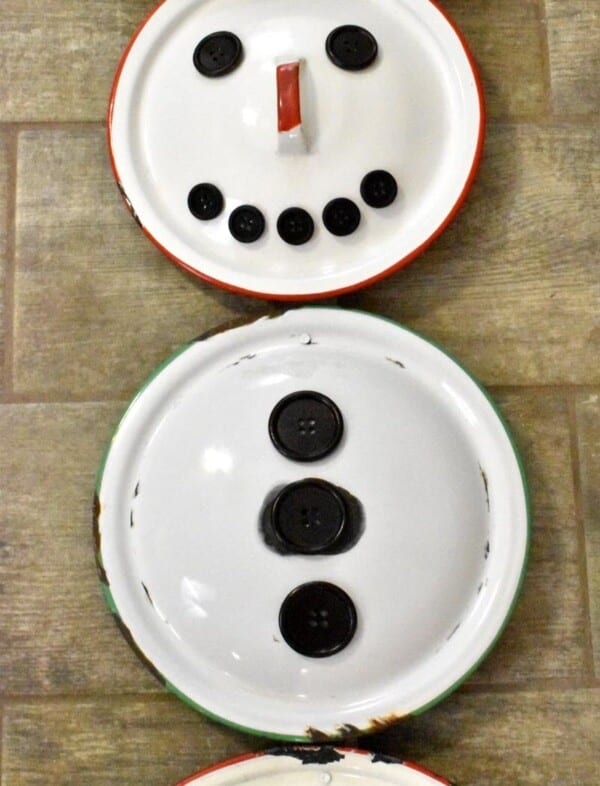
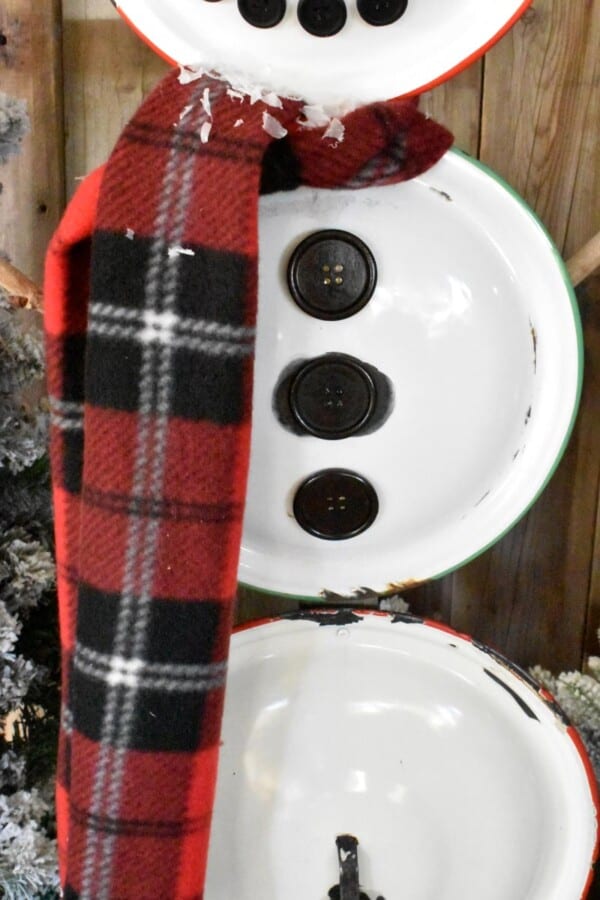
Gluing on the Buttons:
Glue the eyes, mouth, and belly buttons onto the head lid and middle lid. We used E600 craft adhesive because it’s more durable outdoors than hot glue. Let dry.
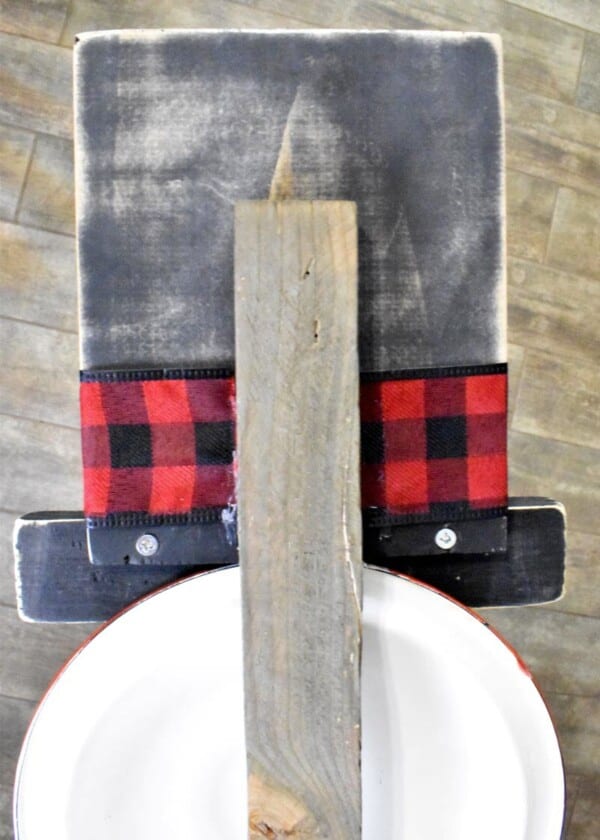
Decorating the Hat:
First, make a hat band using the plaid ribbon, cutting it to the length needed. Next, I pulled out the 2 wires that run along both sides of the ribbon with some needle nose pliers. Now, wrap the ribbon around the front of the hat, with the ends reaching to the back, on each side of the post. Hot glue the ends of the ribbon to the board.
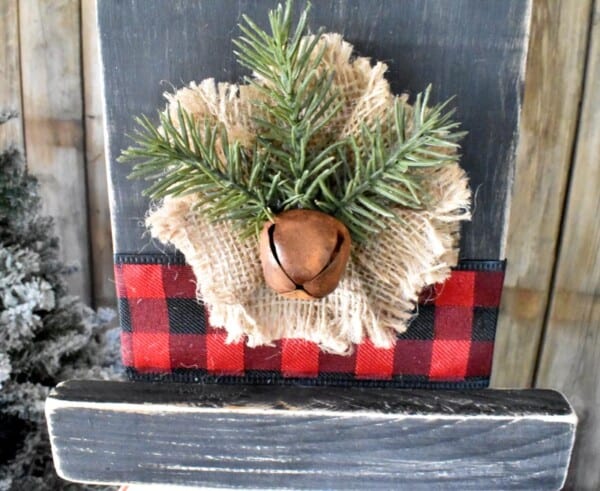
Next, hot glue the burlap flower, rustic bell, and greenery pieces to the front of the hat to top it off!
Attaching the Arms:
First, gather your branches.
Note: We actually used different branches to include a few more fingers than shown below.
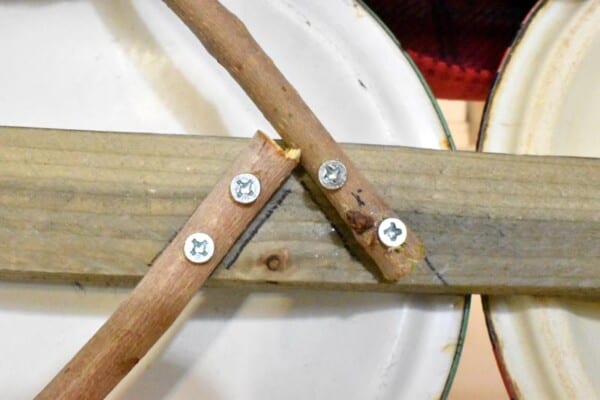
Next, place the sticks where you want them to be placed making sure they fit together on the post in the back. Mark both sides of each stick onto the post with a pencil as shown below (Please ignore the screws as we didn’t have a pic of the back without them).
Now, mark where you want your two screws to go onto the arms.
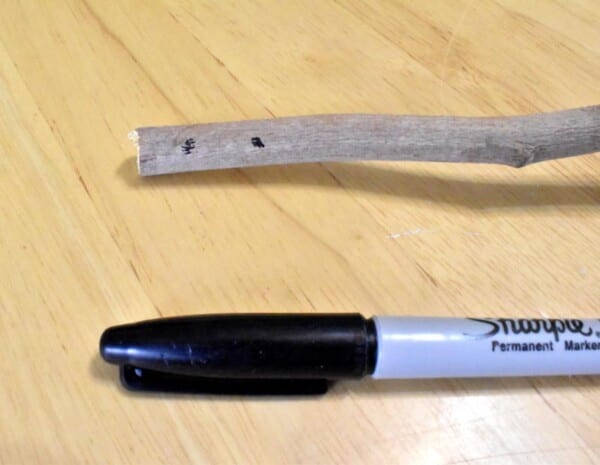
Next, drill pilot holes where you marked.
Next, screw the arms into the support stick with the 1 inch screws where you want them placed, inside the pencil lines you drew earlier as shown below.
Making the scarf:
First, cut the fleece to the desired size of a scarf that you want. My scarf was about 5 1/2 inches wide and 4 feet in length. I made sure to cut along the lines of the plaid design for a neater look.
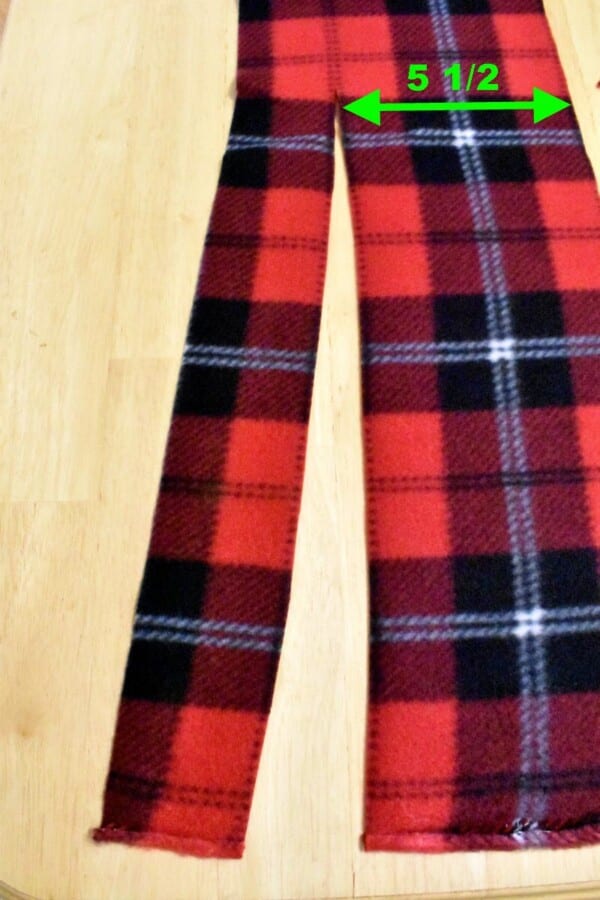
Your scarf should look similar to this.
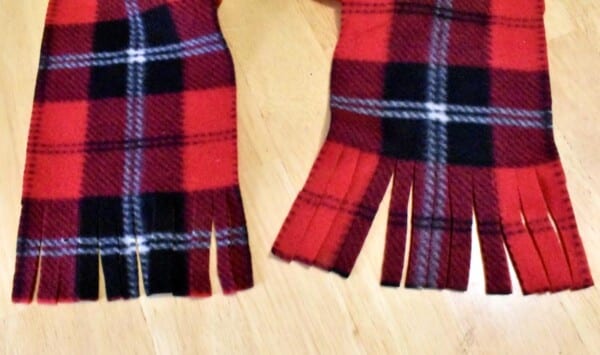
Now, cut some fringe 3 inches from the bottom along the top and bottom edges of the scarf (see below).
Next, tie the scarf around your snowman’s neck, and you’re done!
You are finished! Isn’t he adorable?
Feel free to comment! I love to hear from you!
DIY Vintage Lid Snowman
Sharing at these great link parties:
Busy Monday – Inspire Me Tuesday – The Hearth & Soul – Metamorphosis Monday – All About Home – Follow the Yellow Brick Home – You’re the Star – Shoestring Elegance– Inspire Me Monday – Little Cottage Link Party – Inspire Me Monday – Wonderful Wednesday – Creative Muster Party – Wow Me Wednesday – Your Whims Wednesday – Tuesday Turn About – Tuesdays with a Twist – To Grandma’s House We Go – Vintage Charm Party
More great link parties I’m sharing at:
Waste Not Wednesday – Party in Your PJs – Thursday Favorite Things – Grace at Home – Keep in Touch – Friday Favorites – Funtastic Friday – Funtastic Friday – Happy Pink Saturday – Dare to Share – Create, Bake, Grow & Gather – A Morning Cup of Joe! – Farmhouse Friday – Happiness is Homemade – Snickerdoodle Create Bake Make – Over the Moon – Inspire Me Monday – Silver Pennies Sunday – Love Your Creativity
Debbee M
Oh. My. Goodness! Tee your snowman is absolutely adorable and so creative! And, what a terrific and detailed tutorial. Now, I just gotta be on a lookout for those lids.
Tee
Thank you so much, Debbee! I’m so tickled that you like it! Thank for your kind words!
Debbie-Dabble
LOVE this!!! Even if you just use one lid to do a snow man face and make it into a wreath!!! Thanks so much for sharing and inspiring!!
Thanks too for taking the time to stop by!!
Hugs.
Deb
Tee
Thank you Debbie! Yes, you could do a one-lid face snowman! Thank you for visiting today!
Veronica Lee
How ADORABLE! Love it!
Happy Monday!
Tee
Thank you Veronica! I’m glad you like it!
Linda Primmer
I love your snowman, so adorable. Such a Fun and creative project. Thanks for sharing at a Love Your Creativity Link Party.
Tee
Thank you, Linda! So glad you like it!
Allyson
Your snowman looks awesome ~ super cute! Pinned.
Tee
Thank you, Allyson! I appreciate your sweet comments!
Marie-Interior Frugalista
Those lids were just waiting to become a snowman! So ADORABLE!
Tee
Thank you Marie! I’ve been saving them to make this for a couple of years and finally found the last one! I appreciate the sweet comments!
Dee | Grammy's Grid
What a cute idea! Thanks so much for linking up with me at my party #UnlimitedMonthlyLinkParty 19.
Tee
Thank you Dee!
Cecilia
How creative! I love your snowman–thanks for sharing at Vintage Charm!
Tee
Thank you so much Cecilia, for stopping by!
Debbie-Dabble
Me again!! Thanks so much for stopping by and for your kind words!!
Stay safe, healthy and happy!!
Hugs,
Debbie
Tee
You are most welcome Debbie!
Claire
Love this too 🙂 So many great ideas here.
Tee
You are so sweet, Claire! Thank you!
Karren Haller
This little snowman is darling, what a fun idea to use old enameled lids.
Thank you for stopping by to share on Wonderful Wednesday!
Have a great week!
Tee
Hi Karren! Thank you! Same to you!
Kippi Ohern
I love your DIY vintage lid snowman!
Merry Christmas,
Kippi
Tee
Thank you, Kippi! Merry Christmas to you too!
Kristin salazar
Oh my goodness, this is just adorable!
Tee
Thank you, Kristin! I’m glad you like it!
Paula@SweetPea
Your snowman is adorable! I’m sharing him on my FB page this morning!
Tee
Thank you so much, Paula! That is sweet of you! 🙂
Debbie-Dabble
Thanks so much for stopping by once again and for leaving such a sweet comment on my post about my Winter Villages in my Den! Stay safe, healthy and happy!
Hugs,
Debbie