
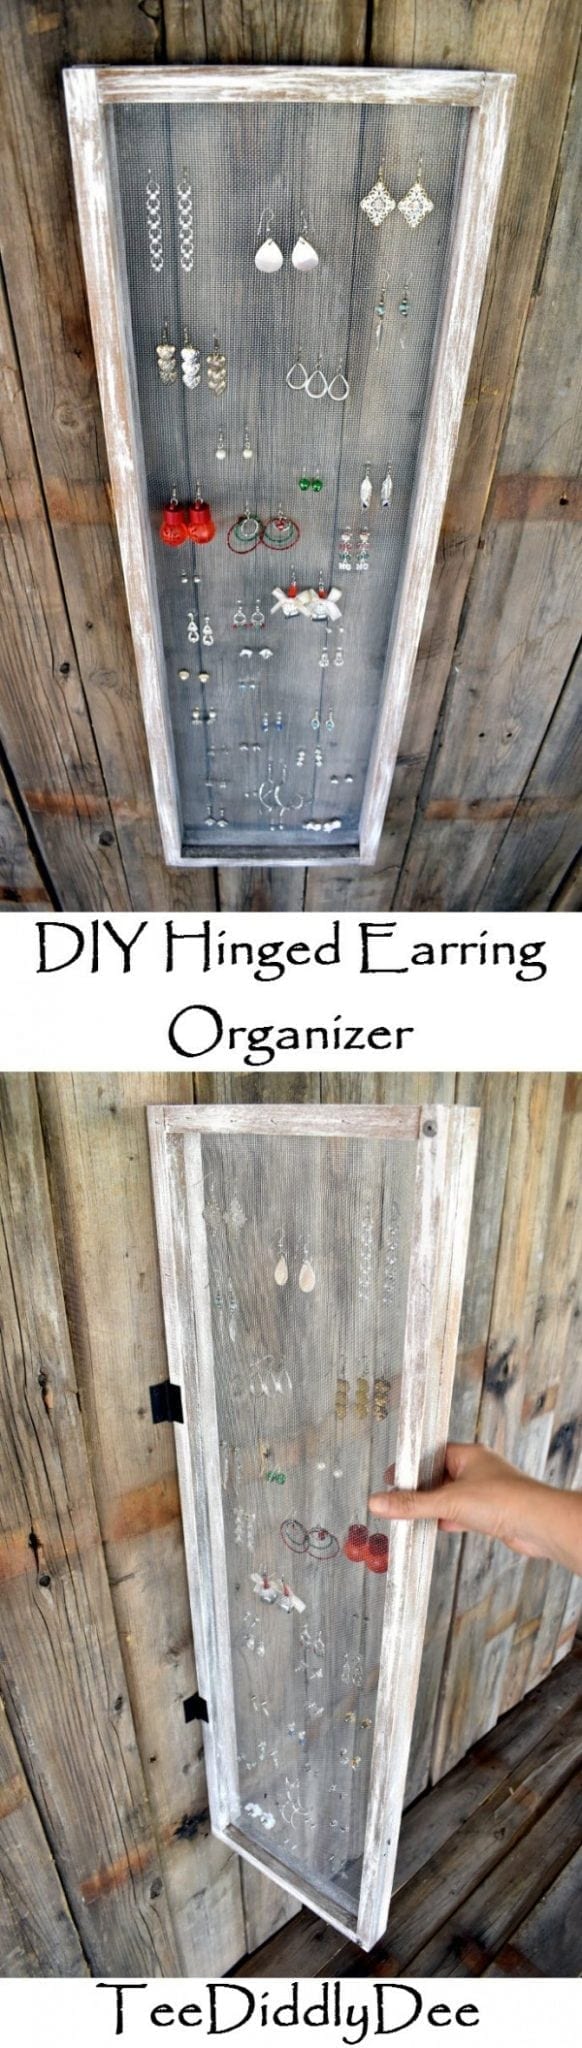
I’ve always had a problem with having too many earrings and not enough room in my jewelry box to store them all. No matter how hard I tried to keep them organized in that tiny box, they all eventually ended up piled on top of each other in one big tangled mess, never to see the light of day again.
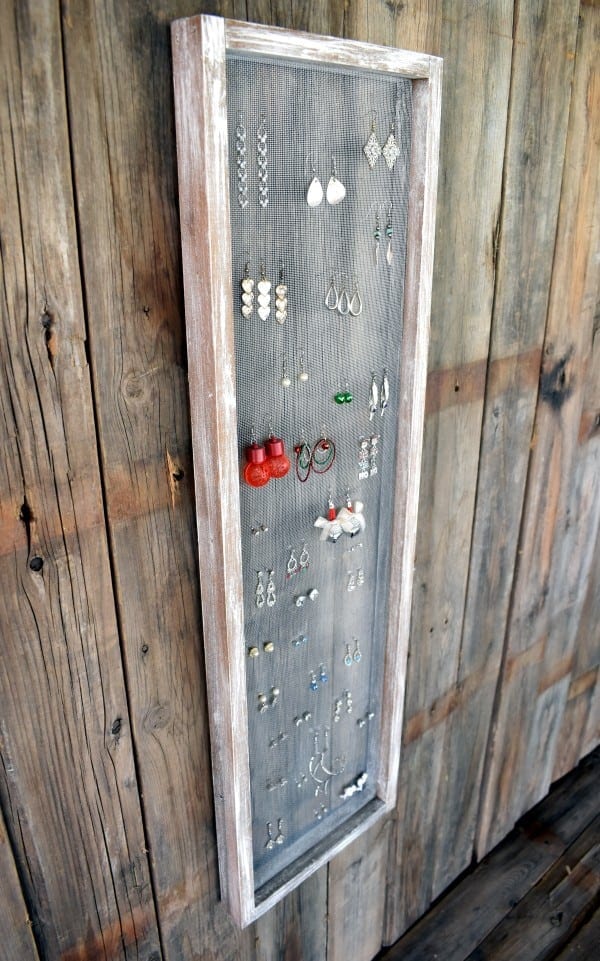
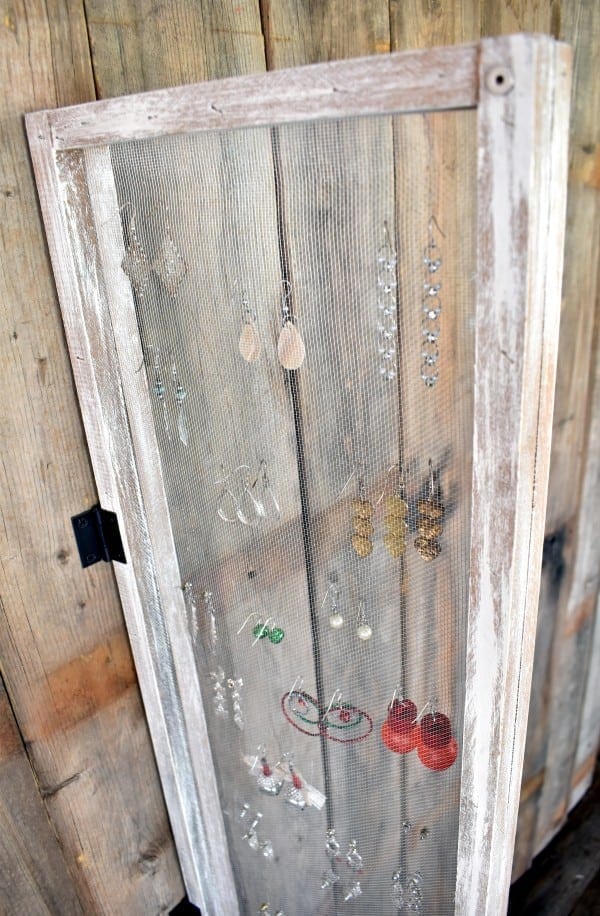
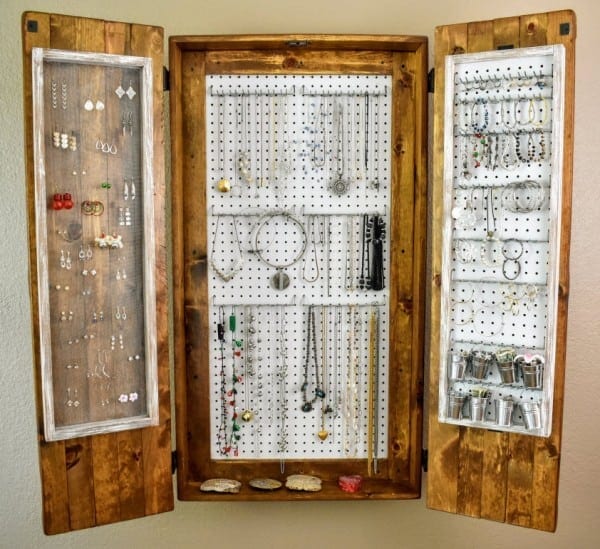
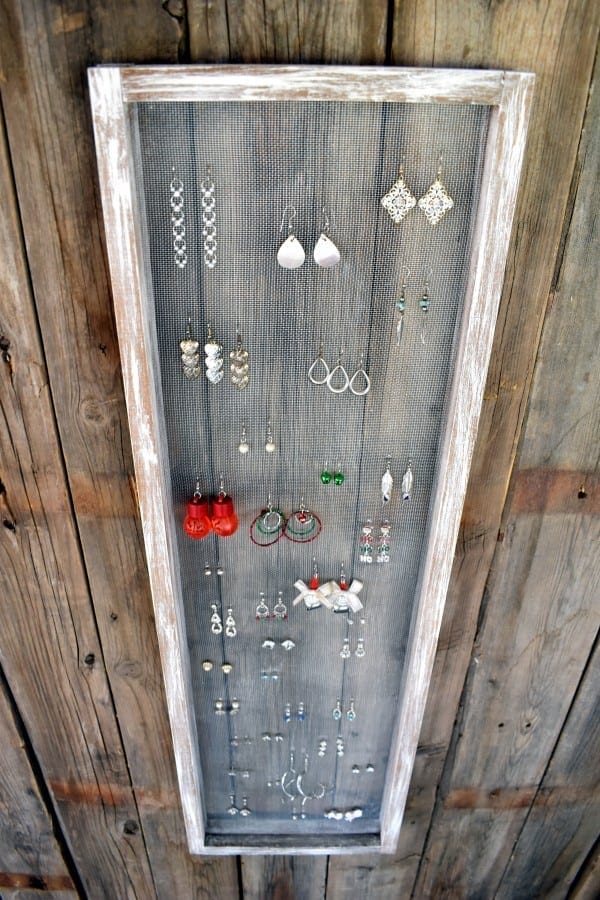
Life for my little earrings changed when I made this hinged organizer. It was a happy day when I released them from that dark, cramped dungeon of a jewelry box and hung them all onto their new spacious home.
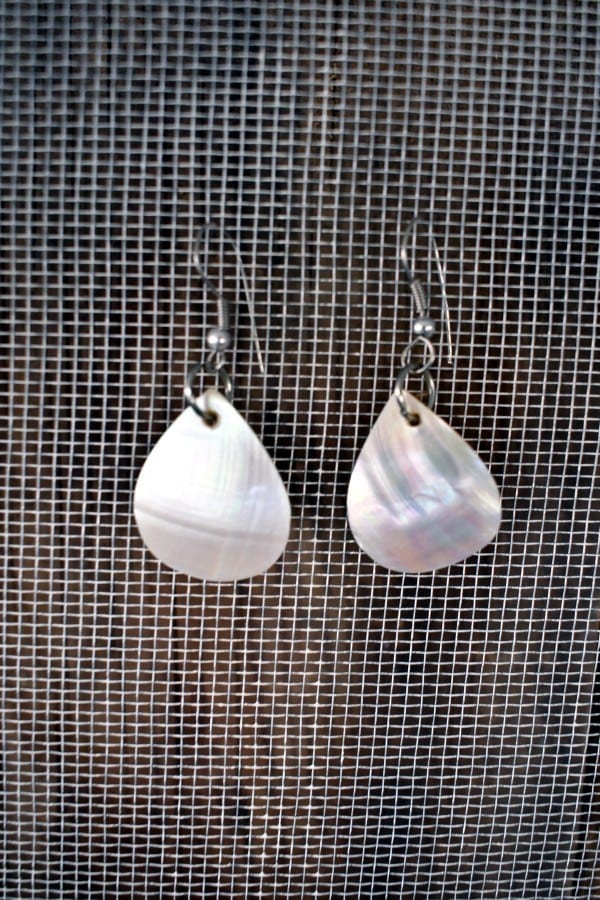
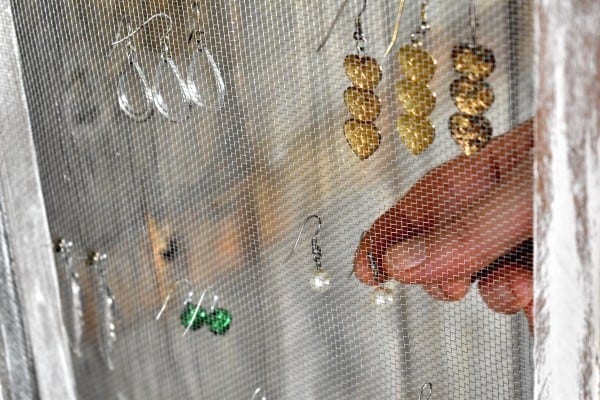
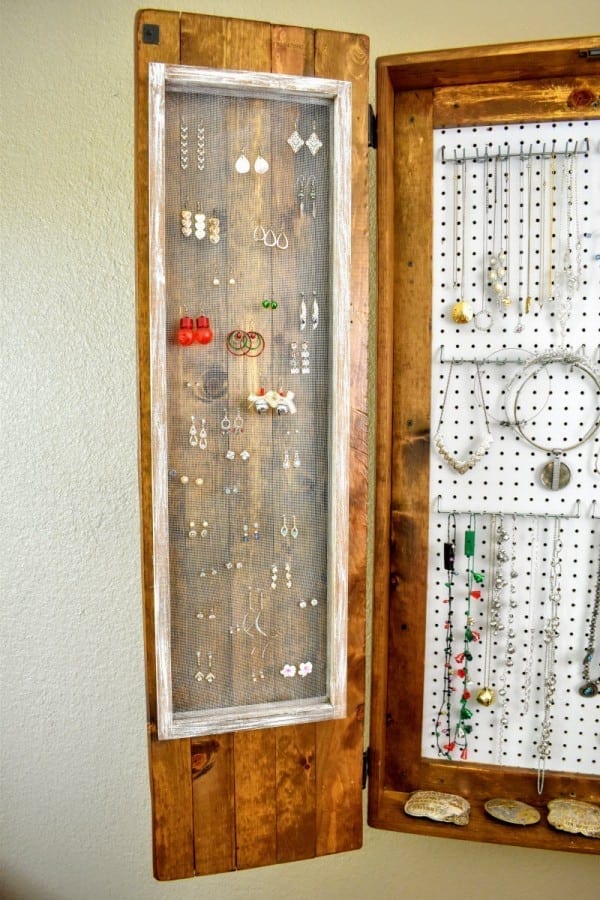
I was happy too, now that putting my earrings on wasn’t a 20 minute chore untangling them anymore! What I loved the most was this organizer held ALL of my earrings, which included hooked backed ones and also my studs that had a clasp that held it on in the back.
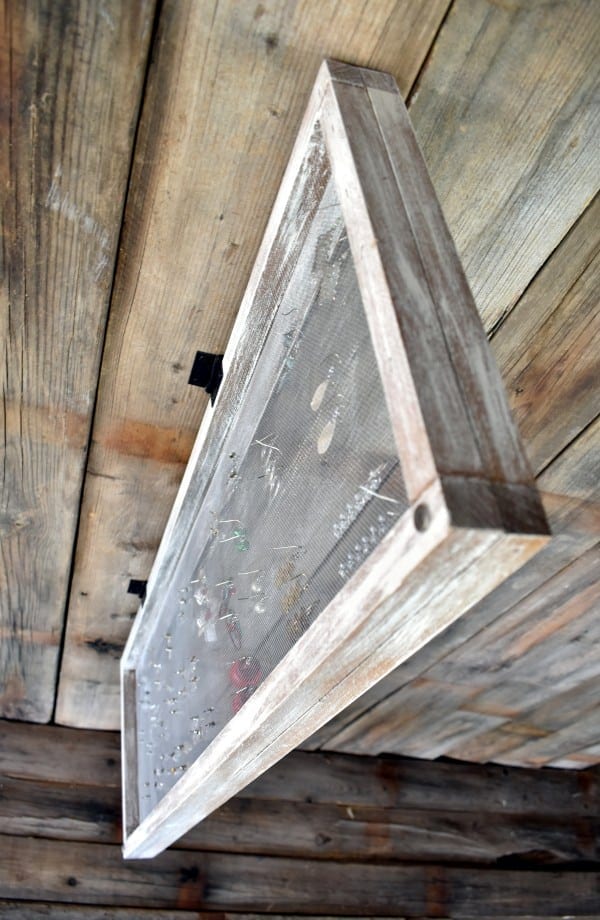
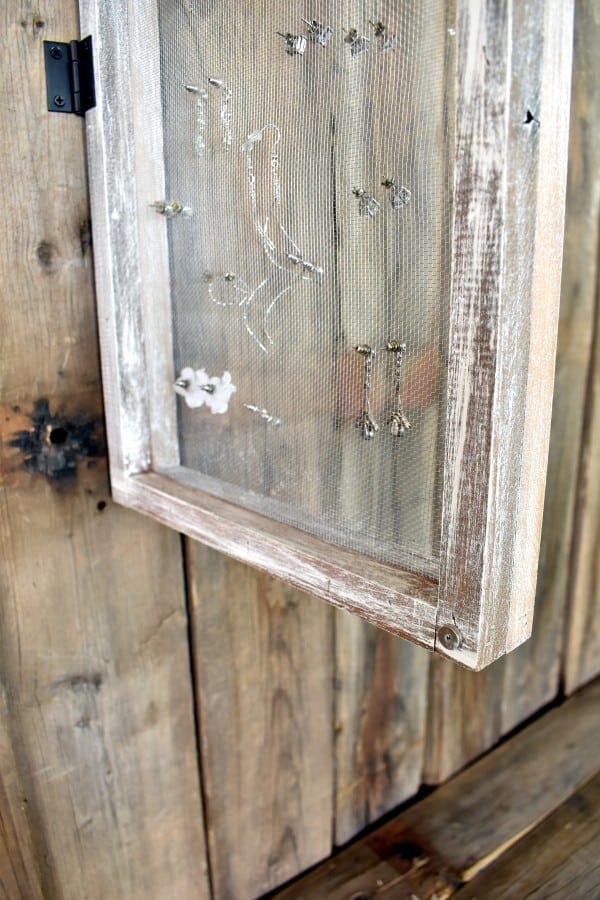
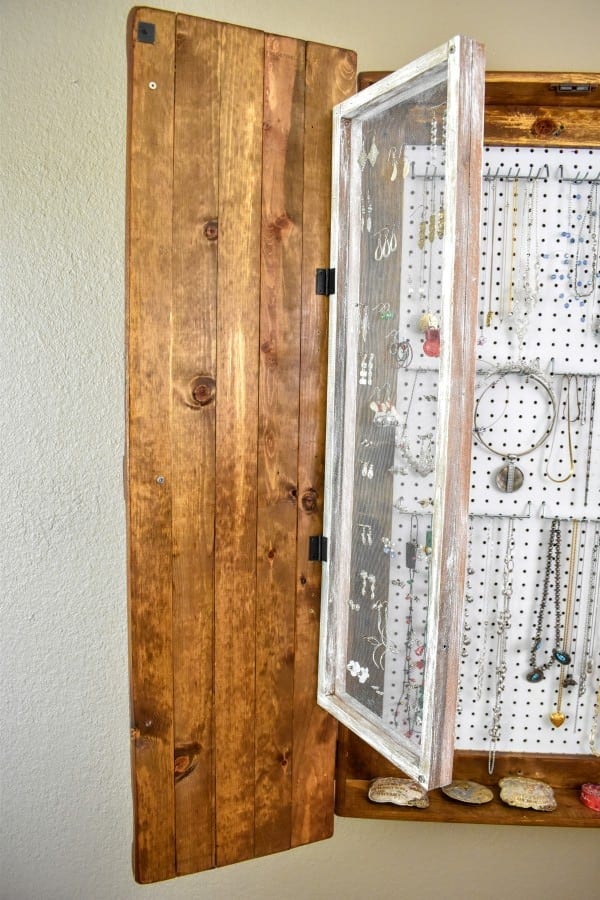
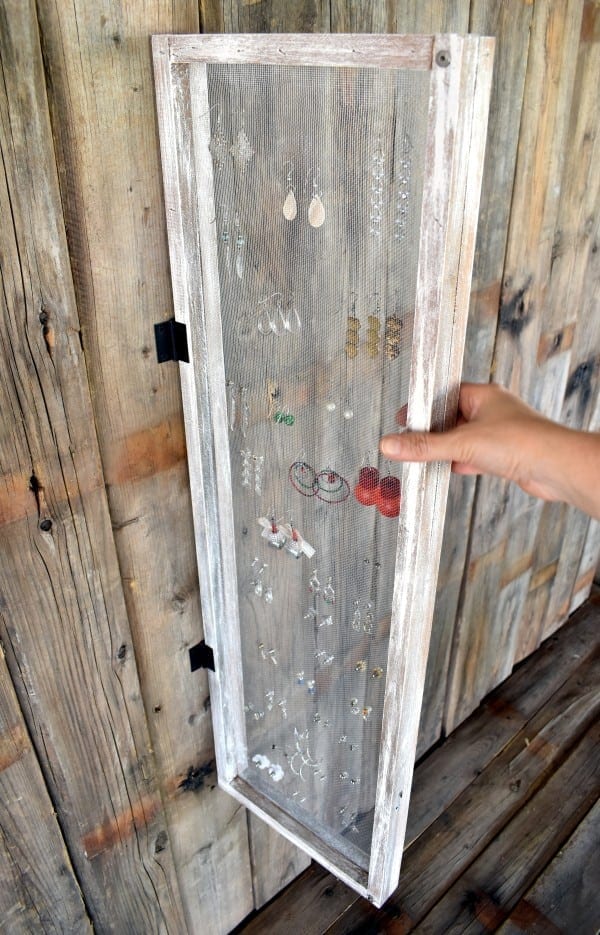
When I need a pair of earrings, I simply swing the organizer away from the wall if I need to unhook them from the backside.
This earring organizer is also made to fit inside my Ultimate DIY Rustic Jewelry Cabinet.
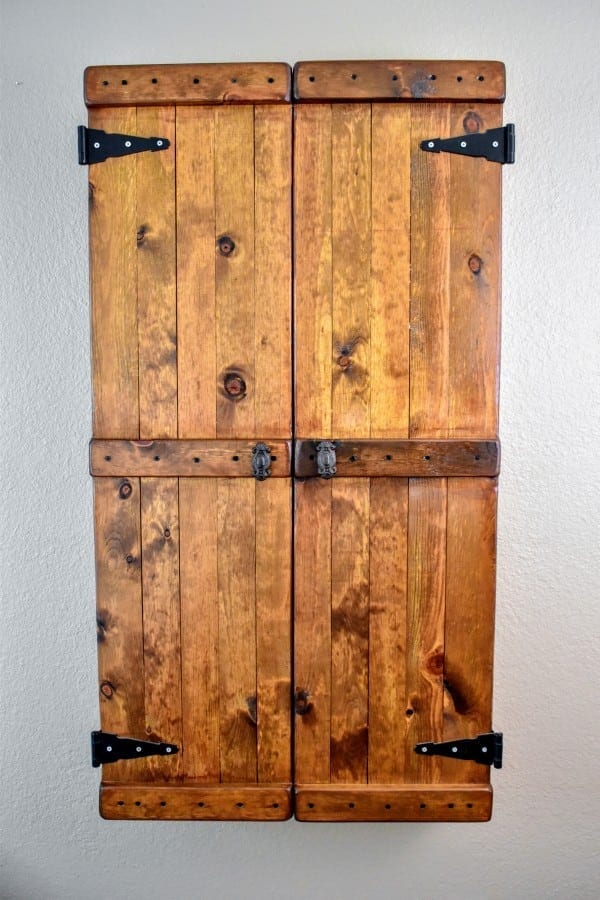
The Hinged Earring Organizer stays closed with tiny magnets inside the cabinet, although it doesn’t need magnets when just mounted to a wall without the cabinet.

Tools:
- Chop Saw
- Staple/Nail Gun (You’ll need 1/2in long finishing staples & 1 1/4in long finishing nails)
- Carpenter’s Square
Supplies:
- Paint brush with white paint (I used acrylic paint bought at the craft store)
- Scissors
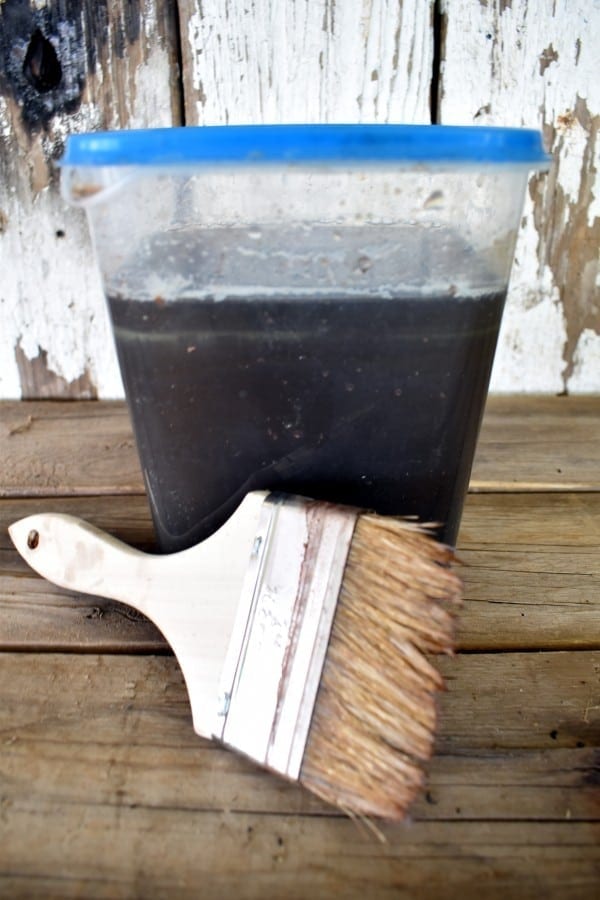
- My easy DIY old wood stain
- Painters tape (Optional to cover edges of screen when painting frame) I used it at first but then decided that a little paint on the screen added character)
- If you’re going to be mounting this earring organizer into my Ultimate DIY Rustic Jewelry Cabinet, you’ll need four small magnets to keep organizer closed
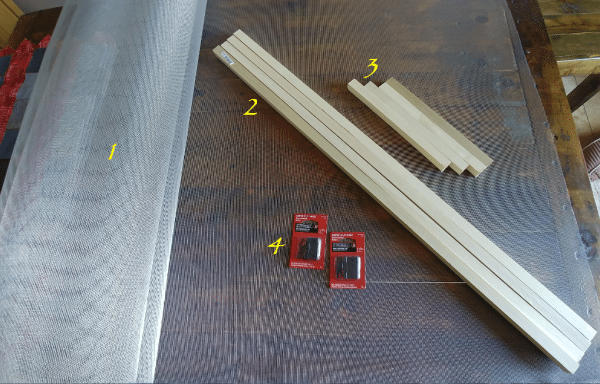
- Aluminum screening for screen door (bought at the hardware store)
- Four 1x1s at 3ft in length
- Four 1x1s at 9 1/4in in length
- Two tiny hinges that will fit the 1x1s
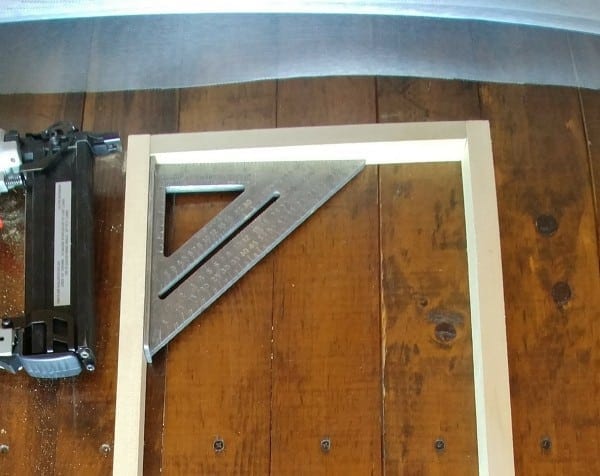
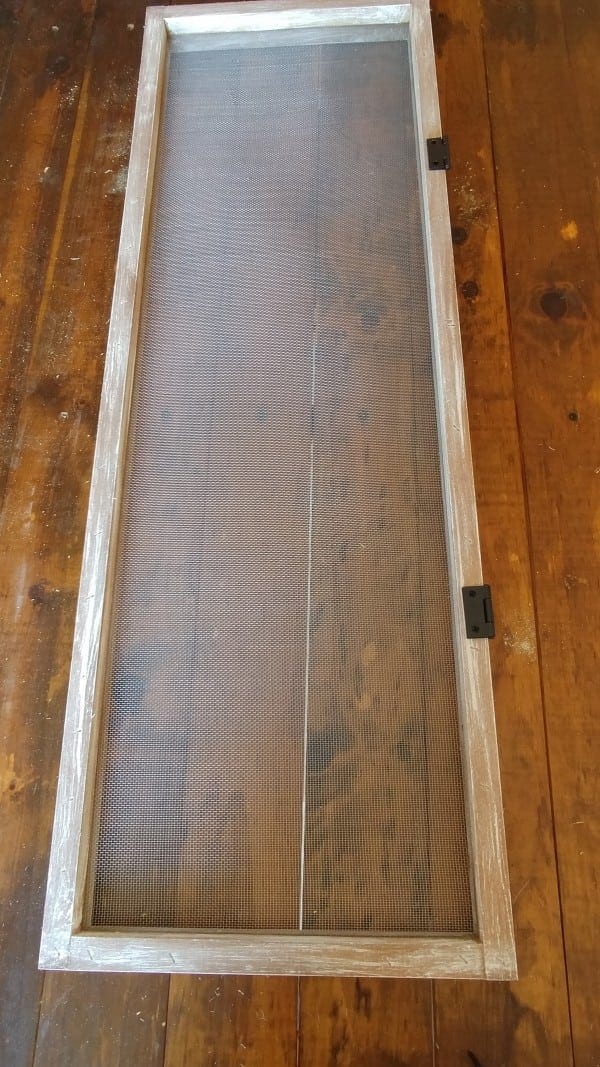
Make a frame by nailing together the two 1x1s and the two 11in 1x1s
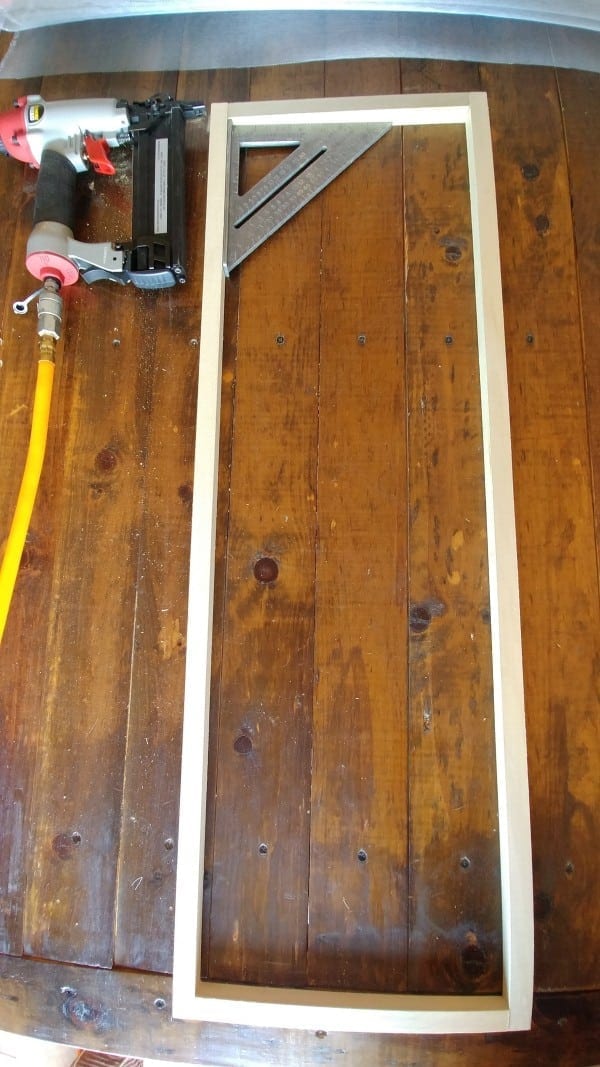
I did this by ‘sandwiching’ the 11in 1x1s in-between the longer 3ft ones
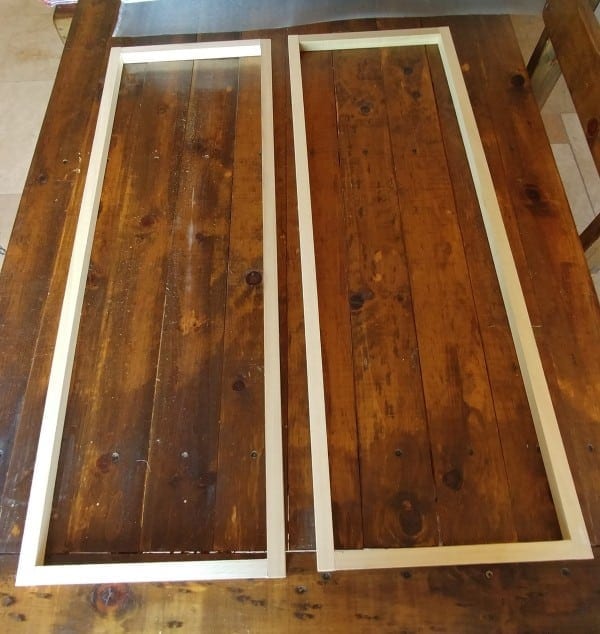
Make two frames
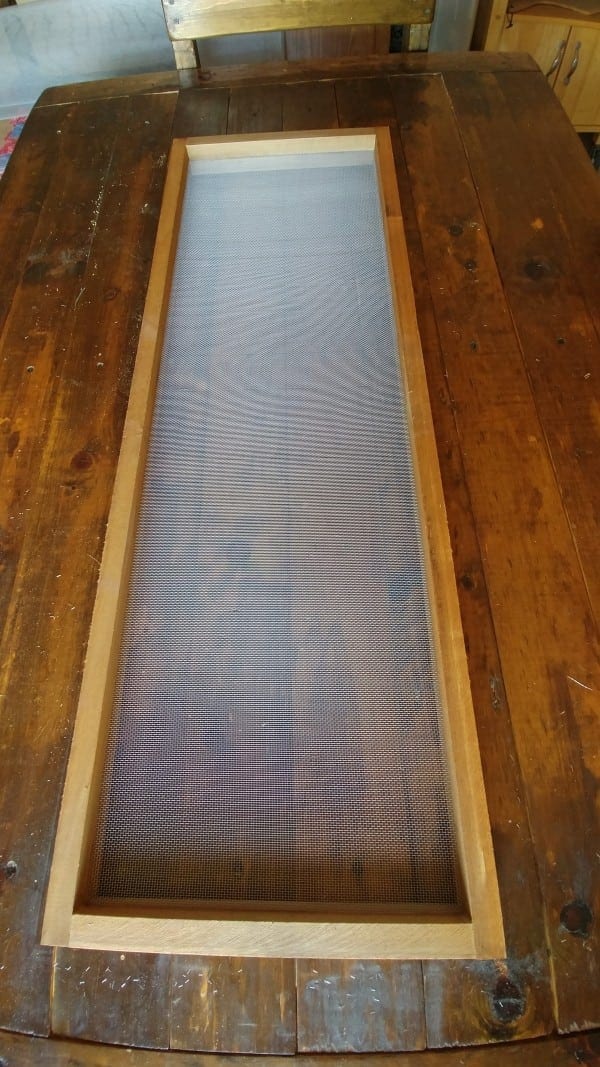
Lay some screen over one frame
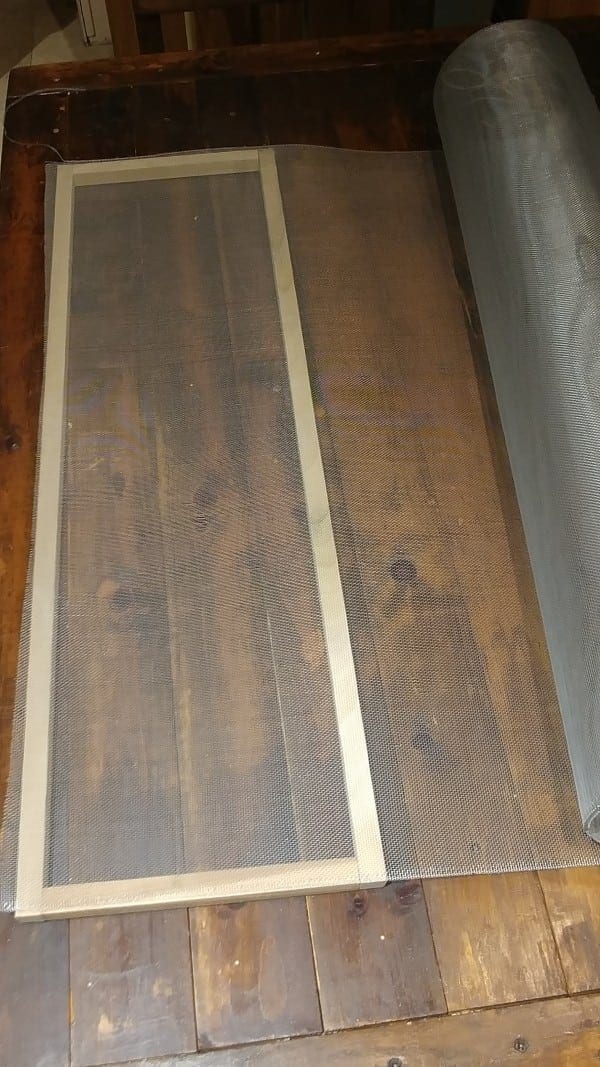
Staple the screen onto the frame by first stapling one side and then gently, but firmly, stretching the screen as you go. I used lots of staples close together (about an inch apart) as the screen will want to rip from stretching if there aren’t enough staples holding it in place

Trim off the excess screen from the edges
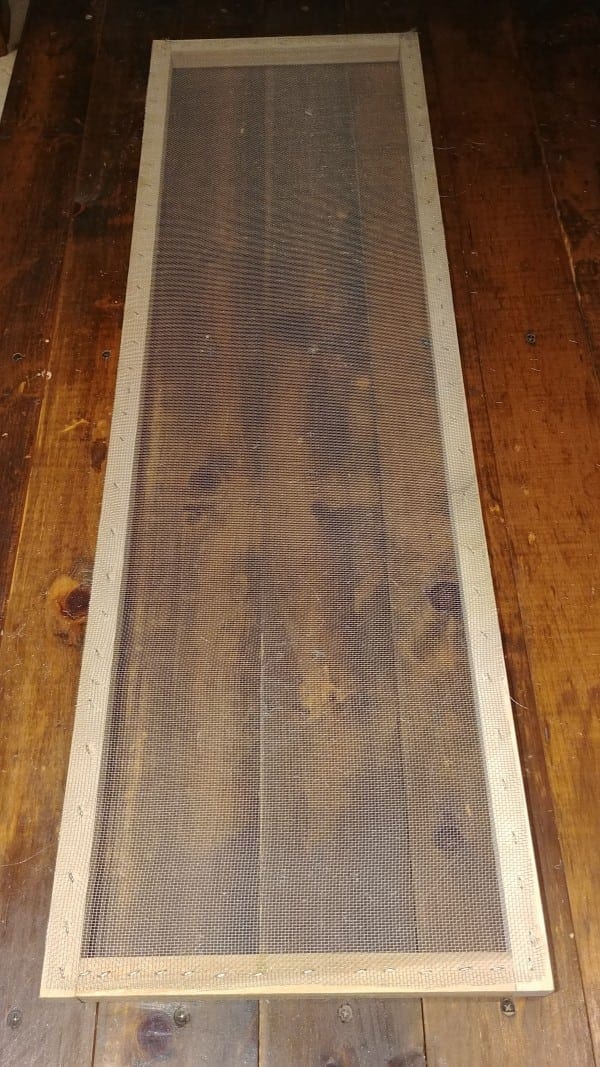
Now lay the second frame over the first one, sandwiching the screen in-between the frames. Nail together
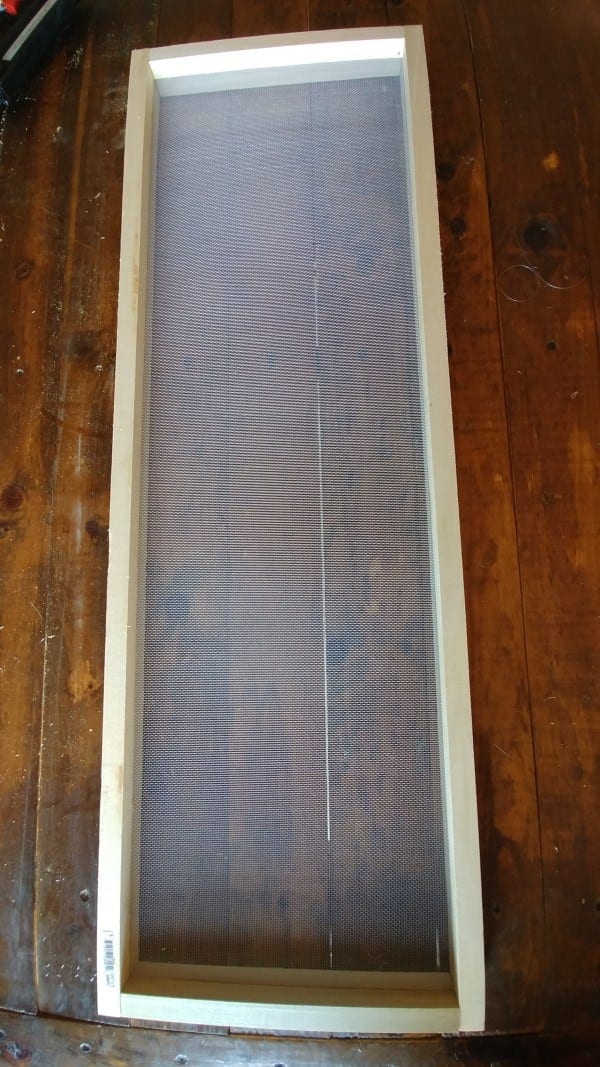
To make the frame look old, I brushed on a coat of my easy DIY Old Weathered Wood Stain
Then I dry brushed on a coat of white paint
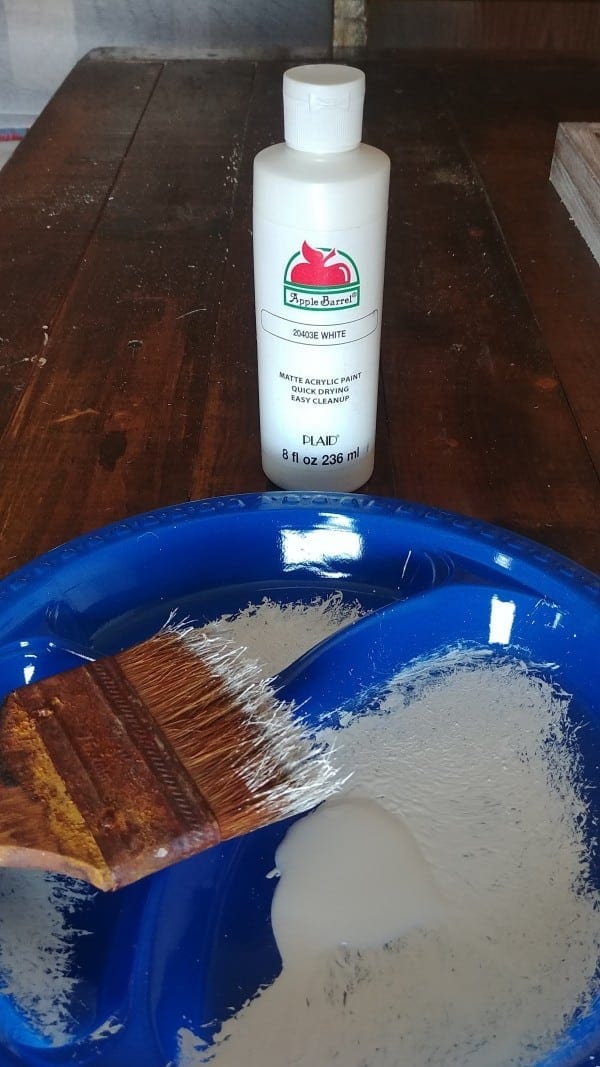
Dry brushing is simply using a ‘dry brush’ to apply paint. Only dip the tip of the brush in the paint and then dab off the excess before painting, as you want it to be slightly dry when applying the paint. This gives the wood an old, aged ‘whitewash’ look.

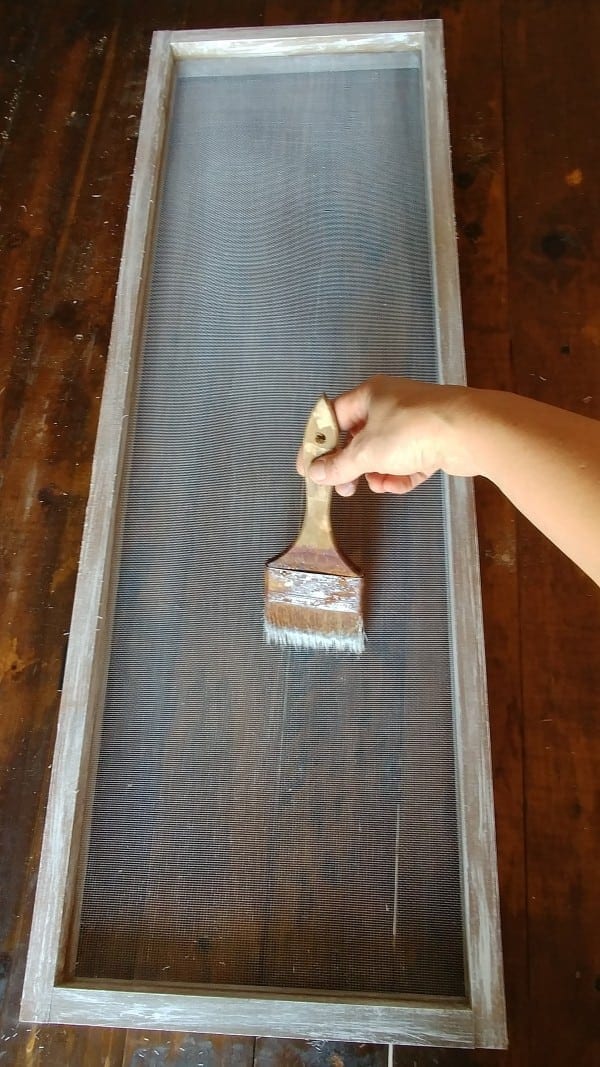
You may or may or may not want to apply painters tape to the screen as at first I didn’t want paint to get on the screen…
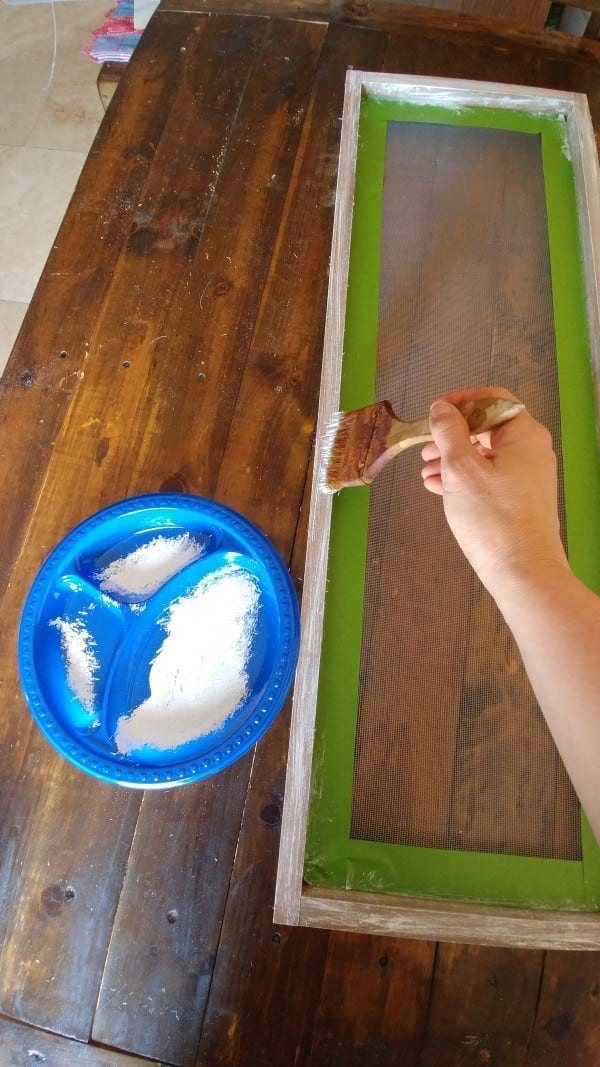
…then decided that dry brushing on a little paint directly to the screen added character!
Add the two hinges
Now hang the organizer with the hinges. It’s time to organize those earrings!
Make sure to visit my Ultimate DIY Rustic Jewelry Cabinet to see how to mount my Vintage Hinged Earring Organizer inside the cabinet!
Leave a Reply